Brake pad bedding defined
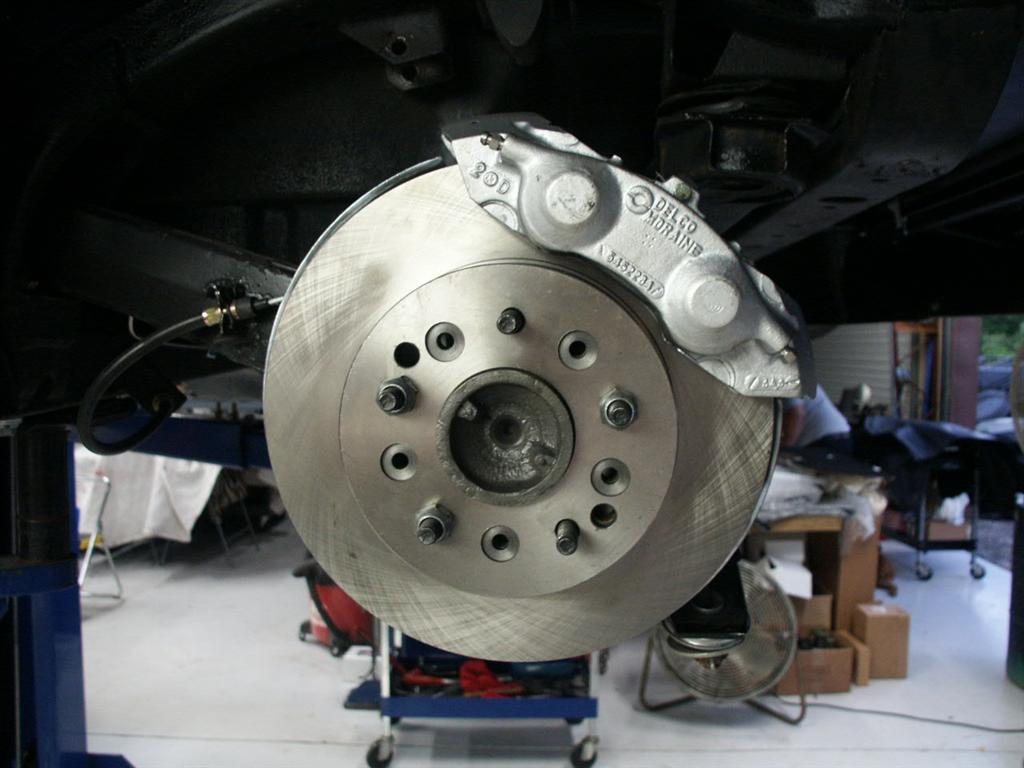
Brake pad bedding involves heating a brake rotor and pad, through braking, to a specified temperature in order to allow the formation of a transfer layer. In order to maximize braking performance, brake pads must be bedded-in with their brake rotors. Following the bed-in procedures provided by the manufacturer will assure a smooth, even layer of transfer film on the rotor and will minimize brake vibration.
The brake system is then allowed to cool without coming to rest, resulting in an even transfer layer deposition around the rotor circumference. This procedure is typically repeated two or three times in order to ensure that the entire rotor face is evenly covered with brake pad material.
Because the adherent temperature range for brake pads varies widely (it’s common to see 100°F-600°F for street pads and 600°F-1400°F for race pads), each bedding needs to be specific to each application. Too little heat during bedding keeps the material from transferring to the rotor face while overheating the system can generate uneven pad deposits due to the material breaking down and adhering to the rotor.
It only takes a small amount of thickness variation (TV) in the transfer layer to cause brake vibration. You may not notice the mild vibration initially, but as the pad starts gliding over high and low spots, TV will increase until the vibration is much more evident. Over time, the high spots can become “hot spots” and can actually change the metallurgy of the rotor in those areas, creating “hard” spots in the rotor face that are virtually impossible to remove.
Here are a few things to keep in mind when installing new rotors and pads:
- When installing new pads, the rotors should be new or at least resurfaced to remove any transfer film from the previous set of brake pads.
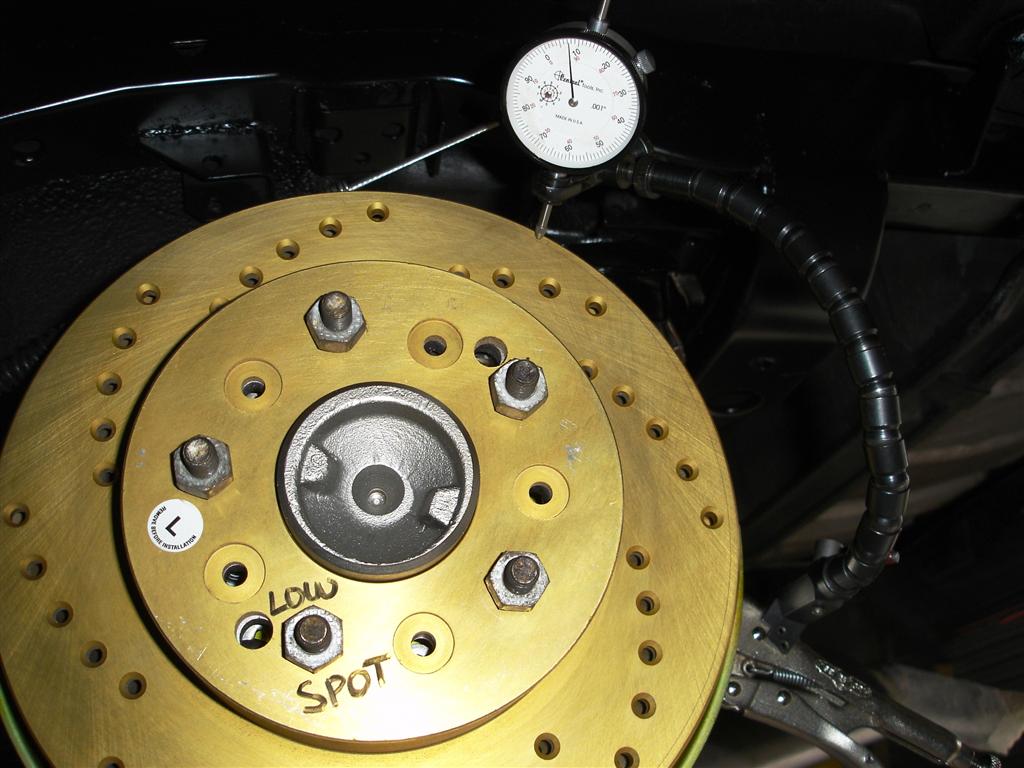
- It is critical that the installer clean any rust, scale, or debris from the hub mounting surface thoroughly and check it for excessive run-out with a dial indicator gauge before installing the rotor.
- The new rotor should also be checked for excessive run-out using a dial indicator gauge before the caliper and pads are installed. If a rotor has excessive run-out of over .004″ (.10mm) it should be replaced.
Failure to follow these procedures may result in brake shuddering, excessive noise, or other difficulties in bedding-in the new brake pads. The pads need a fresh surface to lay down an even transfer film. Residue from the previous pad compound on the surface or an irregular surface on a used rotor will cause the pads to grip-slip-grip-slip as they pass over the rotor surface under pressure. The resulting vibration will cause noise and telegraph vibrations through the suspension and steering wheel. This vibration is known as brake judder or brake shimmy. This is typically caused by an uneven transfer film on the rotor surface or an uneven surface on the rotor not allowing that transfer film to develop evenly. This is often misdiagnosed as a warped rotor.
Following are the recommended bedding procedures from each manufacturer that we carry:
BREMBO
In a safe area, apply brakes moderately from 60mph to 30mph and then drive approximately 1/2 mile to allow the brakes to cool. Repeat this procedure approximately 30 times.
HAWK
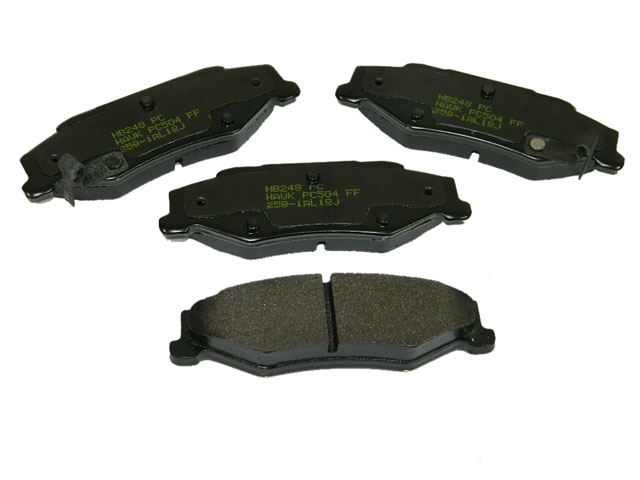
After installing new pads make 6 to 10 stops from approximately 35 mph with moderate pressure. Make an additional two to three hard stops from approximately 40 to 45 mph. Do not allow the vehicle to come to a complete stop.When completed with this process, park the vehicle and allow the brakes to cool completely before driving on them again. Do not engage the parking brake until after this cooling process is compete.
NOTE: Hawk racing pads (Blue, Black, HT-10, HT-12) may require a different bed-in procedure.
POWER SLOT & OEM
Follow the brake pad manufacturer’s recommended break-in procedure taking care not to produce excessive heat in the system. Avoid heavy braking for the first 400-500 miles.
- After installing new brake pads, make 6 to 10 stops from approximately 30-35 MPH applying moderate pressure.
- Make an additional 2-3 hard stops from approximately 40-45 MPH.
- DO NOT DRAG BRAKES!
- Allow 15 minutes for brake system to cool down.


