Do you hate how the seat belts look in your Corvette? Are you concerned about their integrity due to years of exposure to sunlight and heat?
Cleaning is a real chore because seat belts five decades old tend to have quite a bit of dirt, grime, and grease embedded in them. When cleaning jobs are tough, it is commonplace to use harsh chemicals. However, this is not recommended on seat belt webbing because it can compromise the tensile strength of the fabric, and then wearing a seat belt becomes a moot point.
Dark color seat belts could be dyed. Be prepared to ruin your clothing if the process doesn’t work properly, though.
You can replace seat belt webbing but it is difficult to find the same material and this will cause issues when retracting the belt. Also, the retractor spring loses its temper over time and causes poor belt rewind. The retractable spring cover can be removed and a few turns to tighten it up will help with belt return. There is a limit to how much you can manipulate the retractable spring; the tighter you go, the more belt travel is limited. This is often frustrating and time consuming, so if you do not have the experience it is not recommended you alter seat belts.
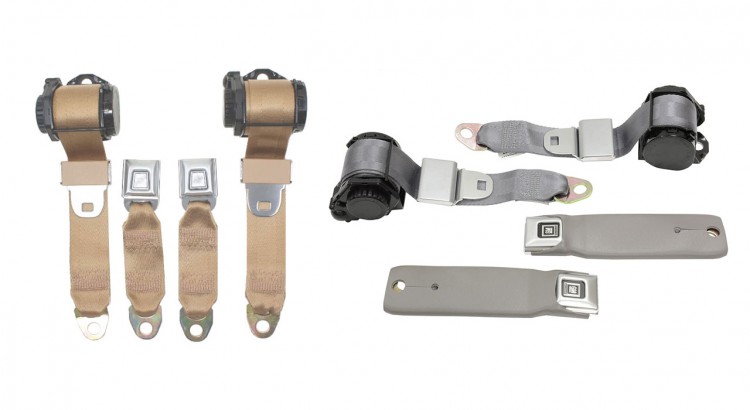
Stop hiding those old, ugly, dirty seat belts and just replace them with O.E. parts. In the past, this was unheard of because so many variations were made for the plethora of models on the market, making it costly to reproduce every seat belt assembly.
Thankfully, vendors and suppliers realize Corvettes are here to stay and are here to help. Corvette Central has many seat belt replacement parts available in popular colors. The best part is no modifications are required; just place them in the factory locations.
Remember: this is an important safety device. It is extremely important you install seat belts correctly the first time. They aren’t difficult to install, but reading instructions is a must. There are specific requirements, including the condition of the mounting hardware and the floor reinforcement panels to which the belts are secured.
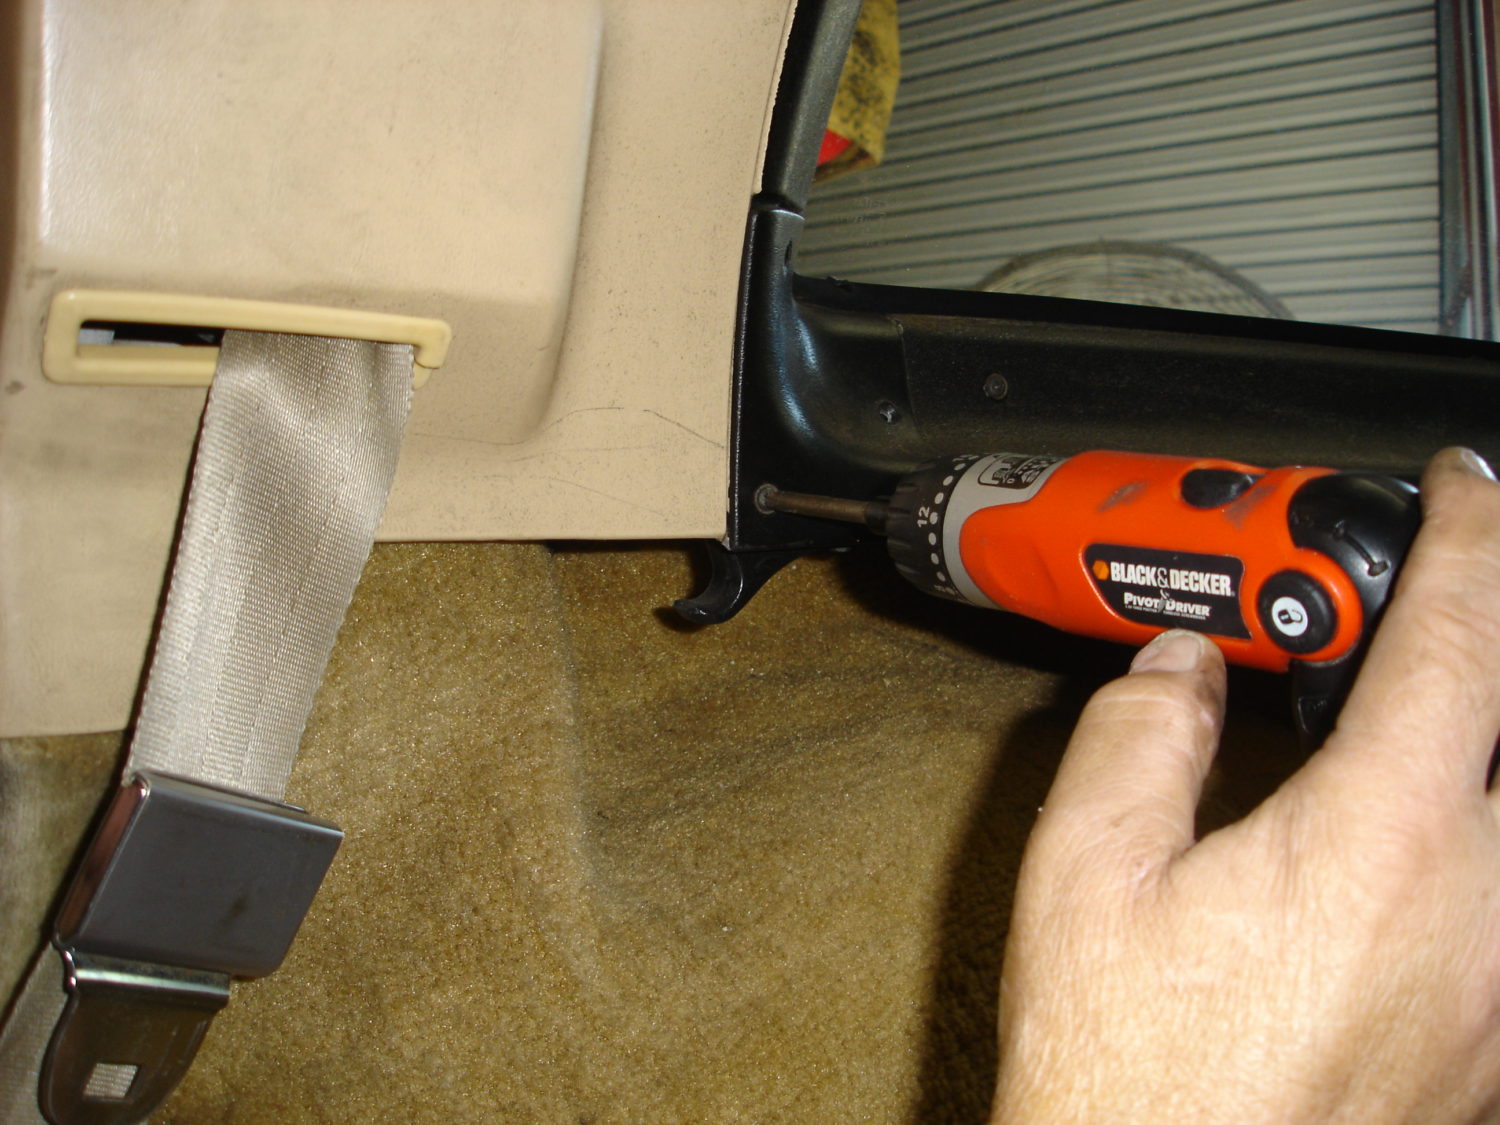
Installation process is simple and goes quickly using air impact tools to loosen stubborn bolts. The slugging action of the impact tool helps knock off corrosion as the bolts are removed. If you don’t have an air or electric impact, you may want to borrow one since it makes the job much easier.
Soaking bolt threads from the underside for a few days with penetrant will greatly assist in removal if you do not have the option of using an impact. Check seat belt mounting reinforcements for corrosion and check bolt threads for damage. If you find corrosion, do not proceed until that is corrected first.
Remember to tighten all bolts properly with a torque wrench to factory or manufacturer specifications!
It is a great feeling to know the seat belt webbing is fresh and will do its job if necessary.
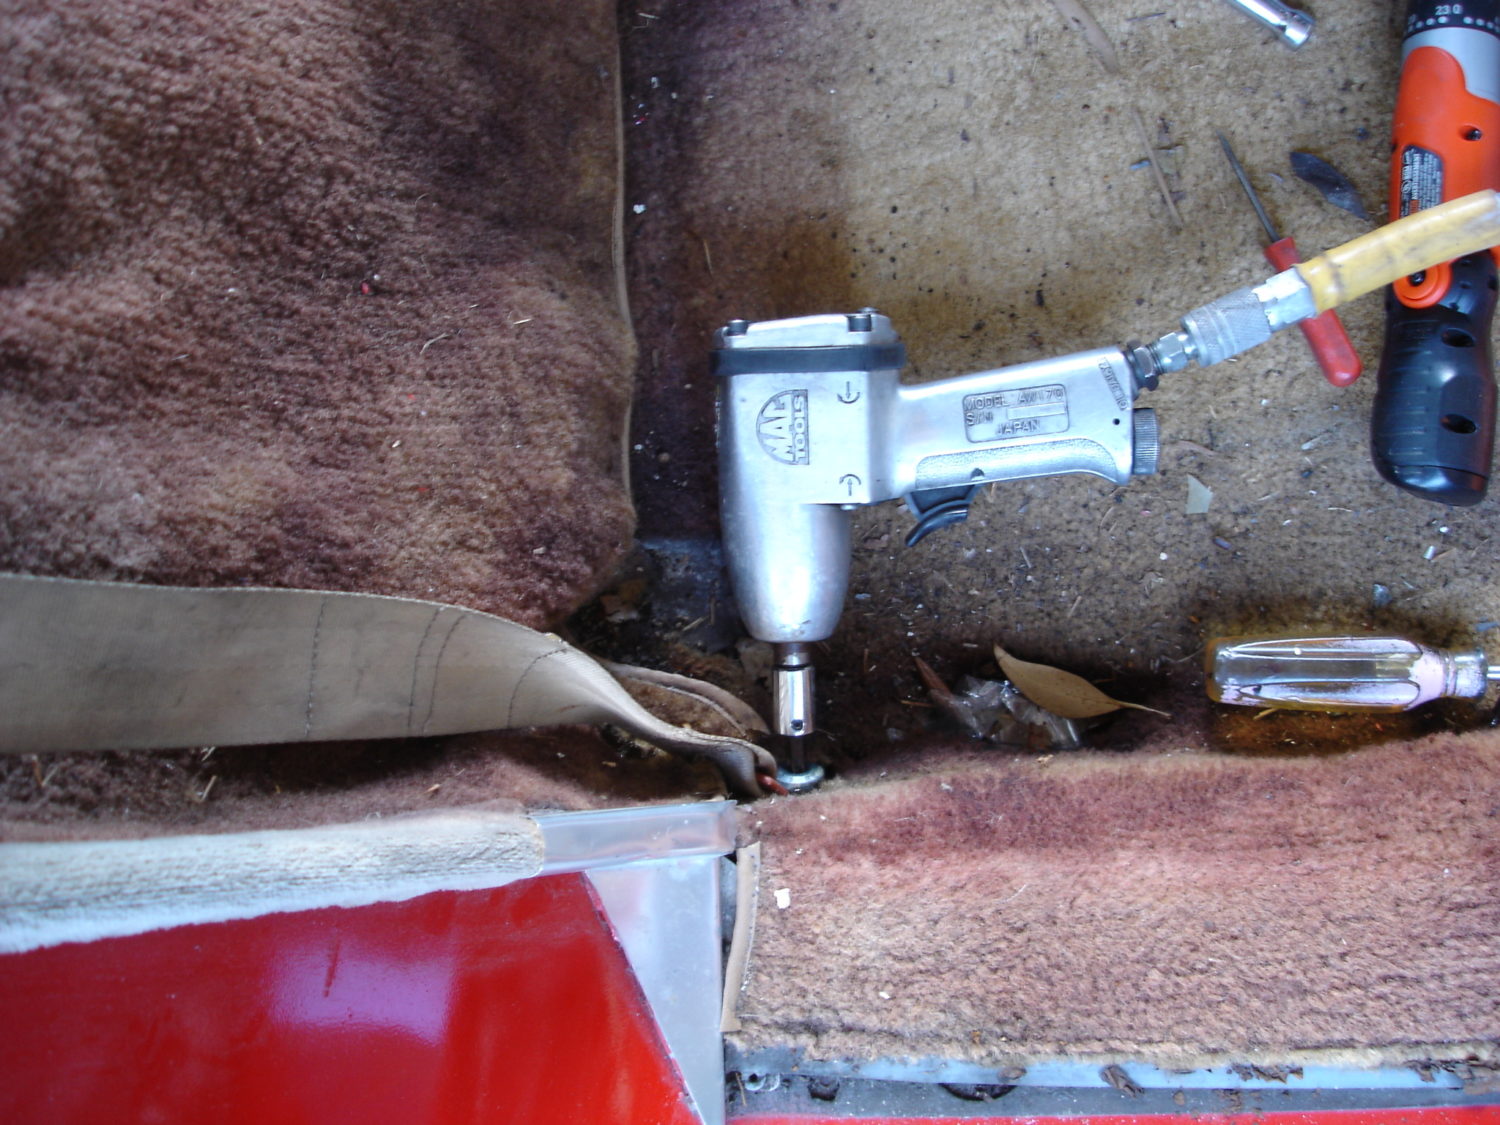
This T-50 Torx retaining bolt was not coming out no matter how much pressure or lubricating penetrant we applied. Using a ½ inch drive impact wrench is overkill and will likely break the Torx bit off or round out the bolt’s female socket. I prefer to use a 3/8 inch drive impact.
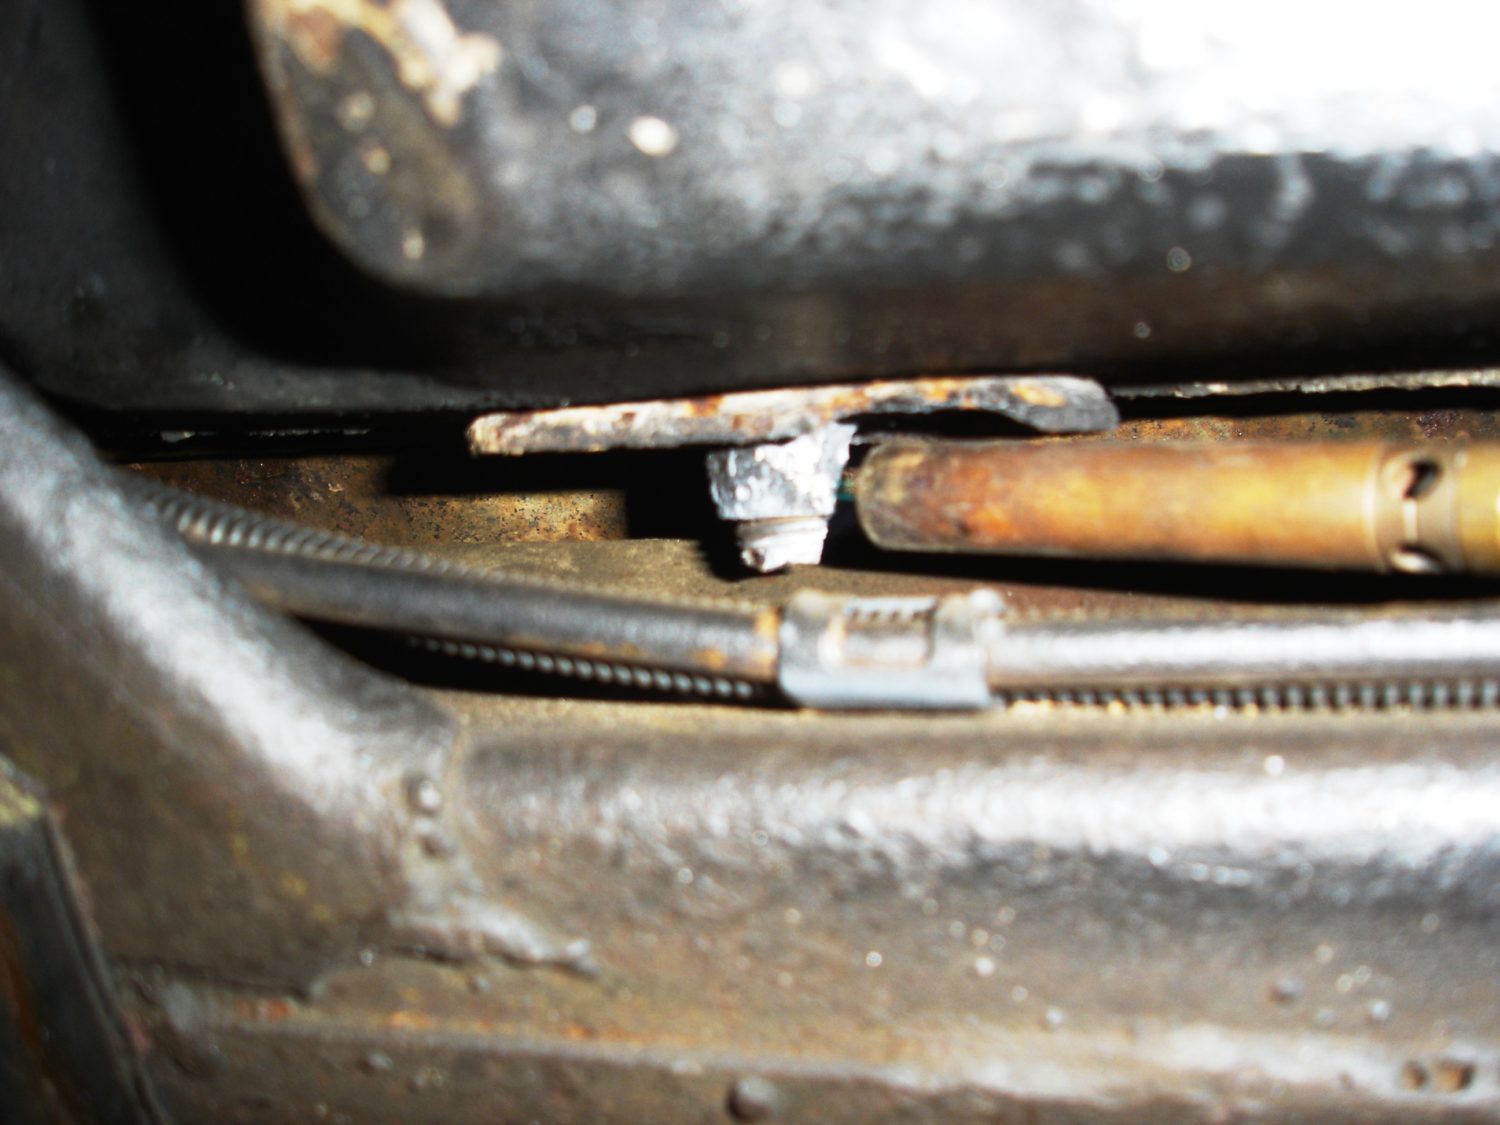
This 1979 spent some time in Canada and as a result the bolt had corroded to the reinforcement. In this case even our penetrant met its match, so heat was applied with a propane torch to get things moving. The seat belt will not be able to do its job if the underbody reinforcements are badly corroded.
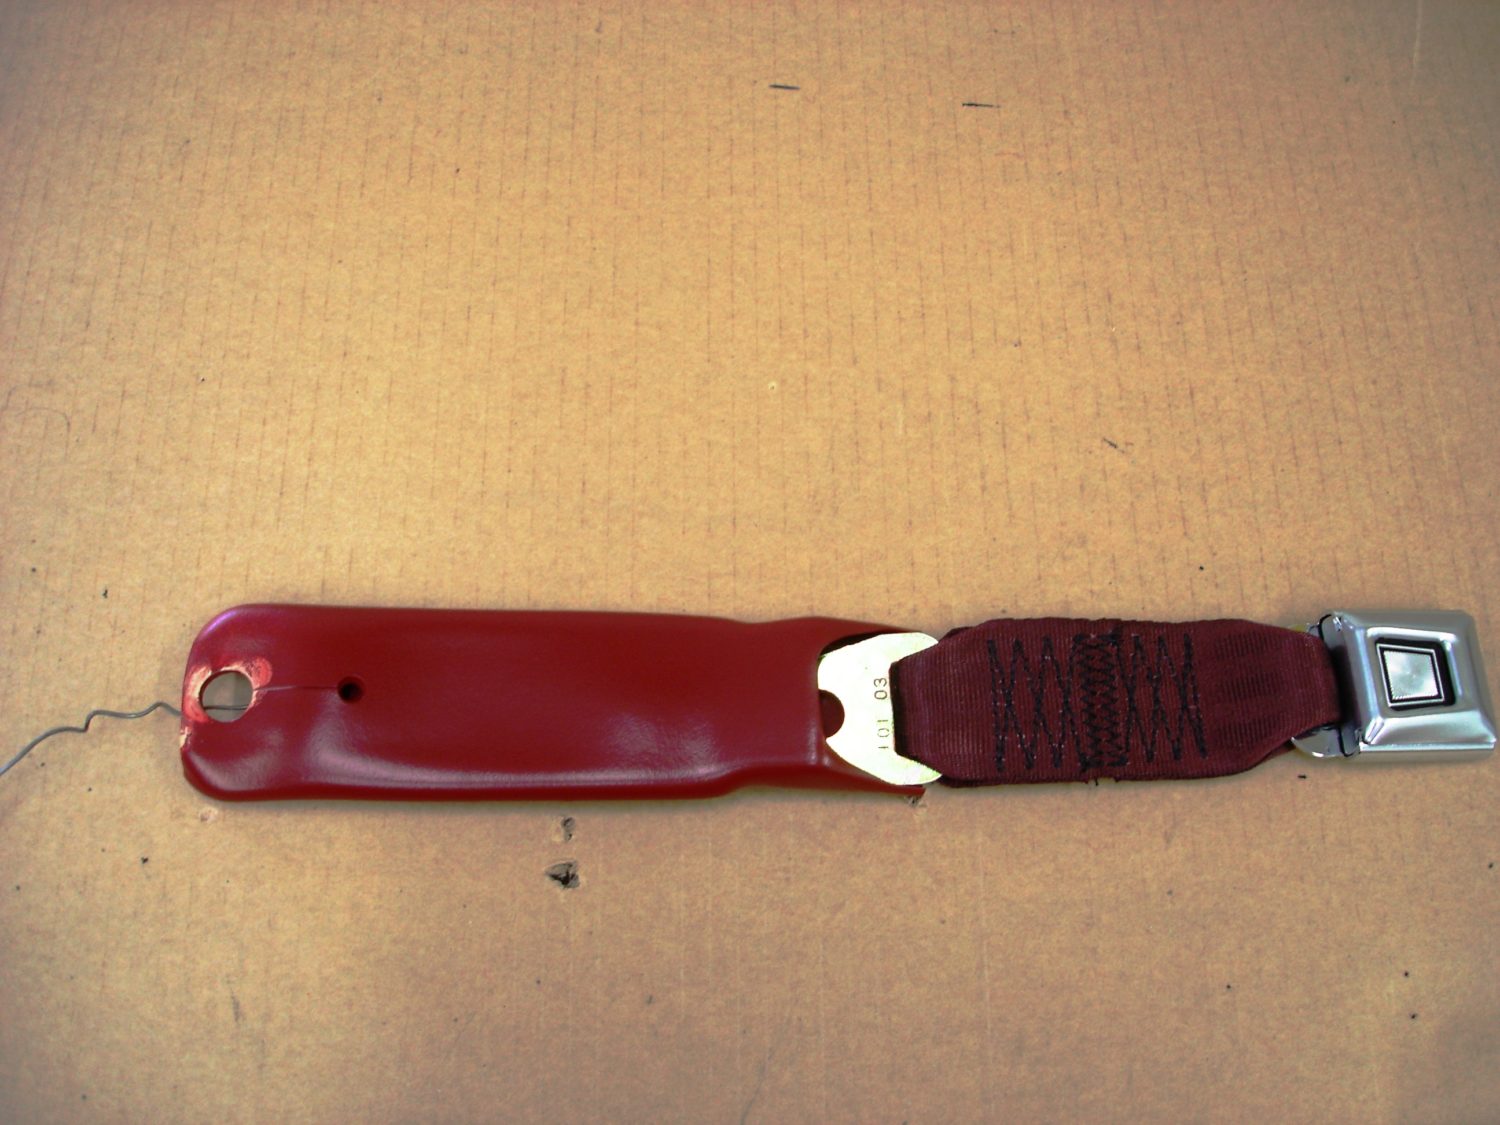
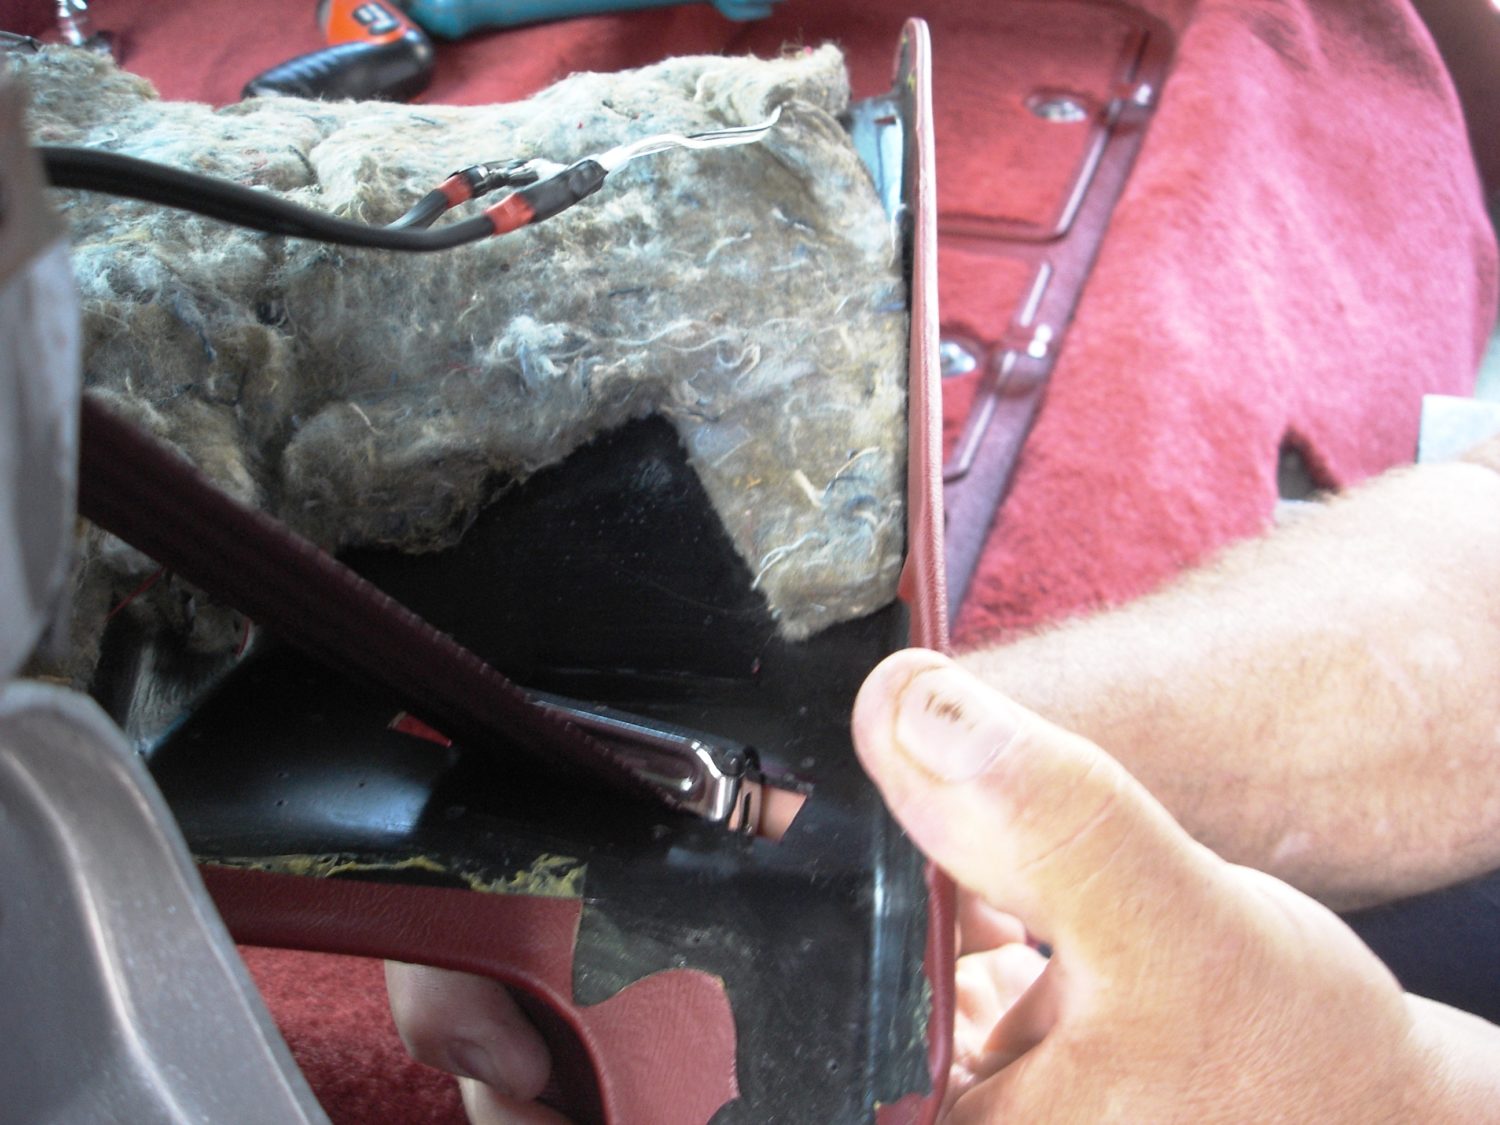
While the reinforcement is cooling off we used a piece of mechanic’s wire to pull the new belt through the original sleeve. This set of new belts did not have the seat belt warning light switch in the sleeved piece; just leave the connector disconnected and the warning light will stay off.
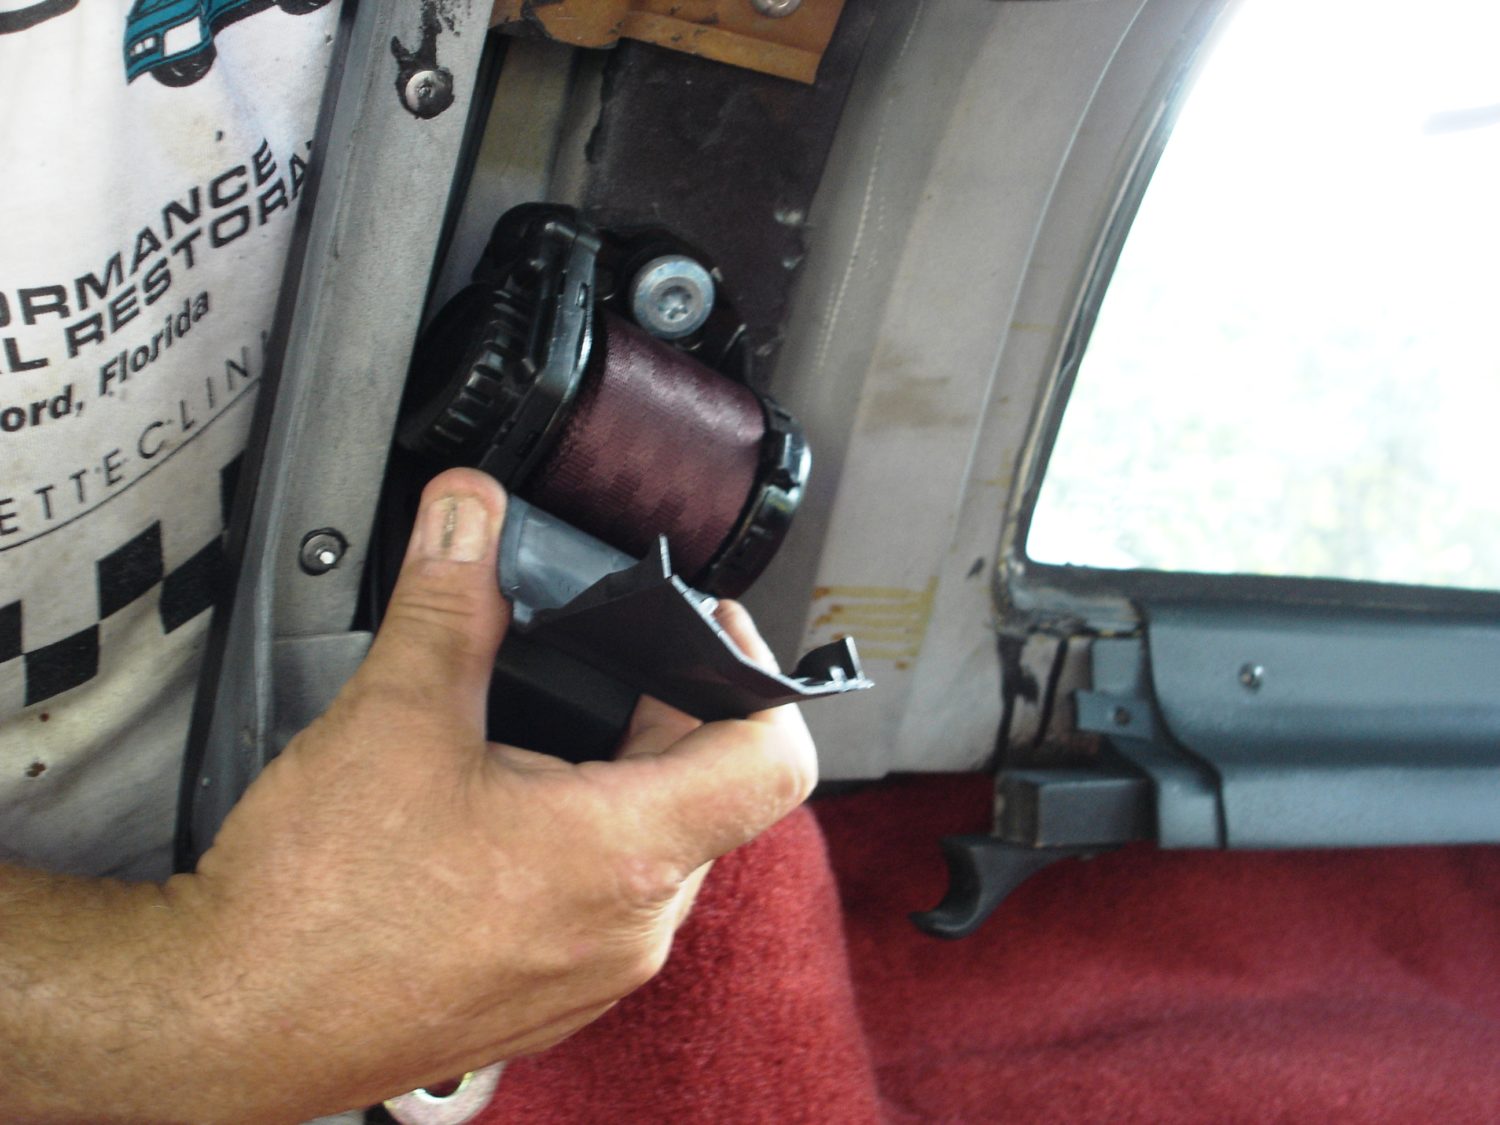
To access the seat belt retractor, remove the rear glass corner trim and upper trim panel. The plastic bezel around the seat belt opening in the trim panel must be removed to allow the buckle to come out of the panel. Be careful with the bezel; it can be broken if excessive force is used during removal.
We installed the retractor at the same angle of the original retractor. This is important for smooth belt retraction. Check the belt’s position with the trim panel in place to ensure that it does not rub hard on the trim panel’s bezel. The upper bolts for the retractor are shorter and have no machined area like the lower bolts.
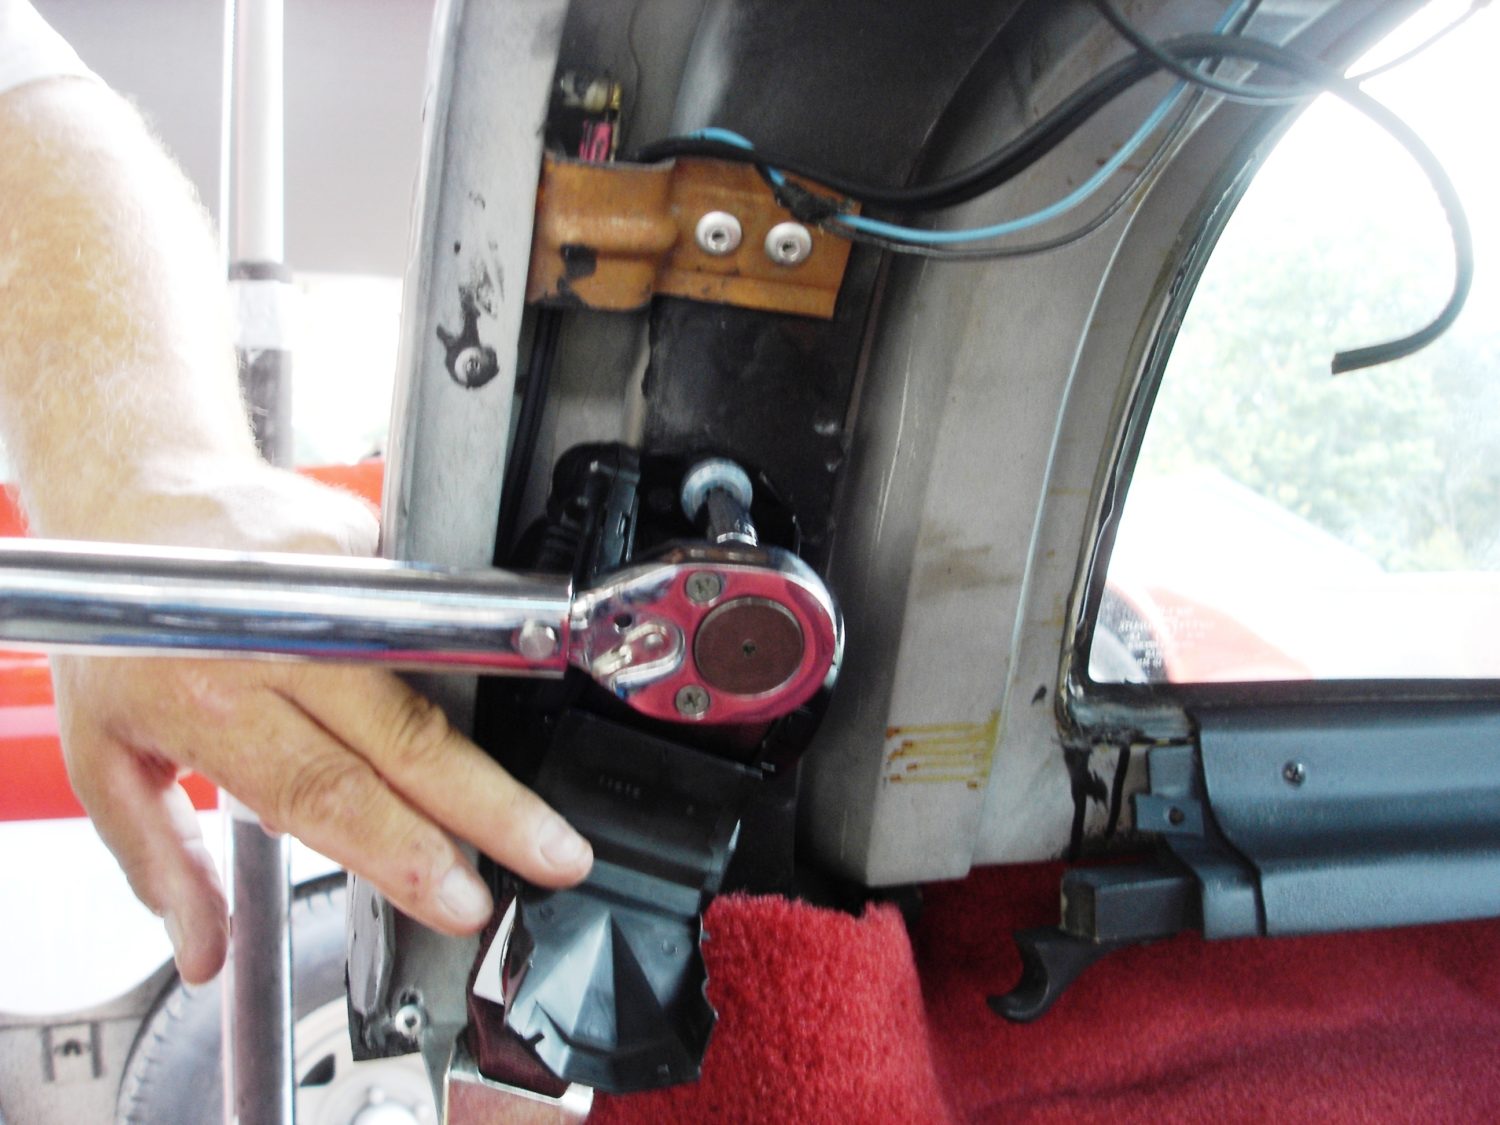
With the retractor held in place to prevent movement during tightening, torque the belt to specifications. This step could literally save your life so check the torque carefully! Watch the wiring on the driver side that goes by the retractor because it can be pinched easily during retractor installation.
Now we can thread the buckle and belt material through the panel before installing the bezel around the opening. Make sure that the belt material is not twisted and moves smoothly through the opening before installing all the trim panel screws. If the belt is not centered causing it to rub on the opening, reposition the retractor until it is centered in the opening.

The same treatment is required for the inner sleeved belts. Torque them and then make sure they move freely on the retaining bolt. Remember the lower bolts have a machined area to allow the bolts to be tightened while still allowing the belt to rotate.
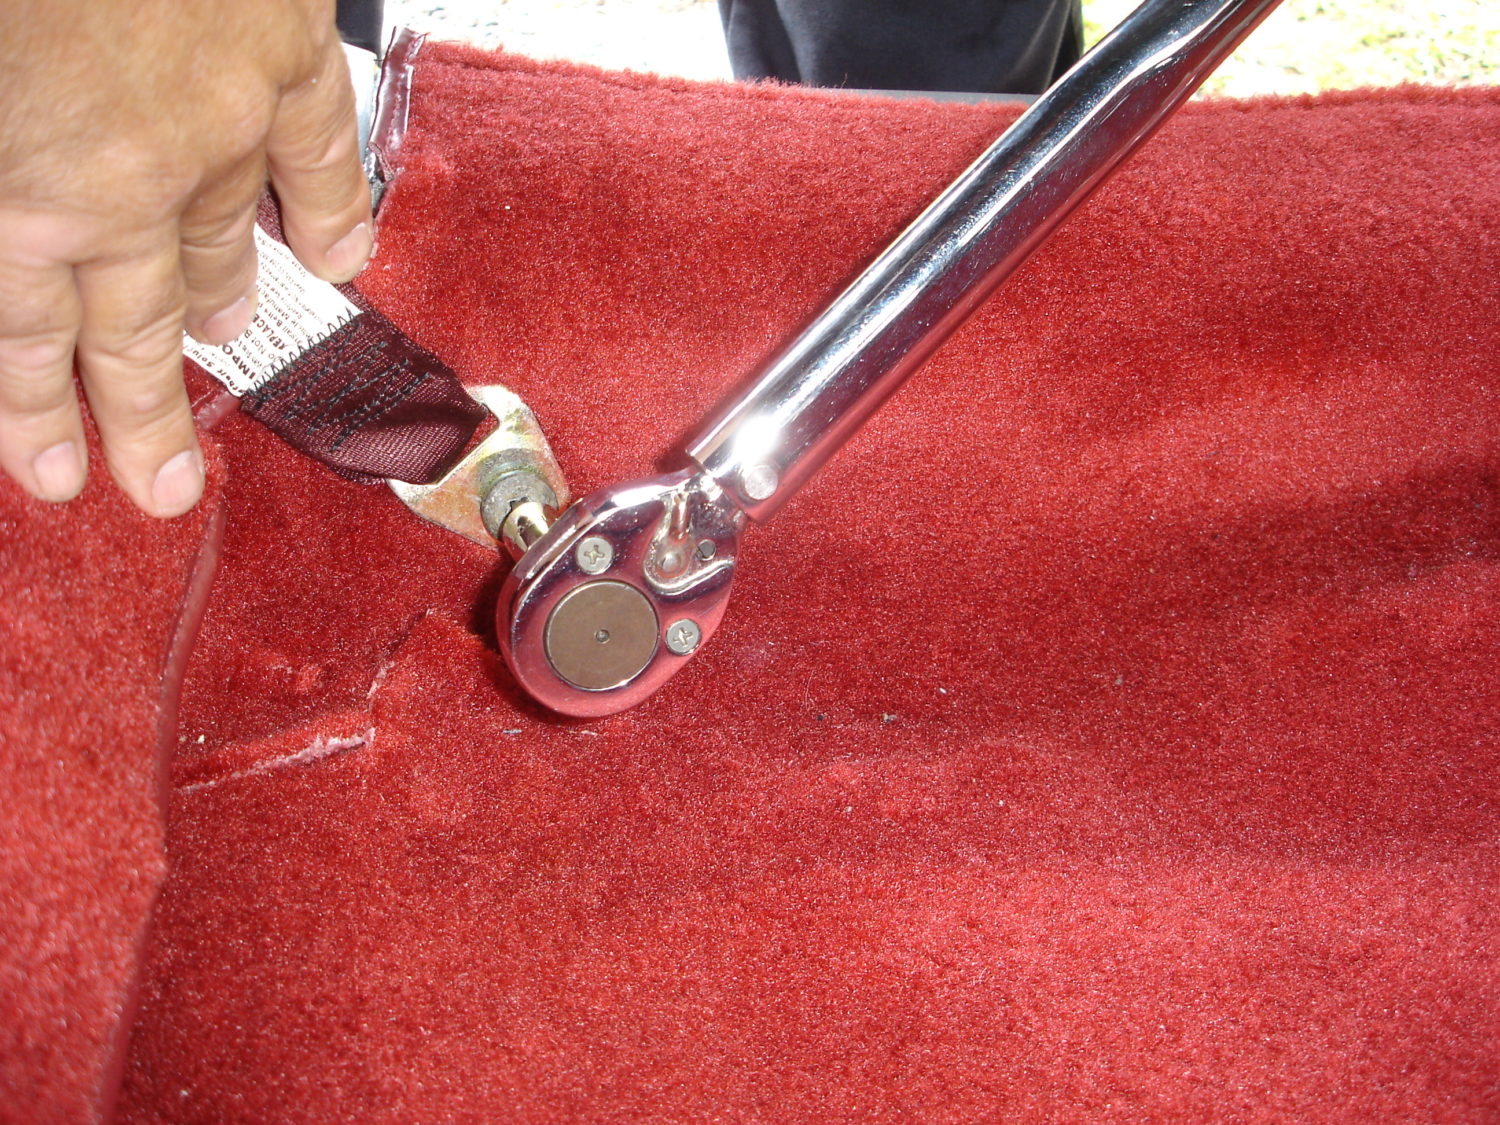
The seat belt tabs on the outer side must be able to rotate freely or seat belt bind will occur when you try to pull it around to latch it with the inner sleeved belt. Like the inner bolt it has the machined surface to allow tab movement. Although it may seem insignificant, the tabs can cut the seat belt material if the tab does not rotate with the material.
Related Items
Story and photos courtesy Chris Petris
My driver’s side shoulder belt has flipped, on my 1978 silver anniversary corvette. The ” D ” ring is in the upside-down position. What is the solution?
My belts are replacements and they are hard to extend out far enough to go around and clasp for whoever is sitting there. Do not wish to replace same again within (6) six years, or is this all we can hope for?
I need seat belt driver side 81 Corvette buckskin Carmel
Hi James, You can find all 1981 seat belts and accessories at https://https://www.corvettecentral.com/search?CurrentSearchCategoryId=C3&q=seat+belt&Years=1981&Catalogs=C3