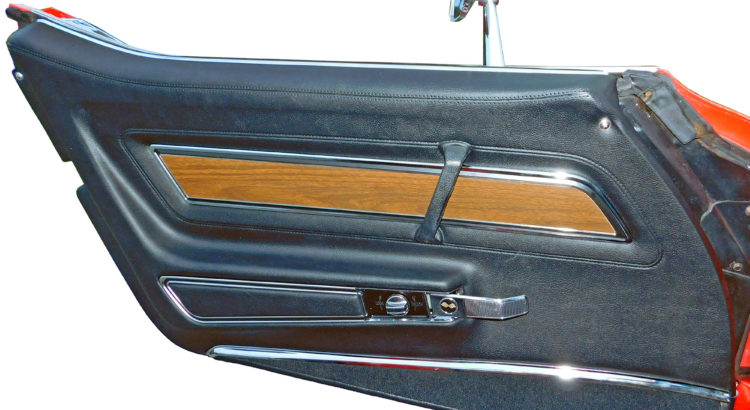
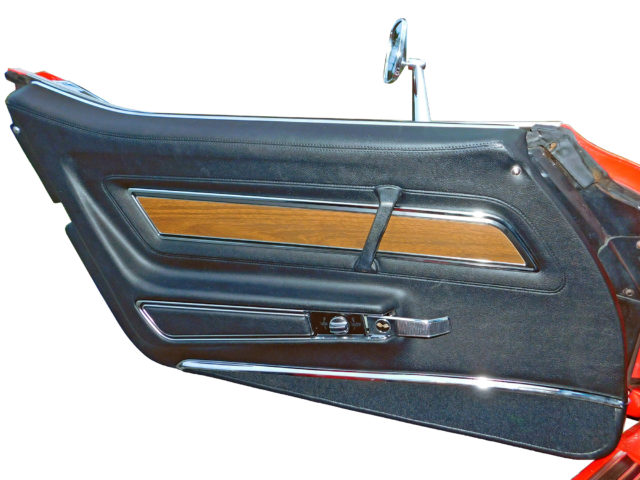
GM stylists were active on the interior of the 68-77 Corvette. The door panels were deeply sculpted, unlike the rather flat door panels on many other cars. But while the door panels showed a rich designer look, the vinyl covering needed to be significantly stretched in several areas. Aging of the plastics along with UV damage eventually results in cracks in a number of places. Plus, the early generations of Corvettes are not known for keeping the weather out, so it’s not surprising that the chrome on the pot metal trim eventually corrodes.
The good news is that Corvette Central offers fully assembled new standard and deluxe door panels in accurate interior colors. Follow along with this project to learn how to install a C3 Corvette door panel. After a few hours of effort, you and your passenger can be greeted with beautiful new door panels every time you get in or out of your Corvette.
The following door panels are available from Corvette Central:
- 133235 1968 Basic
- 133238 1968 Deluxe
- 133260 1969 Basic
- 133265 1969 Deluxe
- 133285 1970-1976 Basic
- 133280 1970-1976 Standard
- 133290 1970-7976 Deluxe
- 133028 1977 Basic
- 133287 1977 Standard
- 133310 1977 Deluxe
Out With the Old and In With the New: Why these Corvette Door Panels Had to Go
1. The corrosion on the chrome pot metal trim could no longer be removed with 0000 steel wool. If this is the only problem with your door panels, Corvette Central sells this piece separately and also offers the lower chrome strip for deluxe C3 Corvette panels.
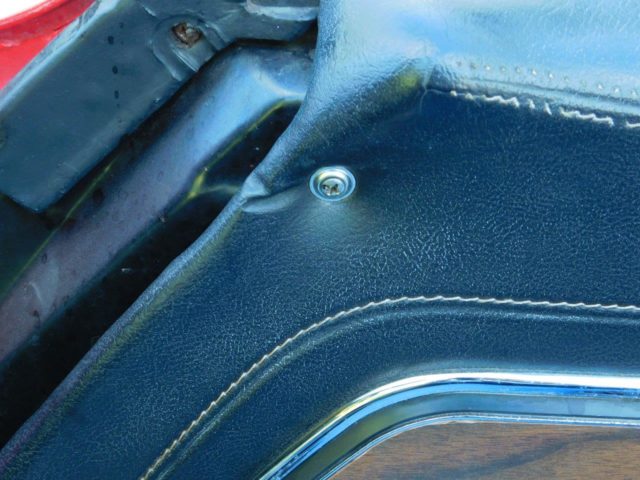
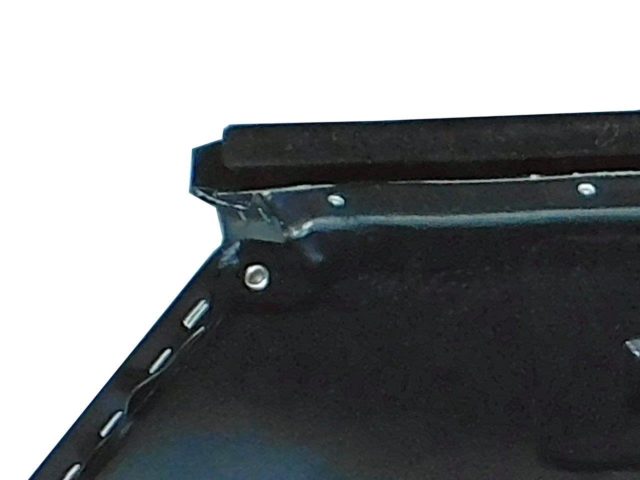
2. The upper screw area is a common problem for these door panels. Remember this when installing the new door panels and don’t tighten the screws too far in.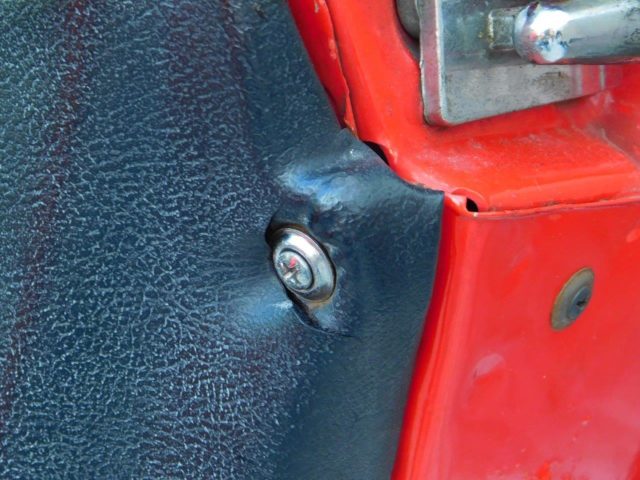
3. Electrical tape can only do so much to cover up the cracked vinyl. Above those cracks, large splits in the armrest area were effectively concealed for years by armrest patch panels. Corvette Central offers the patch panels in correct factory colors for 1969-77 door panels.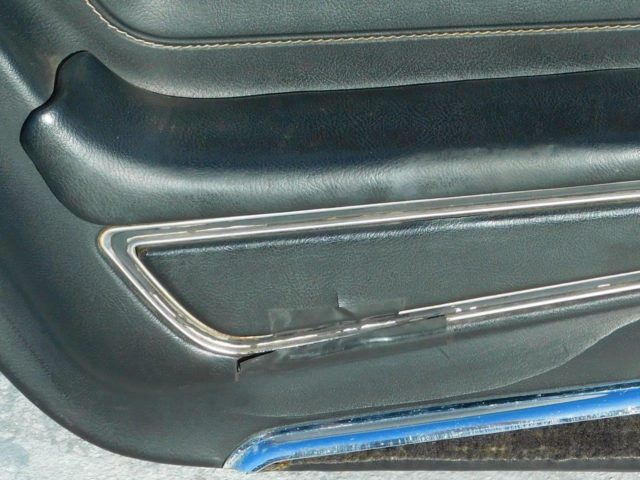
4. It’s like Christmas unwrapping beautiful new door panels. They were well protected and packaged and arrived in perfect condition.
5. The replacement door panels have a plastic backing. The backing of the older panel was a fiberboard material. As the vinyl shrank over time, the older door panel warped causing the lower portion to curl away from the door. 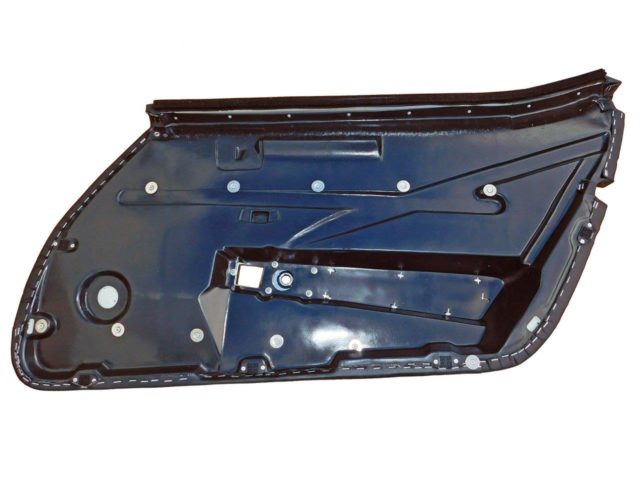
Next Up, Disassembly: Step By Step Guide to Removing the Old Corvette Door Panels
6. Remove the door lock knob and spacer. Although a tool is made for this, a small screwdriver can reach behind the knob to pry out the spring clip. 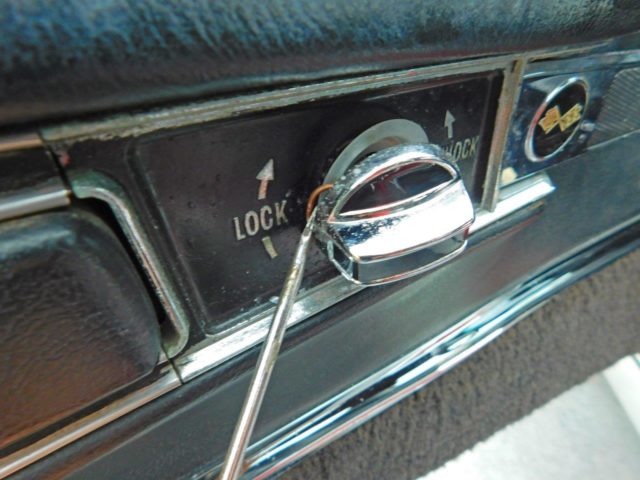
7. Remove the door release handle. Pull the handle out to access and remove the one Phillips screw that attaches it. Hold the door handle in the open position and pull it forward to slide it out. 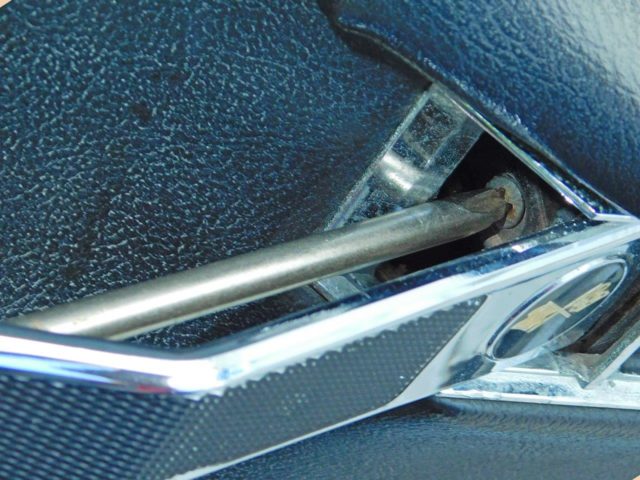
8. Remove the two door pull screws. Tip: use a good #2 Phillips screwdriver and make sure that its tip squarely engages each screw. These are machine screws and may require some force to break them loose and remove them. Be careful: rounding this screw head will create much more work.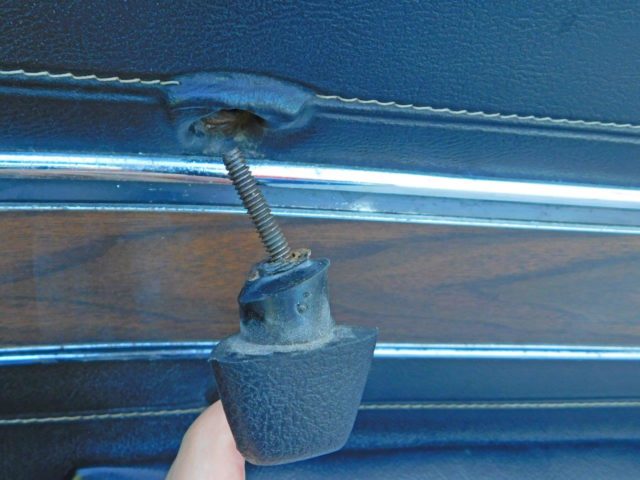
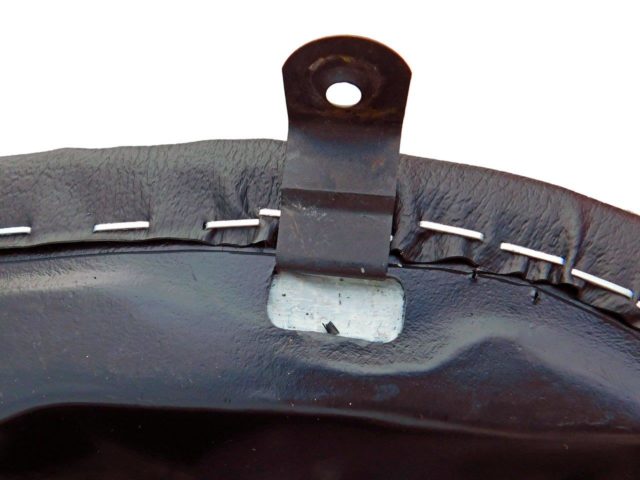
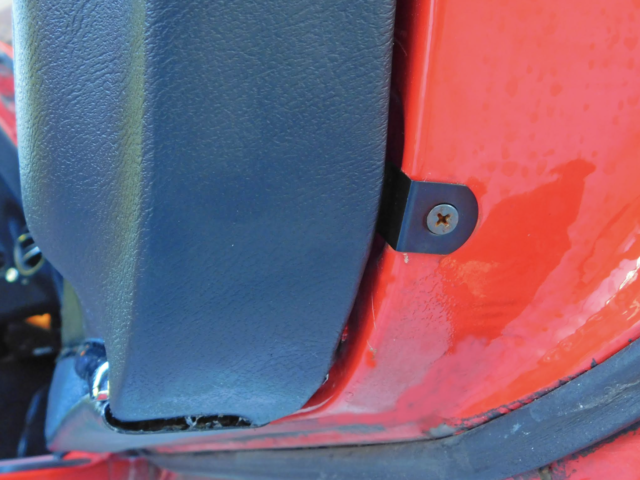
9. Remove the two metal clips located near the lower front and lower rear of the C3 Corvette door panel. Remove the window crank clip, handle and spacer if so equipped.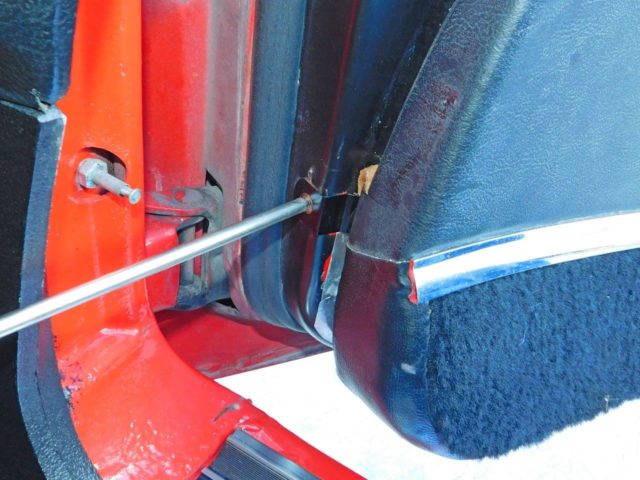
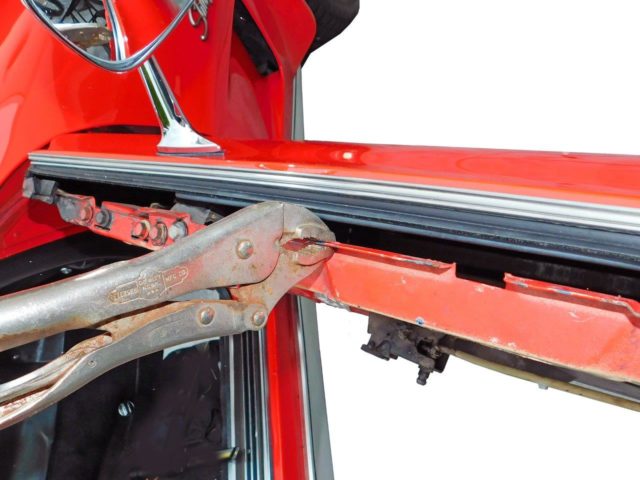
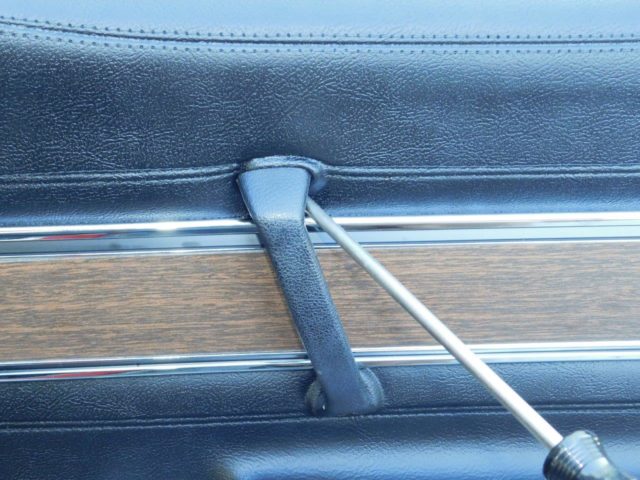
10. Remove the two upper screws located at the front and rear of the door panel. Pry the door panel away from the door at the location of the plastic Velcro clips. Often the Velcro clips don’t hold and the door panel will already be free. Pull the panel out at the bottom, then up and off the door.
New C3 Corvette Door Panel Preparation: Now That the Old Panel is Out, It’s Time to Prep for the New
11. Cut the opening for the door pull with an Exacto knife. Push the blade all the way down to the plastic backing to aid the removal of the foam under the vinyl. Then pull out the foam with needle-nose pliers.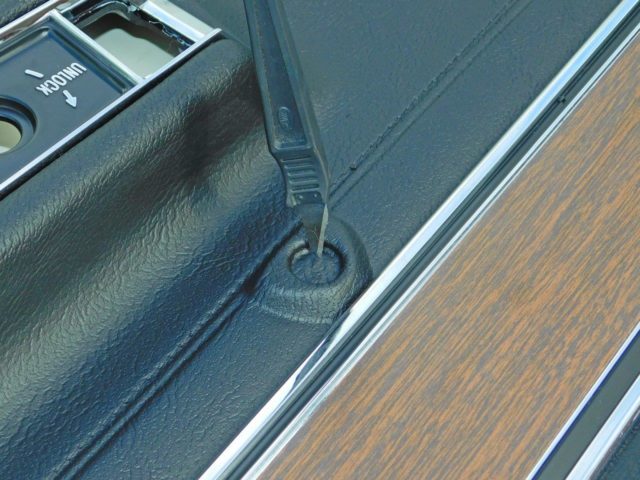
12. Drill a ¼ inch hole in the center of the newly opened-up door pull hole. Later, during the test-fit, a Dremel tool will elongate this hole to align with the screw hole in the door.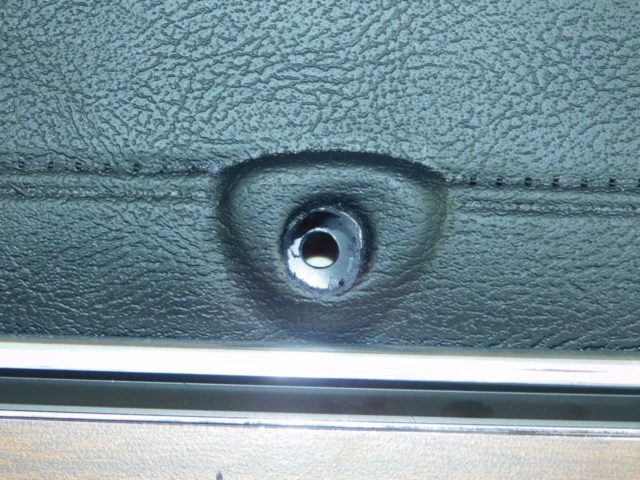
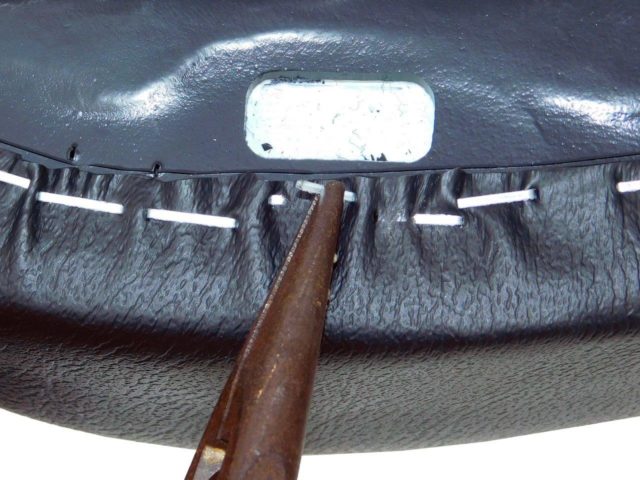
13. Punch a hole through the vinyl at the location of the two screws on the top of the door panel. Heating the tip of an ice pick forms a good hole that is less likely to tear. Insert the pick from the backside through the center of the metal ferrule.
14. Remove both metal clips from the old door panel. It is not uncommon for this area to break on older door panels and no longer hold the clip. The plastic backing of the new door panels should be more durable. New clips are available from Corvette Central (part number 483310).
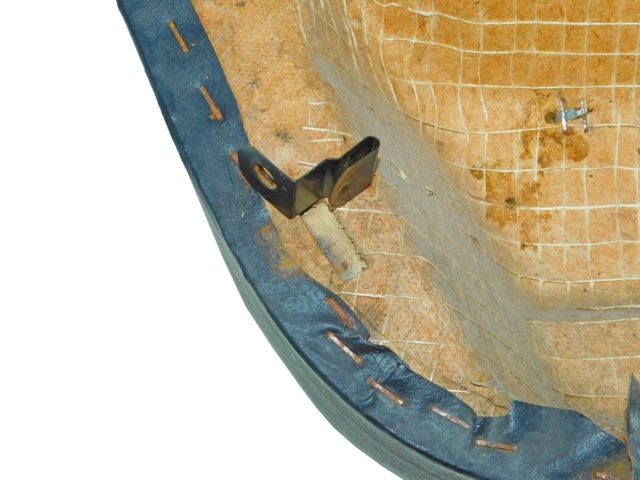
15. Insert a flat blade screwdriver under the plastic backing on the new panel to break the foam adhesive loose to enable the clip to slide between the backing and the foam.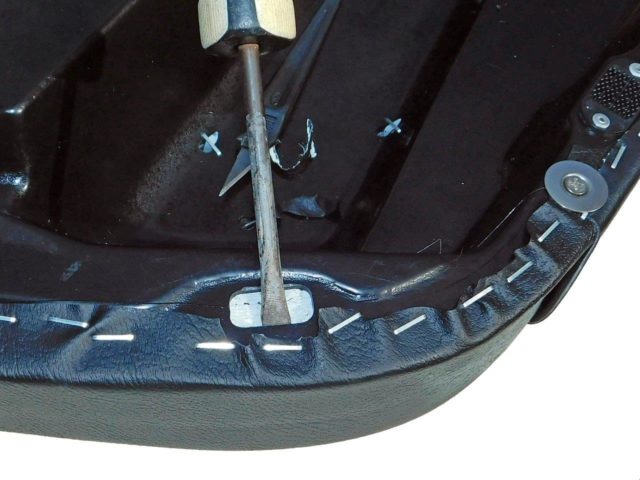
16. Remove a portion of a staple if necessary to get the clip to slide all the way out on the door panel. Cut the staple with wire cutters and remove just one side of the staple if that’s all that’s needed.
17. Insert the clips all the way to the outer edge of the slot in the new door panel. Tip: spread the clip with a screwdriver to help it slide under the edge of the door panel slot.
Installing Your New C3 Corvette Door Panel: First Test Fit and Make Any Adjustments
18. Check each fastener on the door for tightness and adjust the window parts if necessary. If the plastic moisture barrier is damaged or missing, new ones can be ordered from Corvette Central. Tip: alternately, metal duct tape can effectively cover the door openings.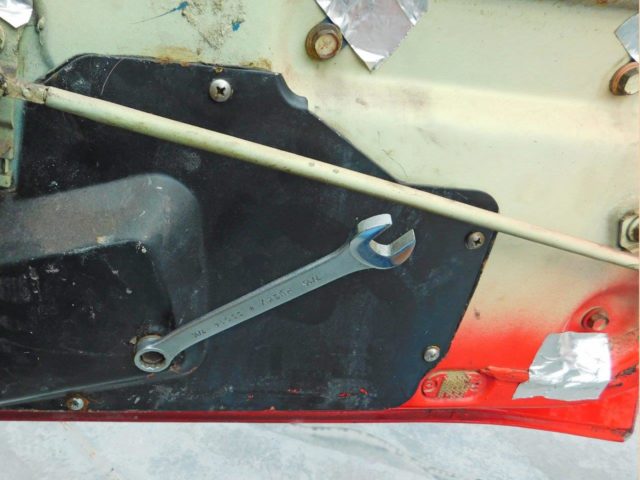
19. Bend the flanges on the top of the door if necessary for the new door panel to slide over the outside of this metal. Install the new door panel over the top of the door for a test-fit. It may be necessary to tip the bottom of the door panel away from the door and push the top outward.
20. Insert an ice pick through the screw hole in the door panel and move the door panel forward or back until it aligns with the screw hole in the door. Check the other screw hole and check the lock shaft for alignment too.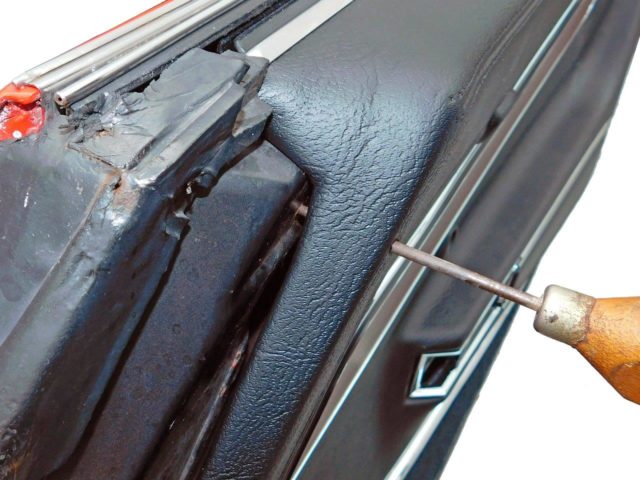
21. Elongate the door pull hole in the C3 Corvette door panel backing until the screw hole in the door is accessible. Tip: a Dremel tool with a side cutter (multi-purpose) bit makes this easy.
22. Make an imprint on the exposed door panel foam by firmly pressing the door panel against the window regulator shaft. When the panel is removed, cut the foam and vinyl at the imprint. (This is not necessary for cars with power windows.)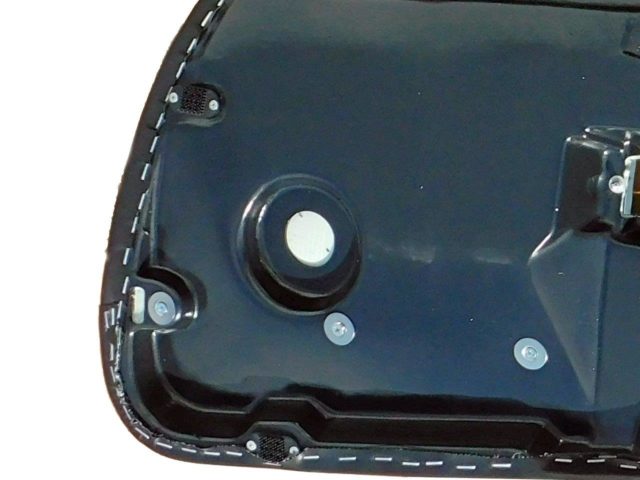
23. Clean the door Velcro clips by running an Exacto blade or small screwdriver between all the rows. Pieces of the mating clips from the old door panel can be trapped and prevent attachment. Remove any stalks that are bent or broken with needle-nose pliers.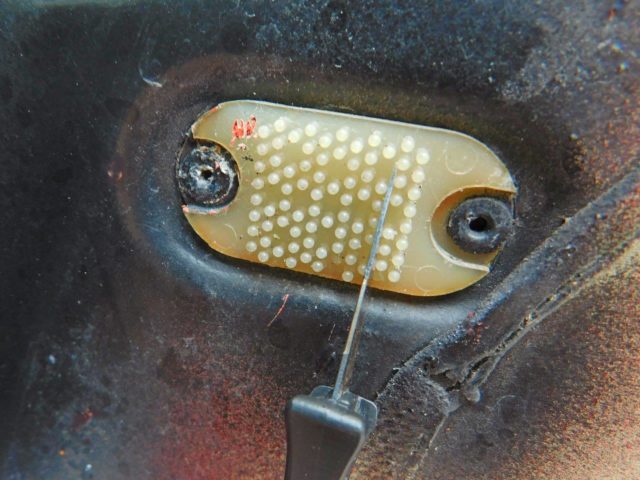
Finishing the C3 Corvette Door Panel Installation: You’re Almost Done!
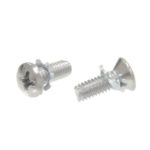
24. Be aware of the difference in the screws that attach the door panel. The short machine screw is for the door handle (CC part #343076), the long machine screw is for the door pull (CC part #342172), the short flat head screw up attaches the metal door clips (CC part #343075), and the longer chrome screw with washer attaches the upper corners (CC part #343074).
- Part #343076

- Part #343075
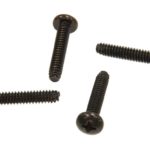
- Part #342172
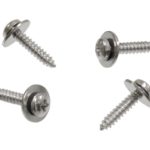
- Part #343074
25. Assemble using the same steps as disassembly. Install the door pulls. An ice pick and a good flashlight can help aim the screws to the respective screw holes in the door.
26. Pop the clip into the recess in the door and then install its screw. Hold the door and hit the door panel at the location of each Velcro clip to attach them.
27. The old Velcro clips on the door might not hold onto the door panel Velcro clips. Corvette Central offers new Velcro clips (part number 483311) that can be pop-riveted to the door.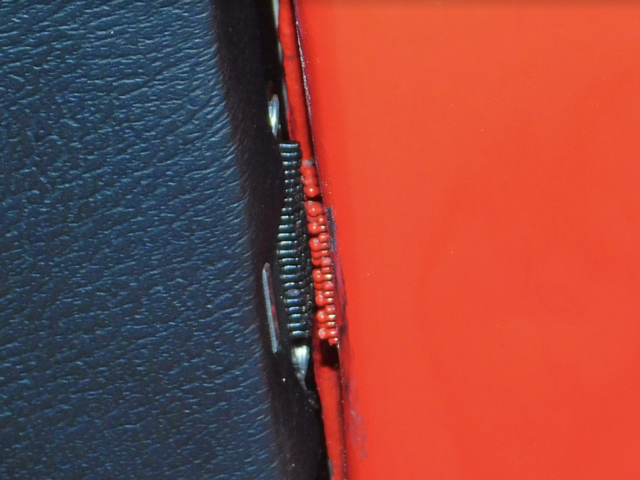
28. Make sure the spring clip is fully on the lock knob. Note that there are no internal teeth in one area so that the knob can only go onto the shaft in one position. New door lock knobs are available through Corvette Central (part number 483350).
29. Beautiful new door panels bring that showroom sparkle back to the interior. Few things can improve the looks of a car so much in just a few hours.
And that’s how you install a new C3 Corvette door panel! While it might take a few hours of work, the payoff is certainly worth the effort. If you’ve been planning to replace the door panels on your C3 Corvette, Corvette Central has all the resources and materials you need. From accurate factory color options to door panel clips and screws, get everything you need from America’s #1 manufacturer of Corvette parts. Check out our website or get in touch with us today!
Story courtesy John Pfanstiehl
Thank you for the very nicely detailed walkthrough for this project. It caught my curiosity as I will be doing a set replacement in my 1969 C-3 in the not too distant future. The original door panels still look like they are in great shape for their age, but as indicated in this article they are warped along the panels bottom front end corners.