Tools needed:
Phillips head screwdriver
small flat head screwdriver
small plastic wedge (from auto glass shop)
socket wrench
7mm socket
10mm socket
9/32″ socket
custom tool from heavy gauge wire (see below)
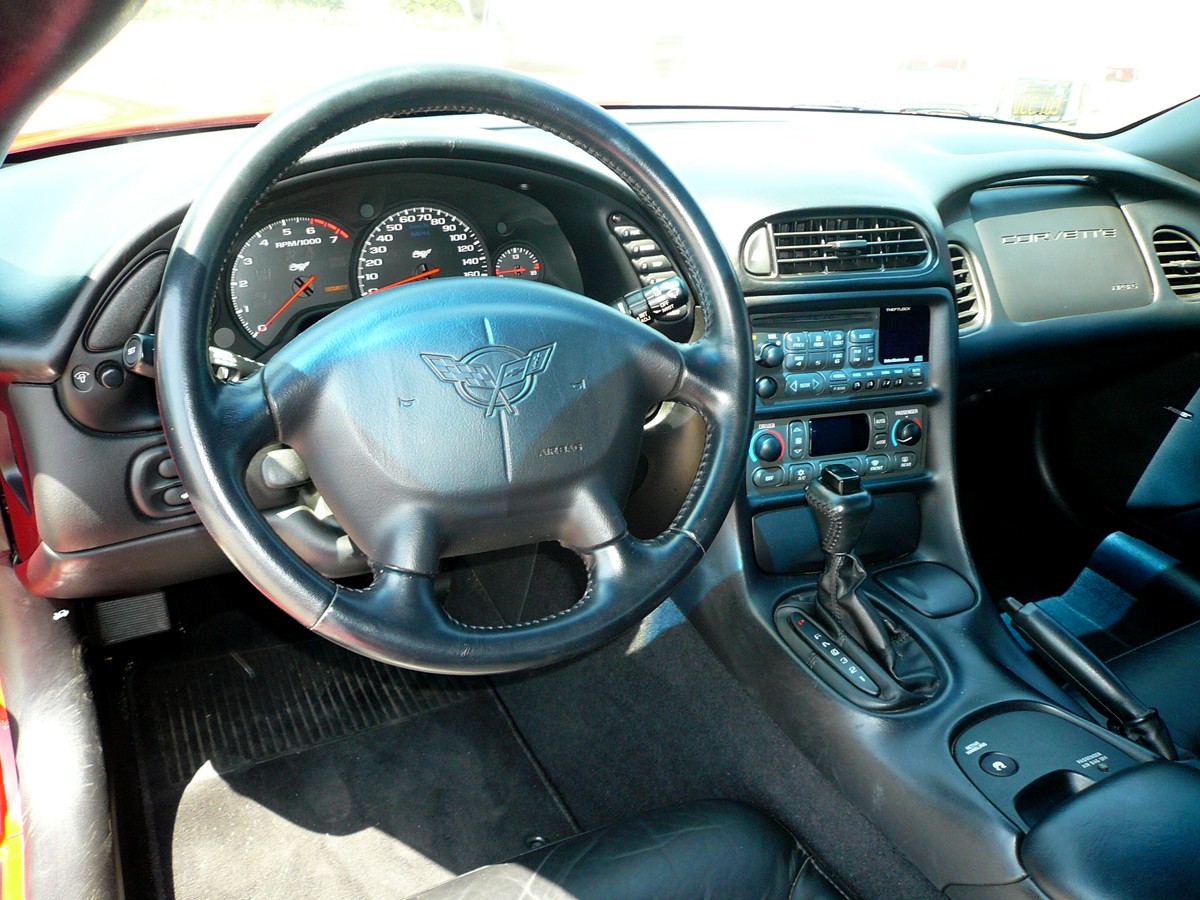
Have your turn signals stopped working? Do you want to replace your factory stereo or add an auxiliary input? Are you having trouble with your A/C control panel or electronic door actuators? These tasks and several others require the dash to be removed (or pretty close). Here is a guide to removing the dash safely without breaking any key components or attaching points.
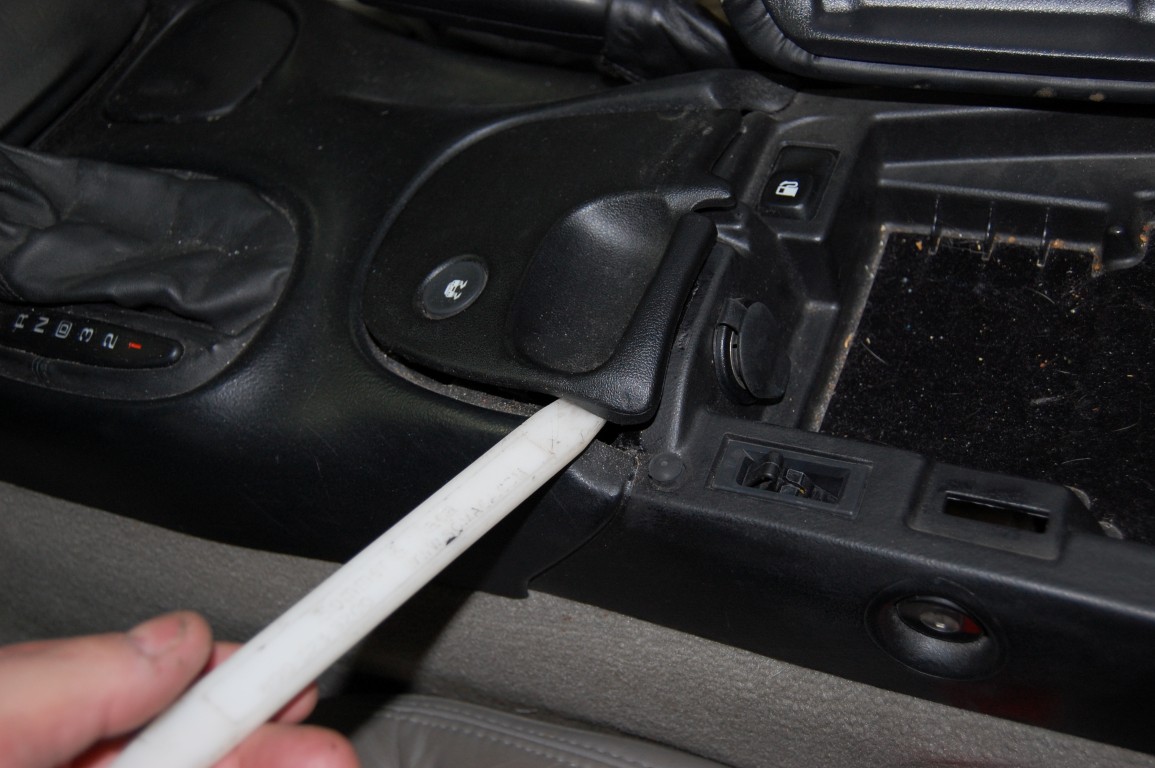
Gently pry the filler panel with traction control switch out of the center console plate using a plastic wedge tool. Auto glass shops use these type of plastic wedge tools; check with your local glass distributor to find one.
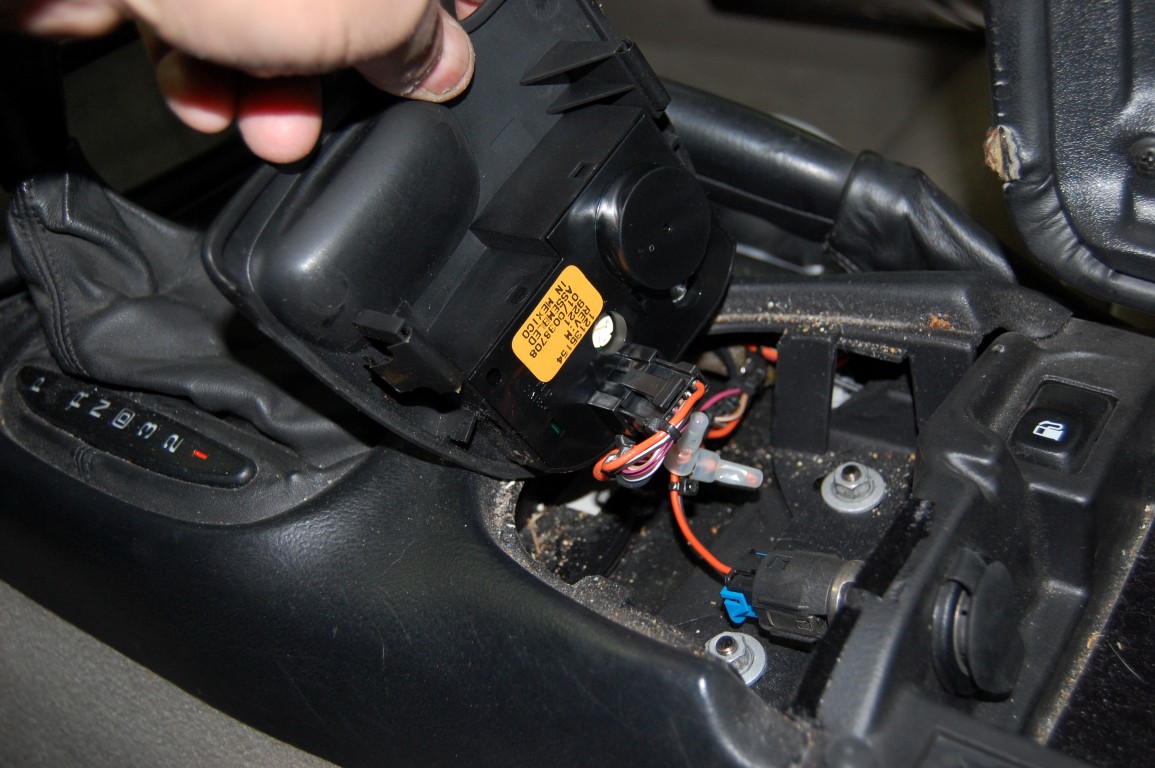
Pull the panel up and towards the front of the car. Notice that there is a connector, two 10mm hex head bolts, and an auxiliary power port connector to remove from this area.

Open the console door and locate the two plastic inserts covering the 10mm nuts. Pry them off with the plastic wedge.
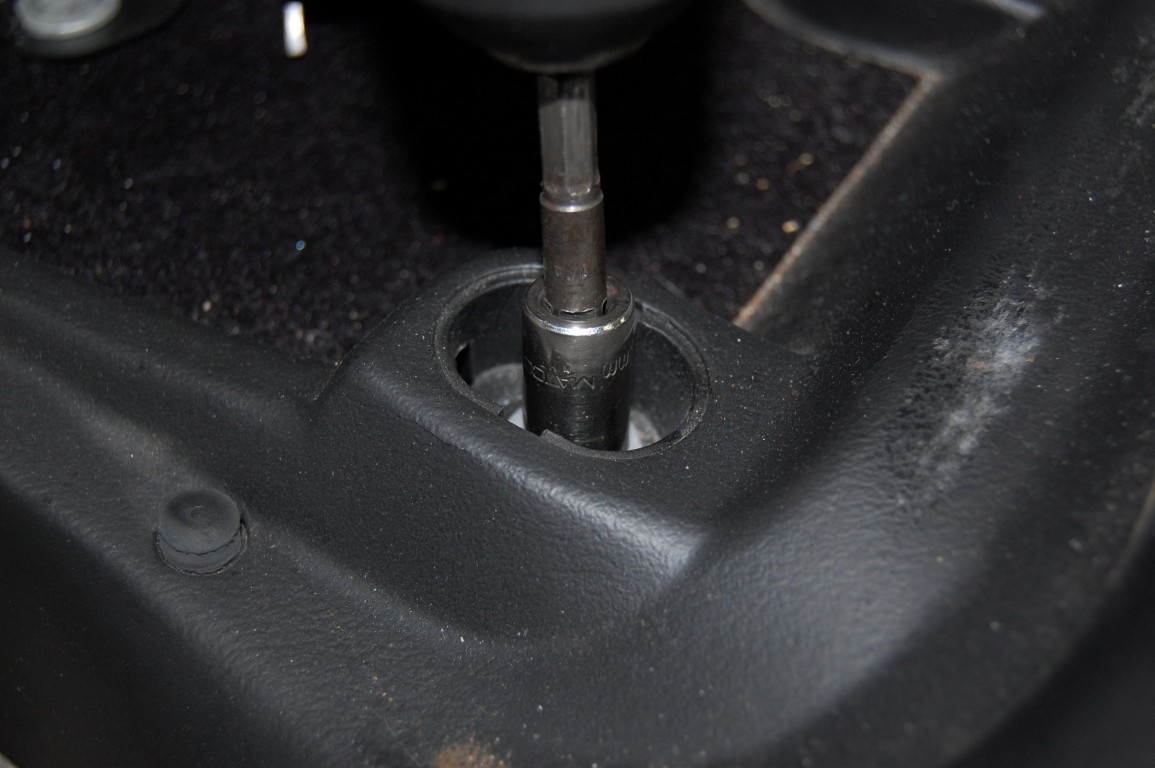
Remove the 10mm hex head nuts with a 10mm socket.
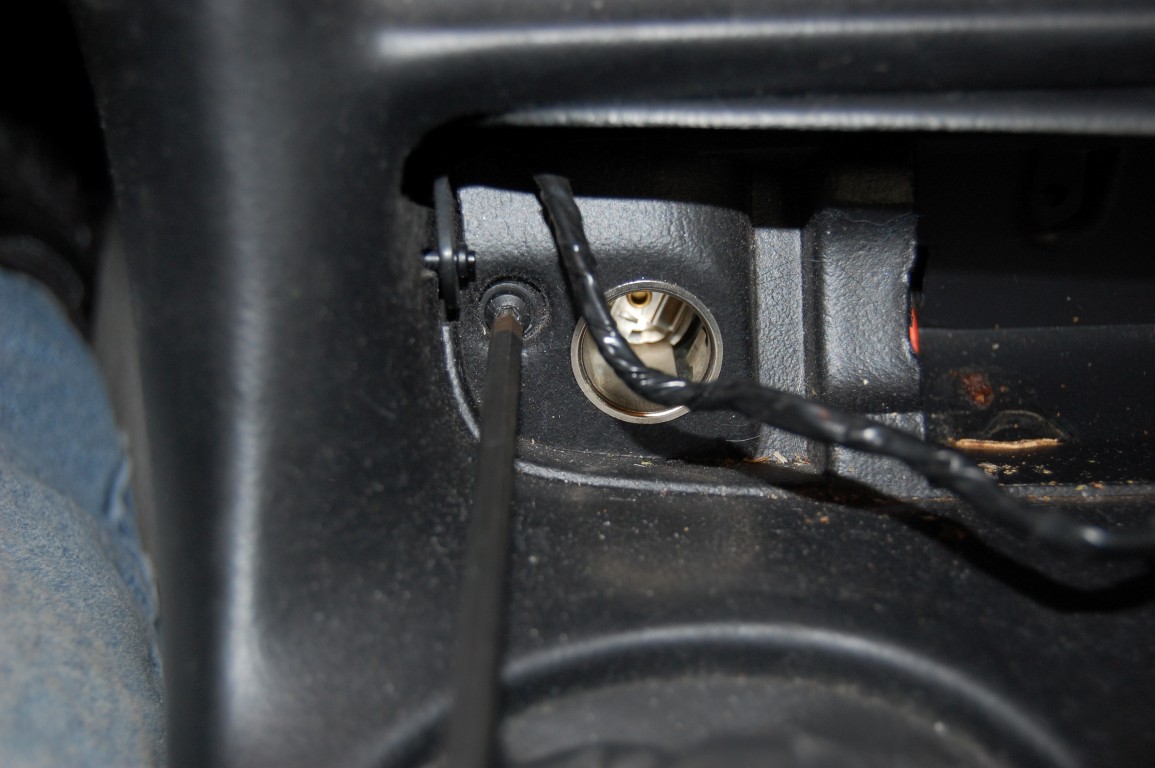
Remove the Phillip’s head screw adjacent to the cigarette lighter.
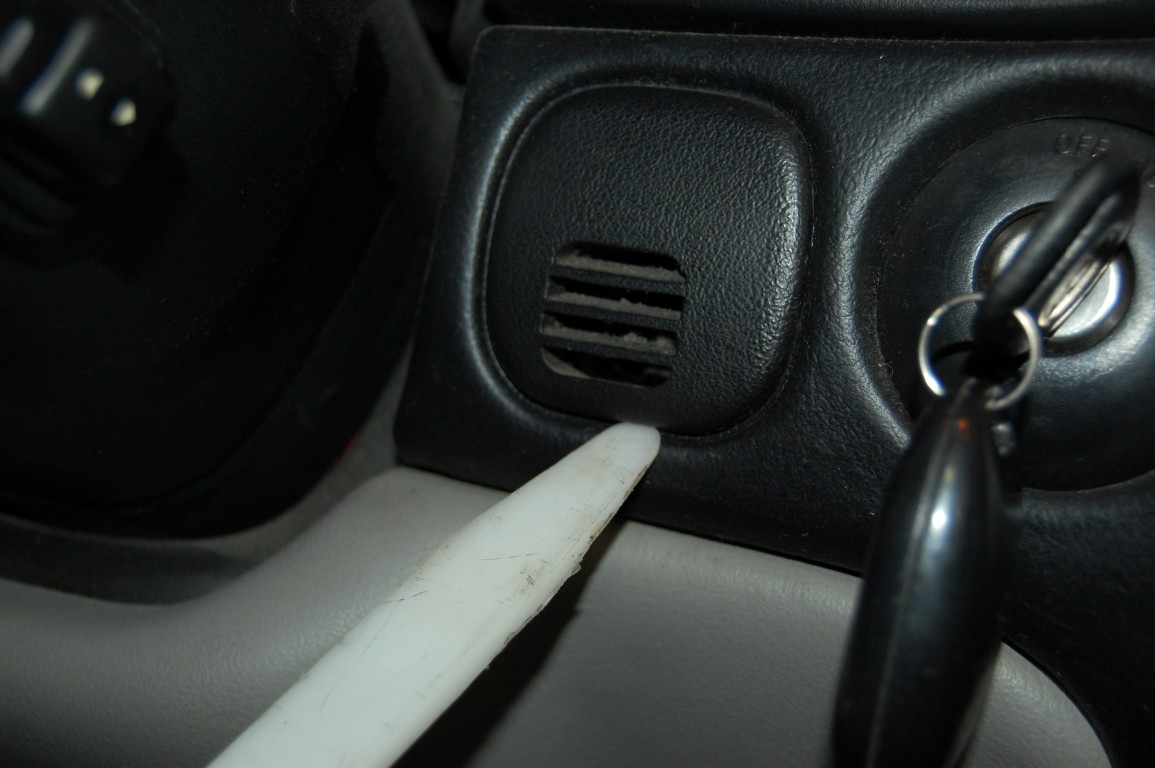
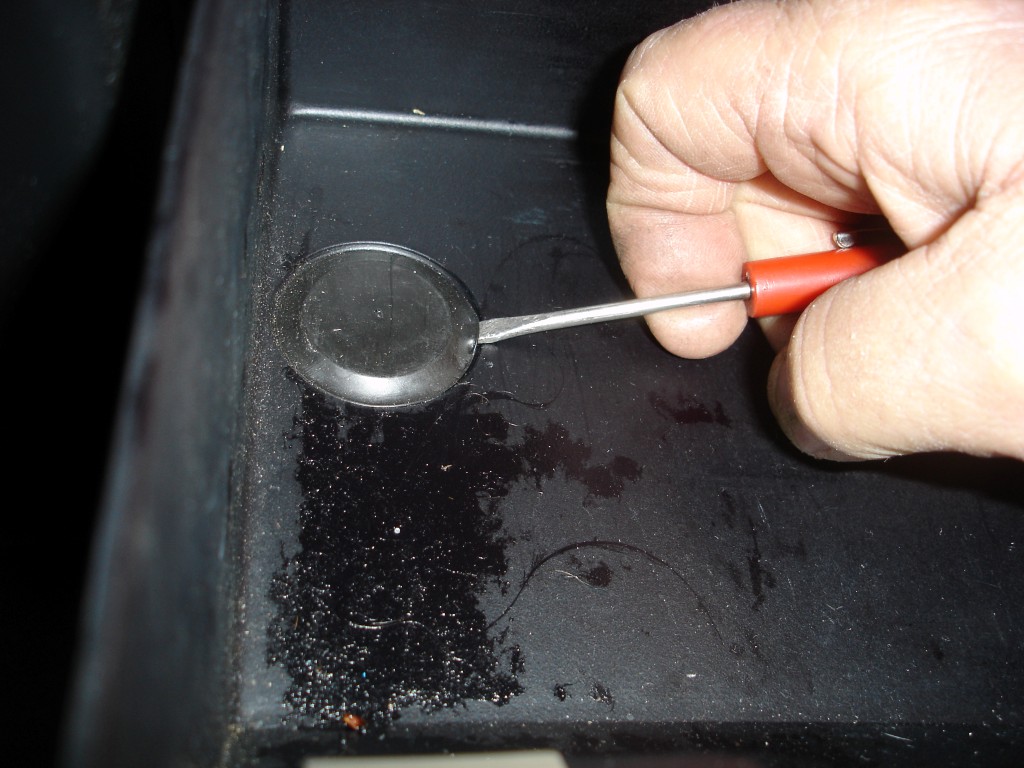
A plastic wedge makes it easy to remove the in-car temperature sensor bezel.
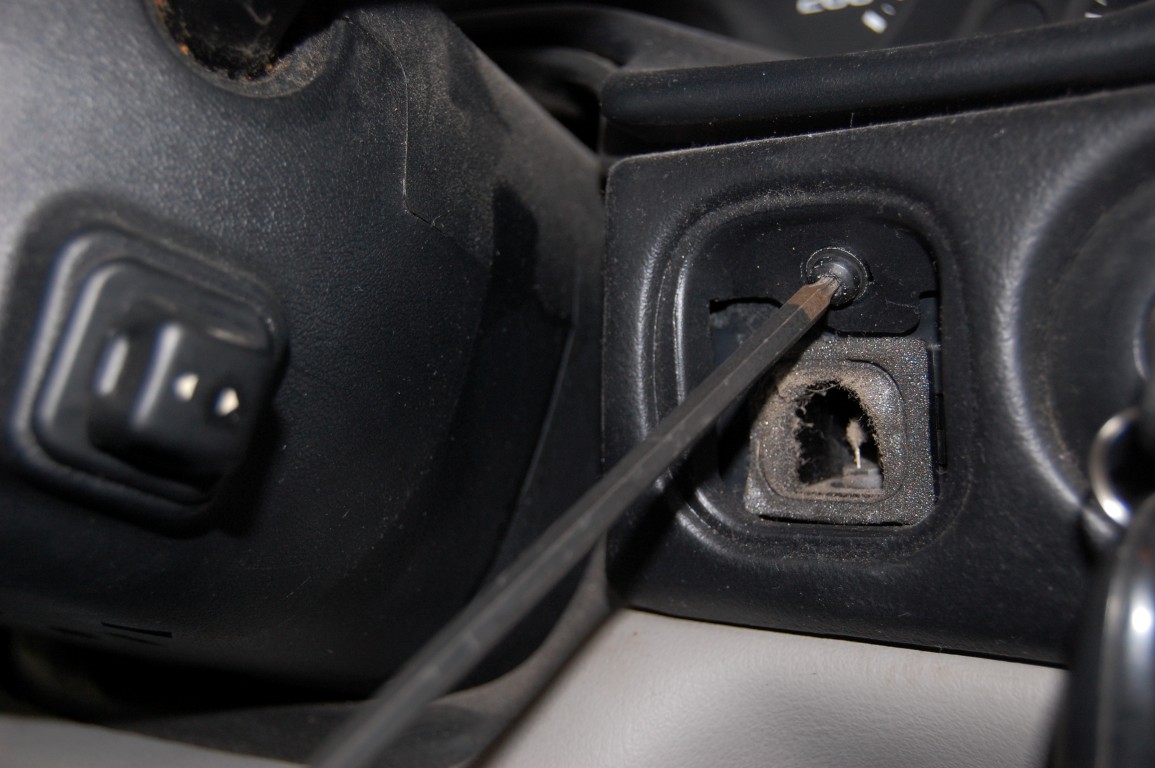
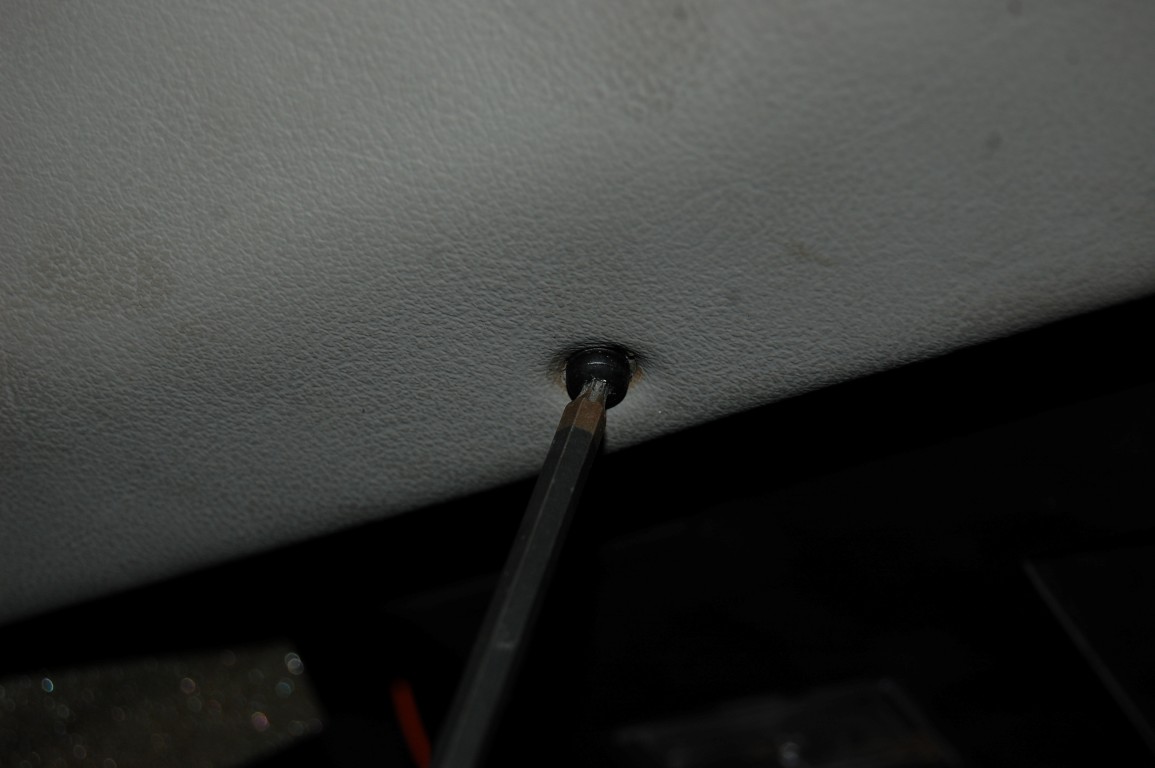
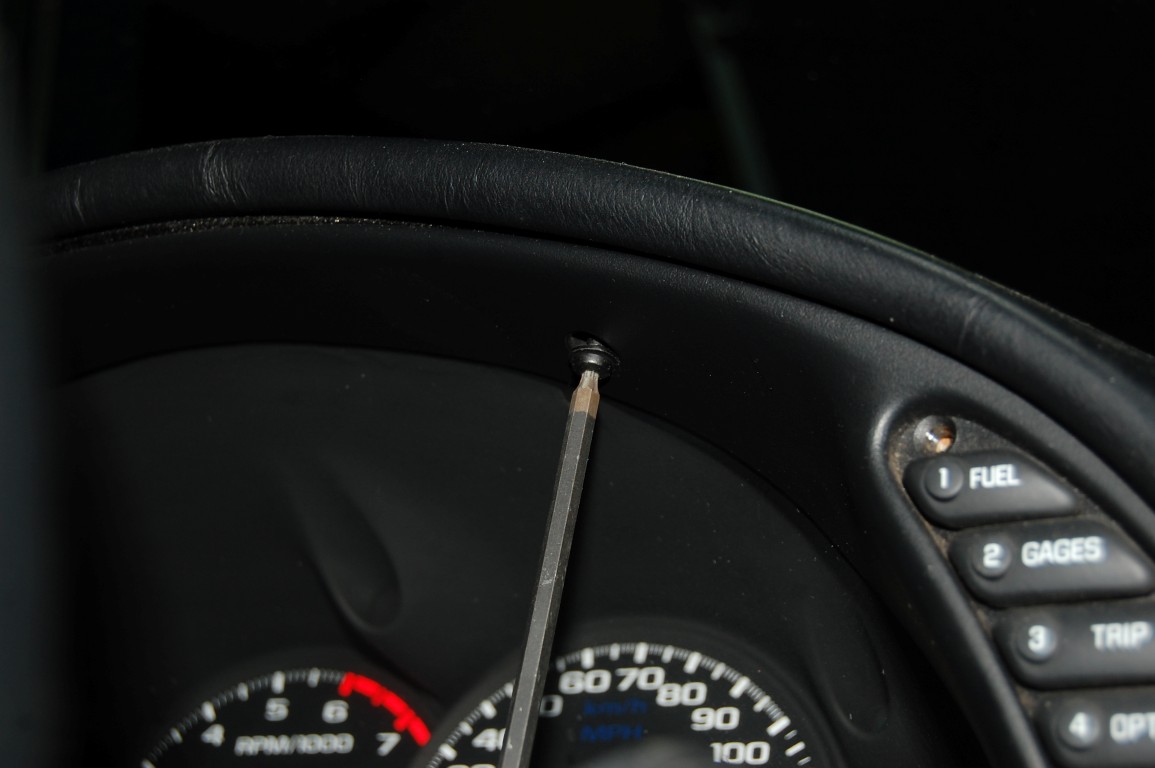
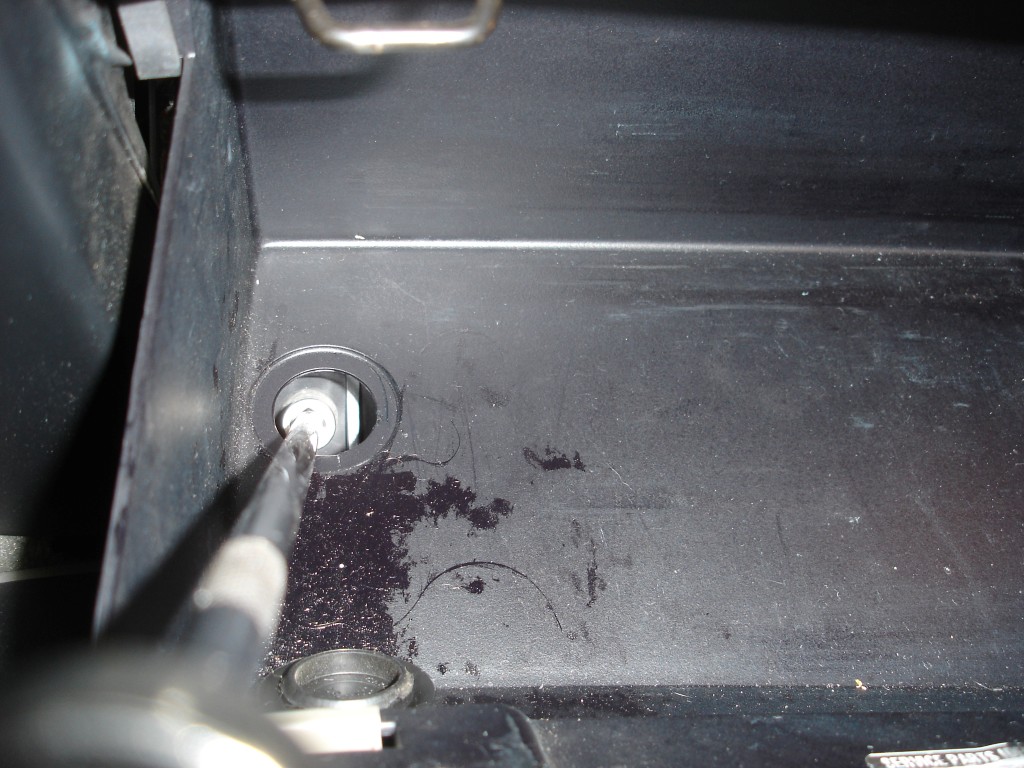
Here is another recessed screw that needs to be removed to free the center dash bezel.
Pull the entire assembly out towards the rear of the car. Once the panel comes out you will notice the cigarette lighter connector. The connector has two tabs that go over the housing that must be pried away as the connector is pulled off.
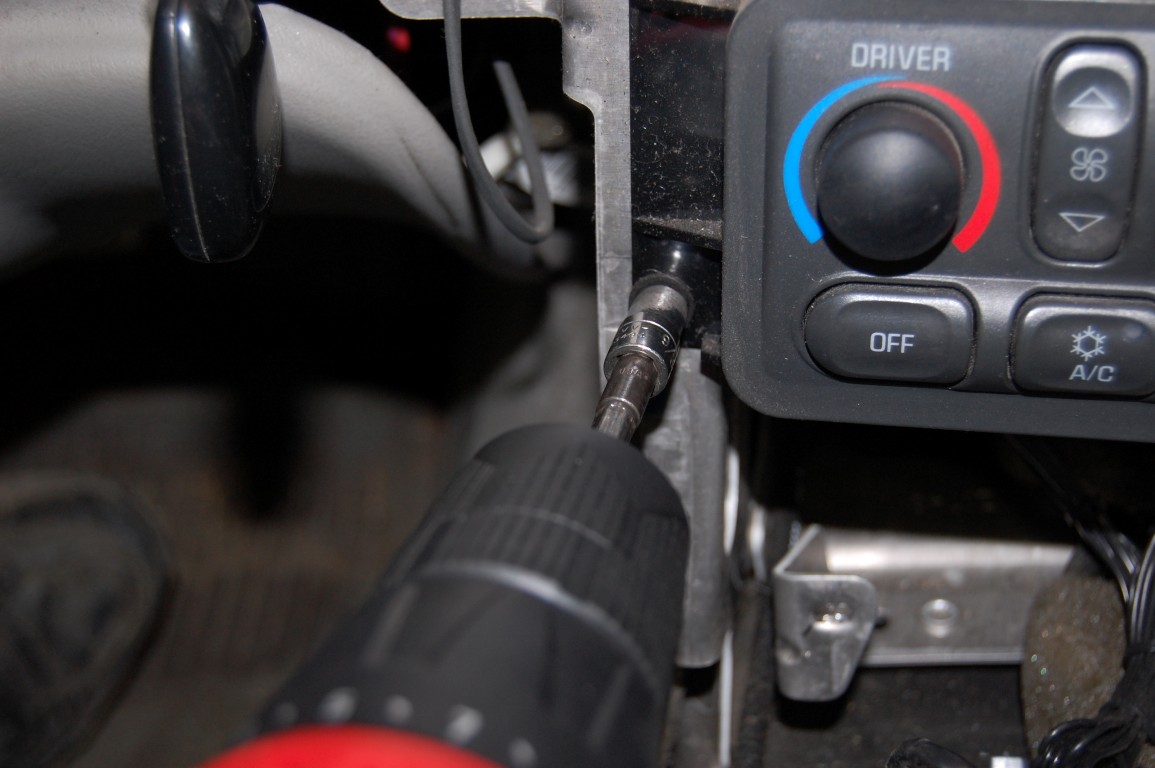
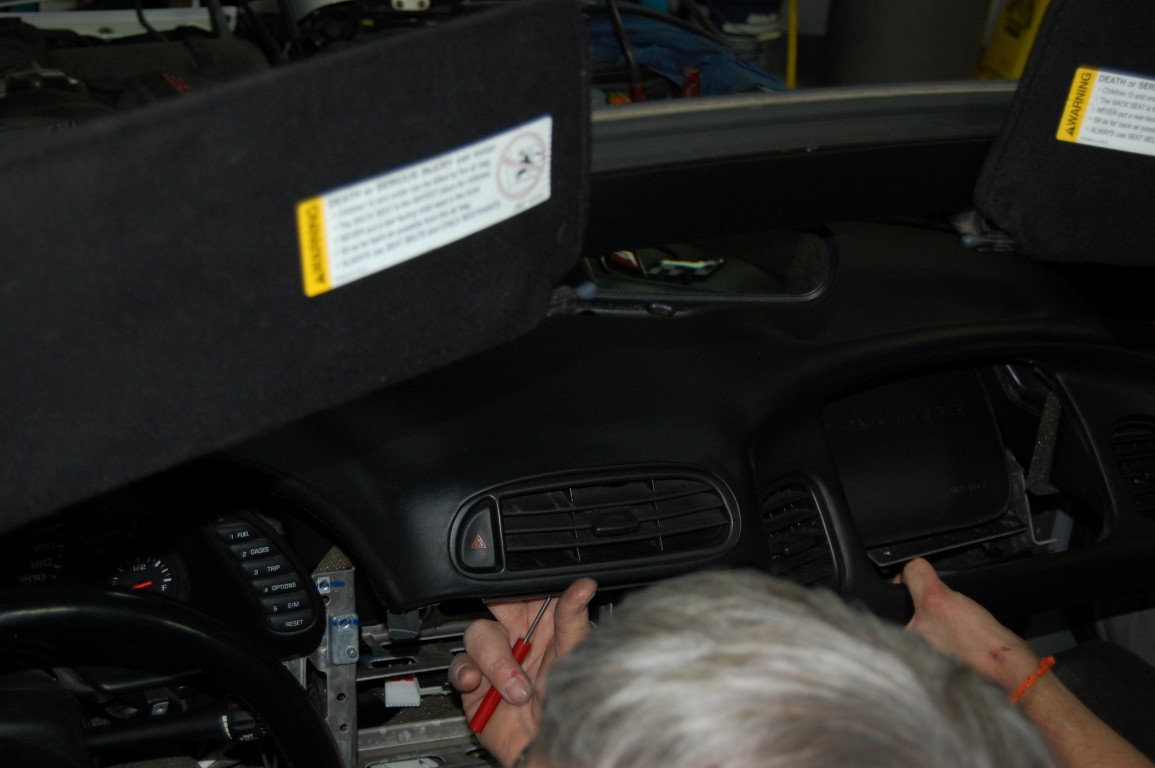
To gain access to the four way flasher which controls the turn signals, remove the two 9/32″ screws on either side of the A/C panel.
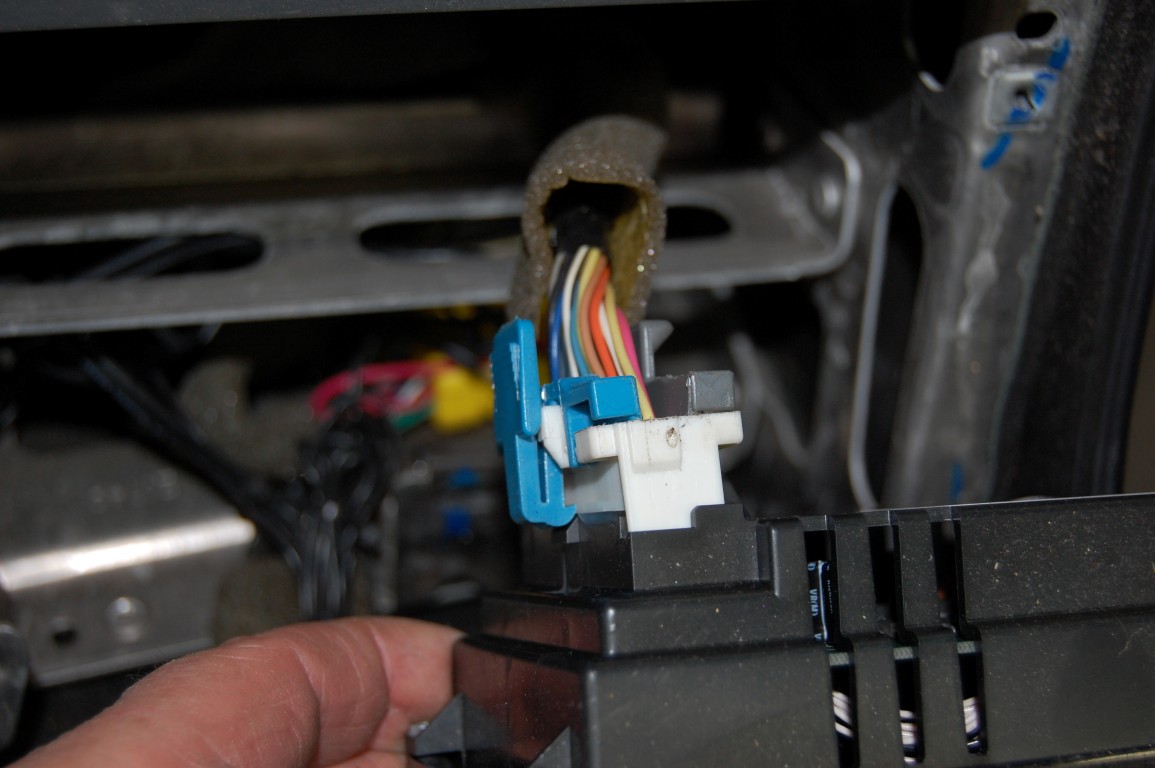
Push down on the blue plastic tab to remove the connector from the A/C control panel.
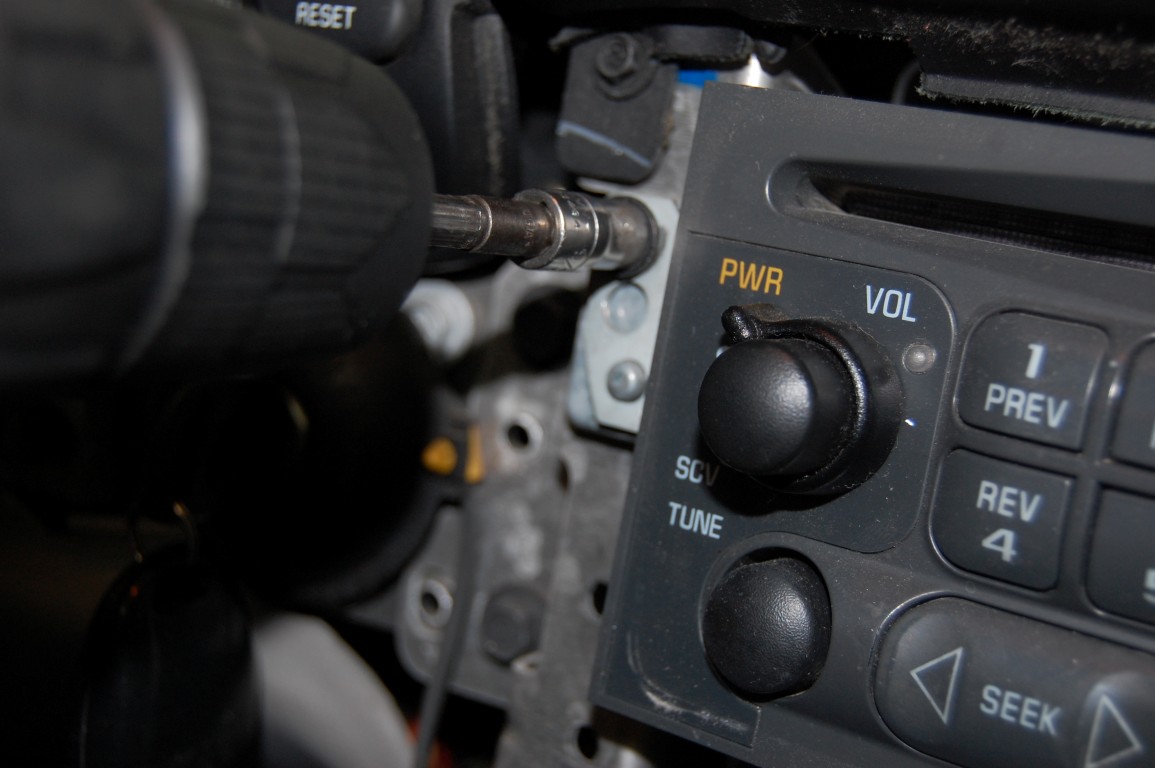
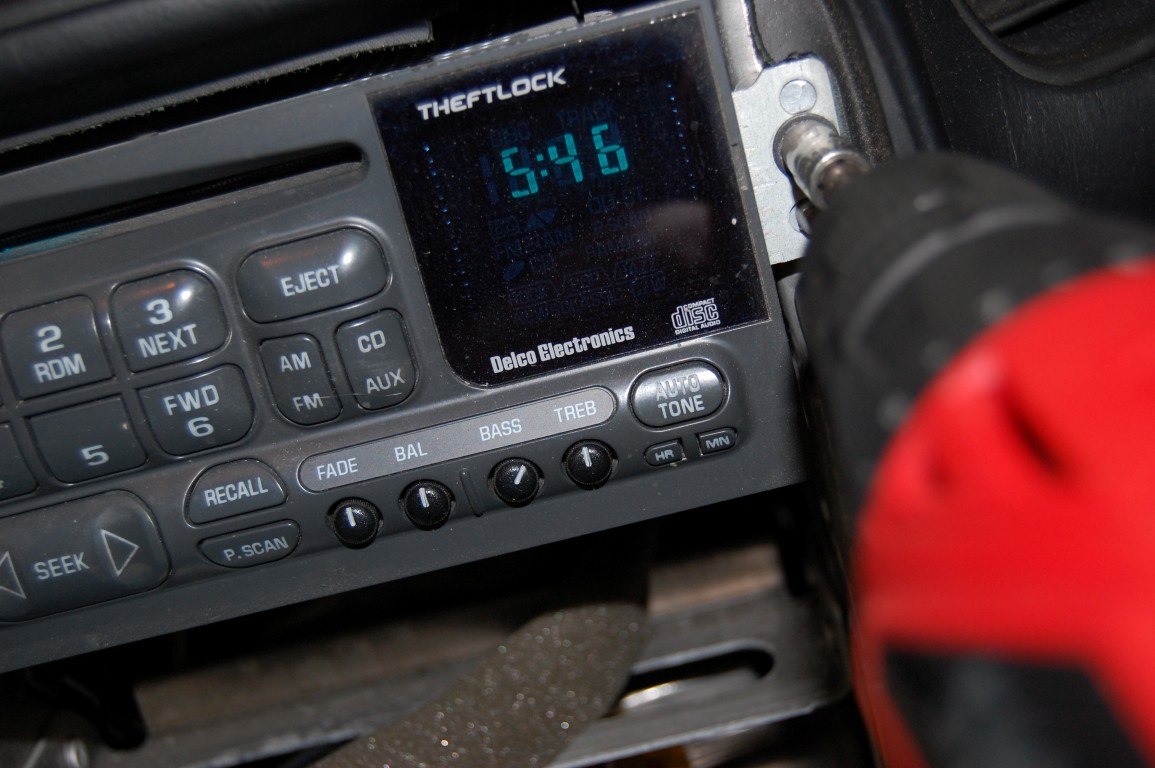
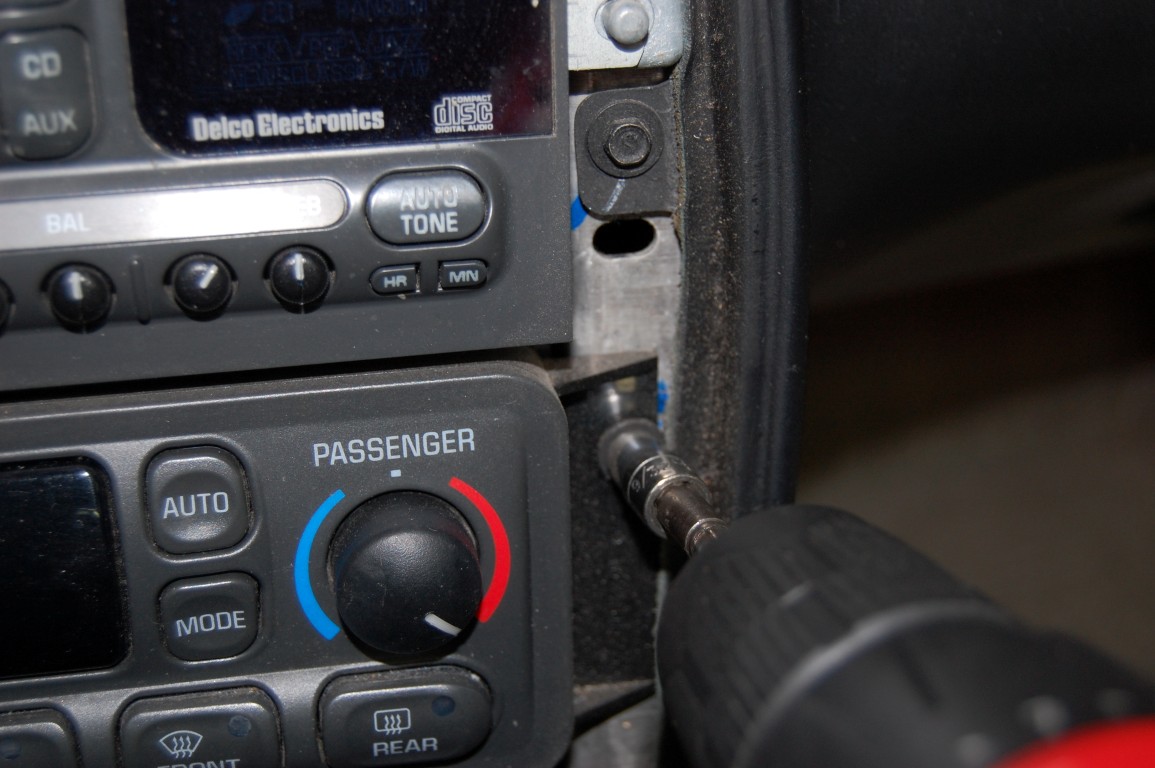
Next, remove the two screws holding the factory stereo in place.
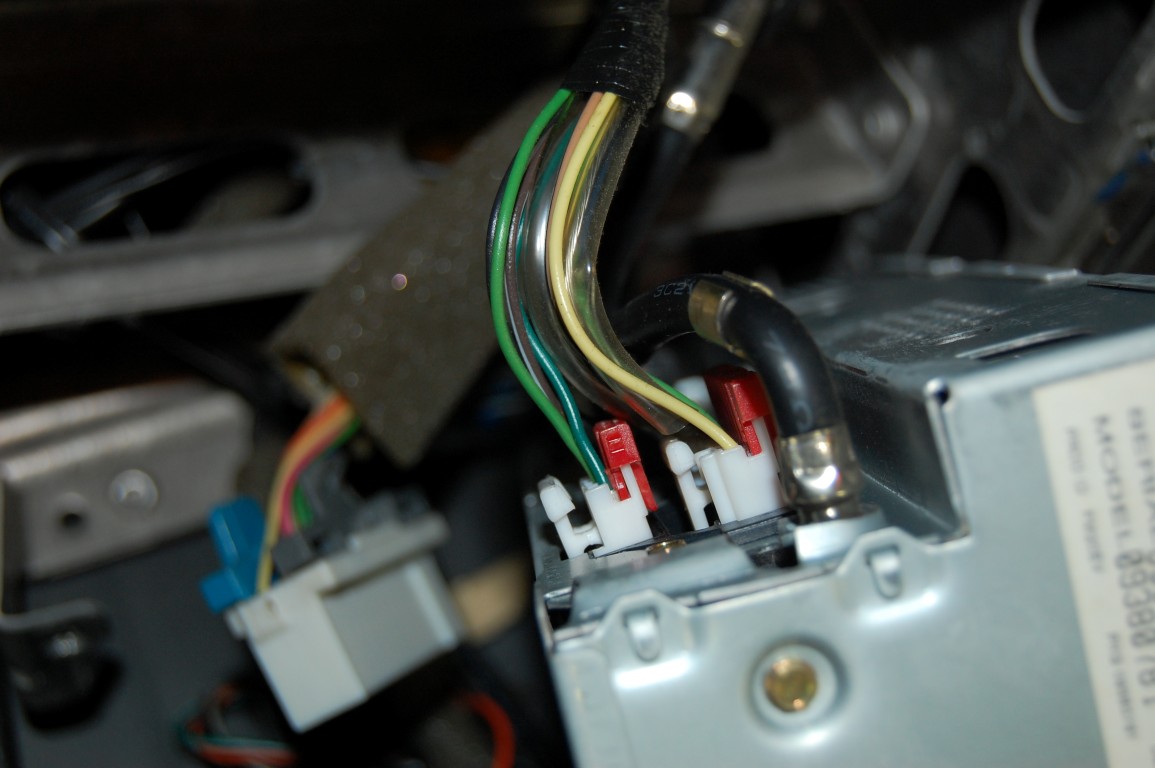
Disconnect the two electrical connectors and the antenna to free the stereo.
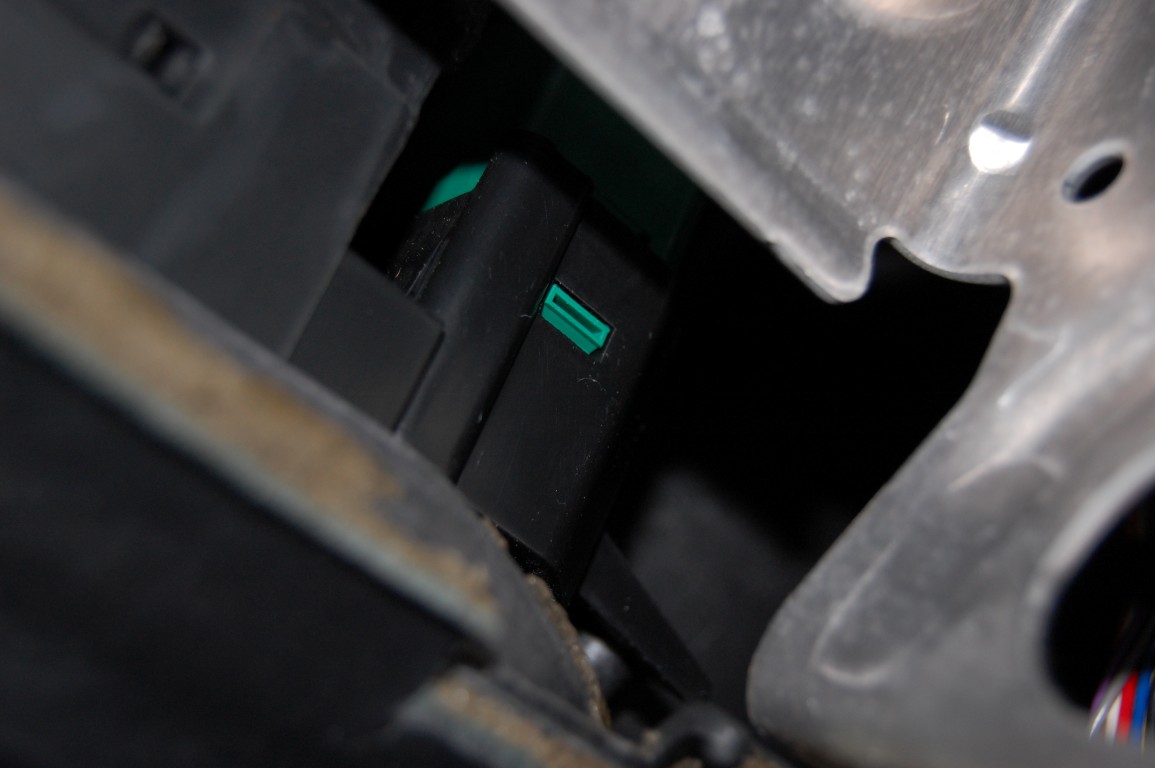
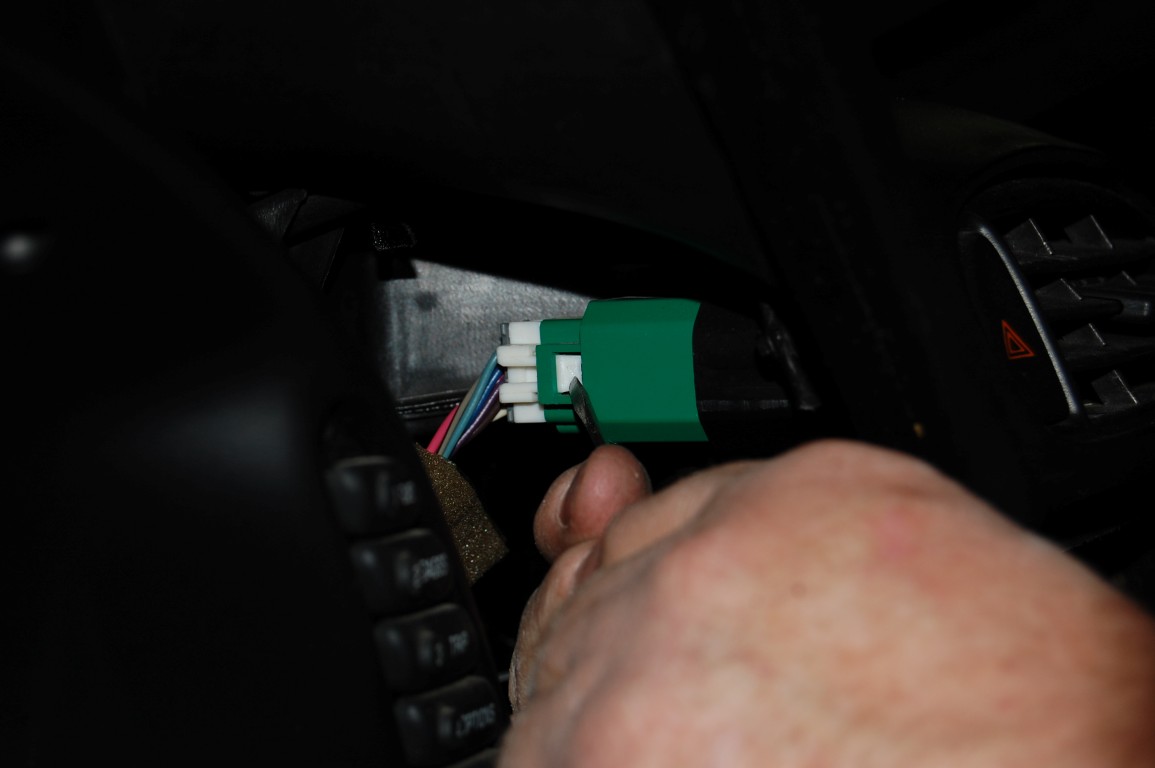
The turn signal / hazard switch is located at the top of the carrier. Note the green tab in the black plastic housing. There is also a similar tab at the top of the switch to be depressed. The switch slides out of the plastic housing. Not so fast: it is still next to impossible to remove while the dash pad is still in place. At least you have a visual of what you are up against.
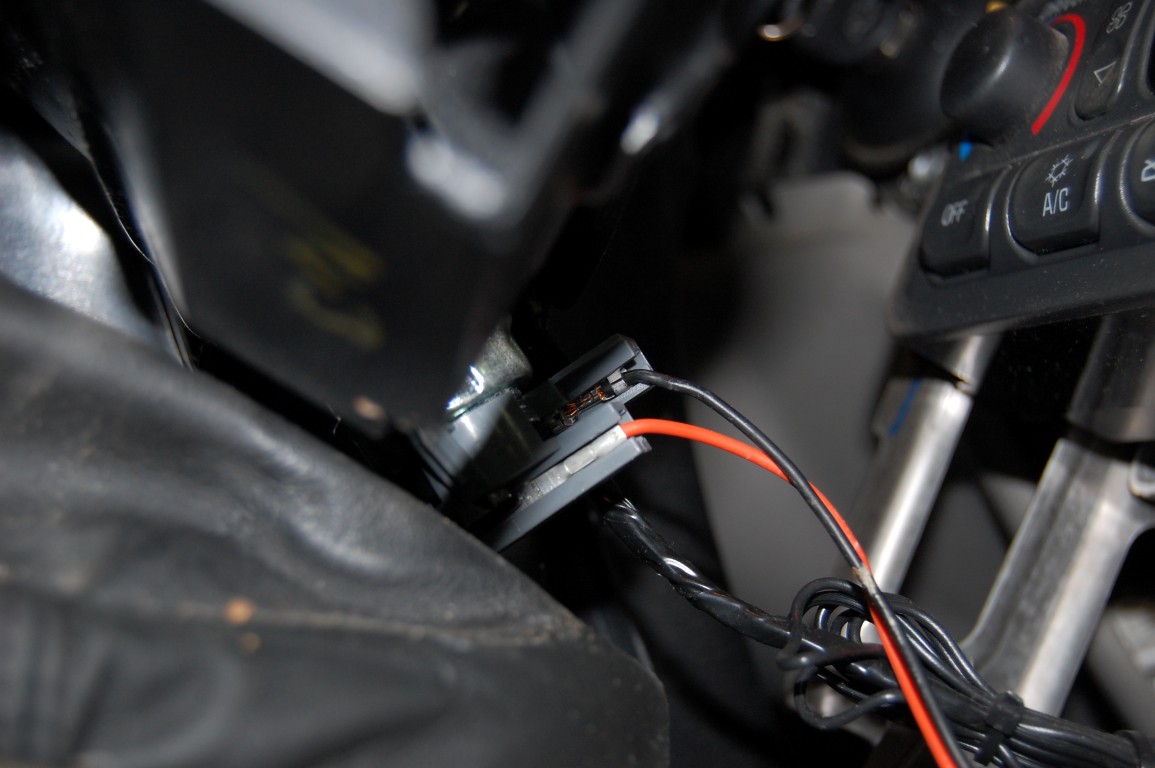
This is the four way flasher connector that must be removed. The dash pad has been moved away from the dash to show the connector tab. If you attempt to replace the flasher, this connector will be removed after the flasher is removed from its plastic housing.

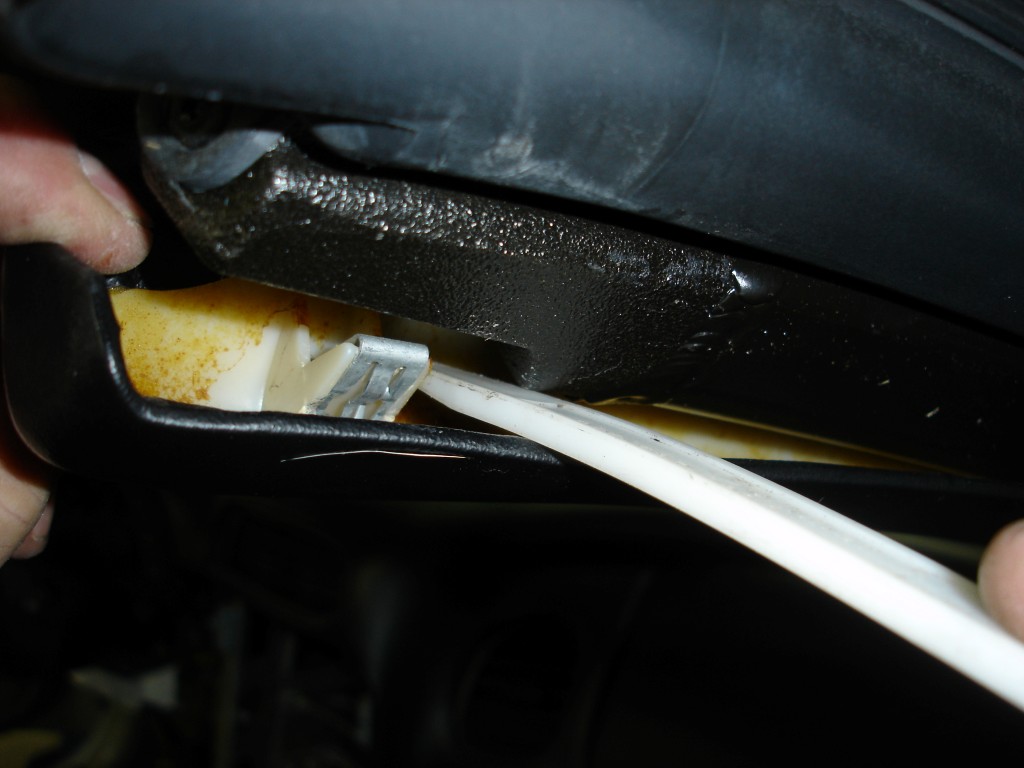
This photo is to give you an idea of what is required to release the four way flasher’s two retaining tabs. We were doing other work at the time so we removed the dash cover. This is difficult to accomplish and there is a possibility that plastic pieces can be broken.

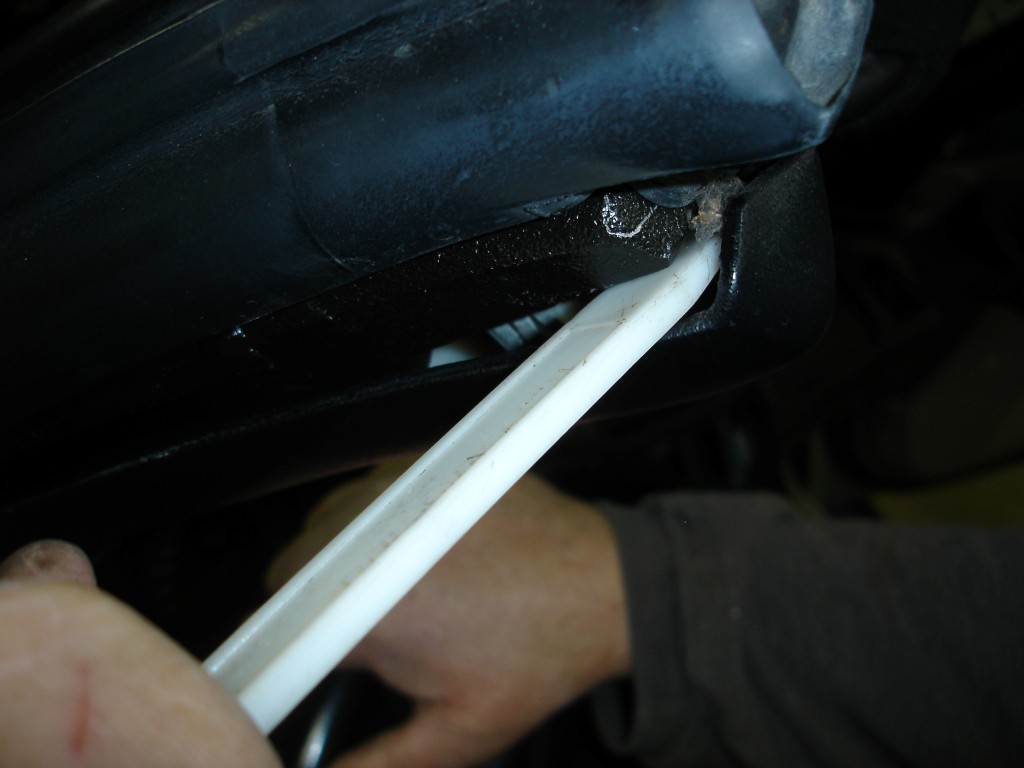
This is the tool from the previous photo we fashioned out of heavy gauge wire to release the top retainer tab on the four way flasher. The leg that pushes down on the tab is ½ inch long, the space between the long portion of the tool and the tab that pushes down is 5/8 inch. The long leg is 5-1/2 inches long and the portion to pull downward on is 2-3/4″ long.

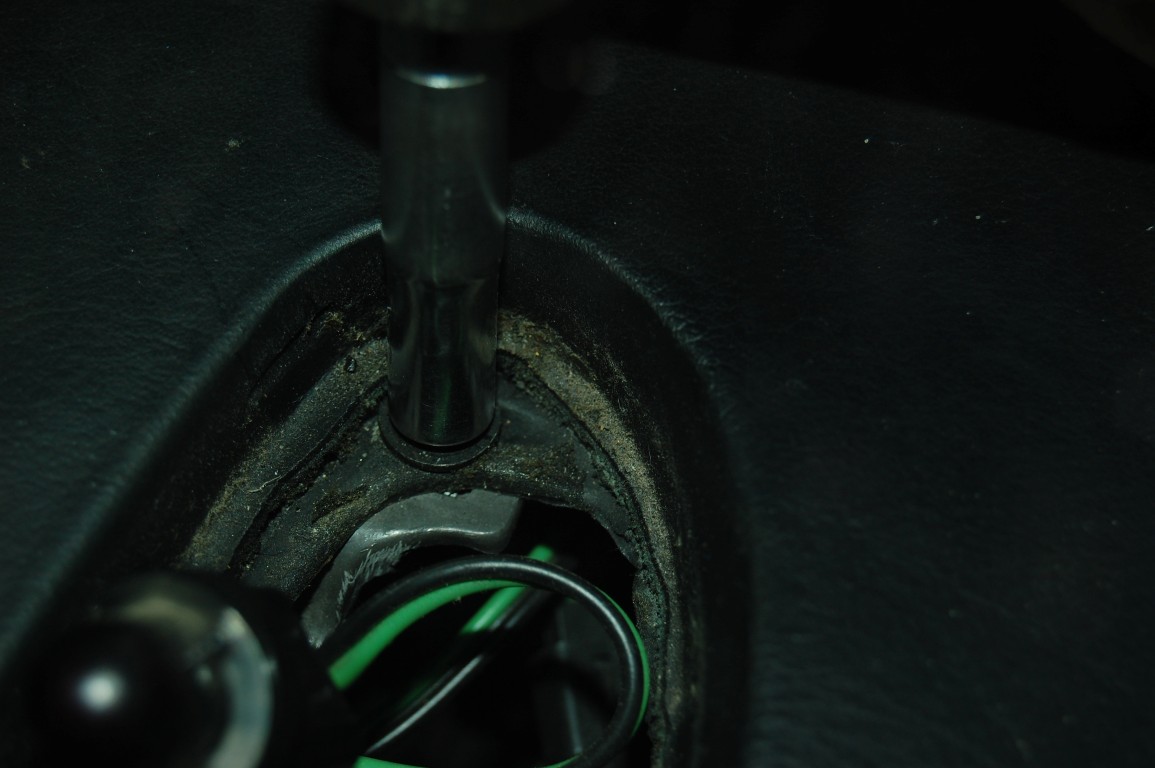
The best way to help the flasher removal process is to have someone push the switch out while someone is working the tabs from underneath. The four way flasher button pulls off with a couple of small screwdrivers prying it outward.
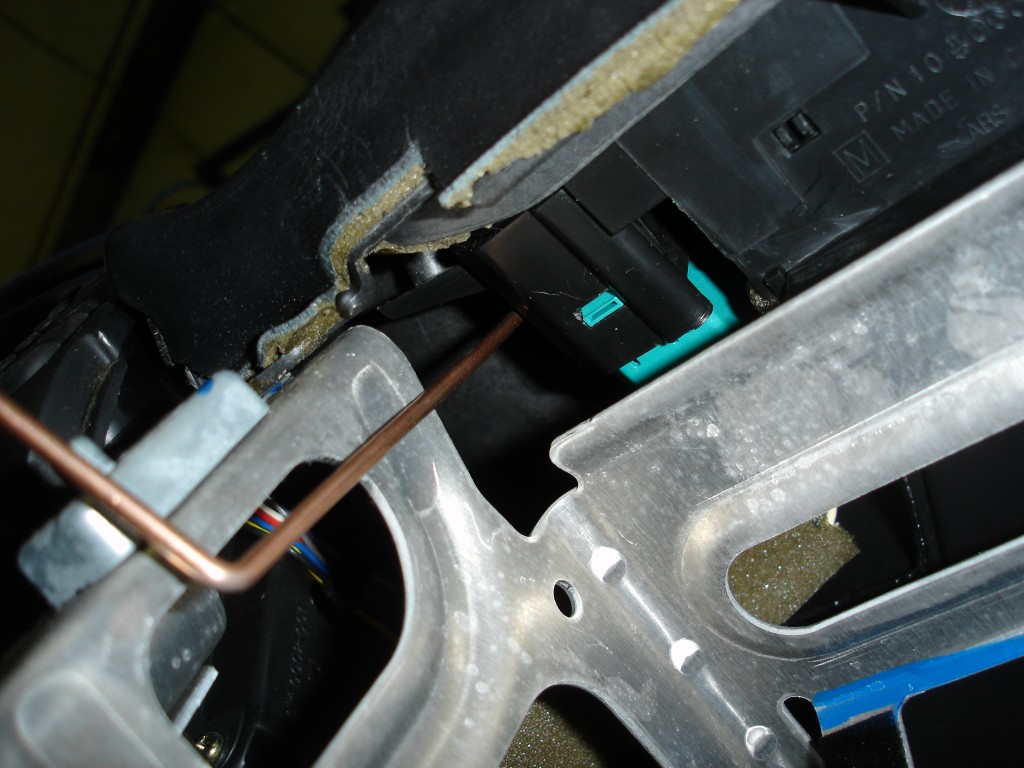
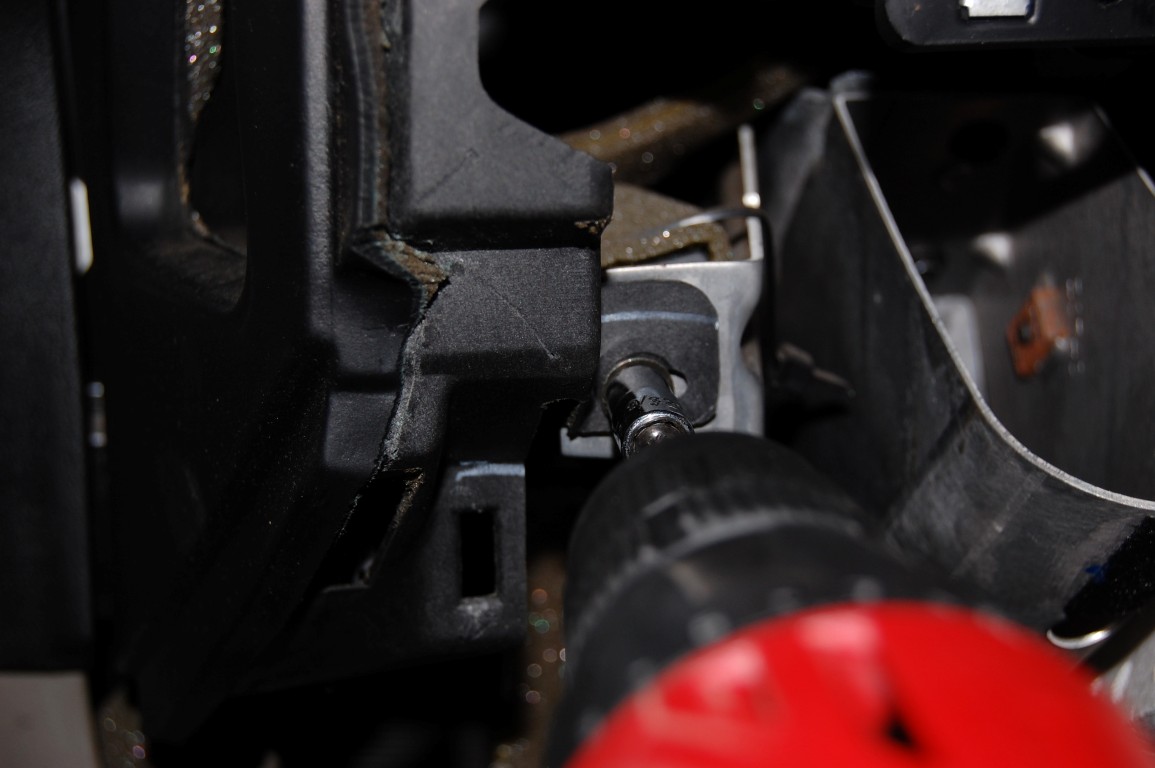
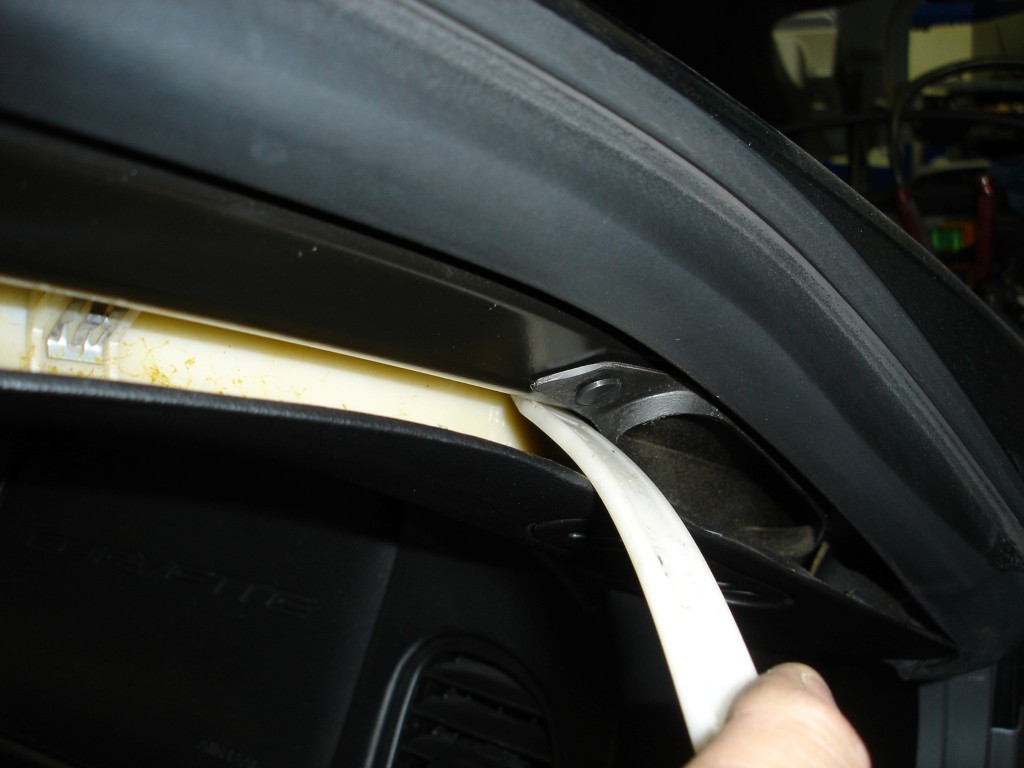
The tool is in place from the underside of the dash ready for the screwdriver to push the tab from the bottom up. Once the flasher is out of the plastic housing it must be coerced over enough to remove the connector. This is your decision to make; remember there is a chance things may go bad and pieces get broken doing the procedure this way.
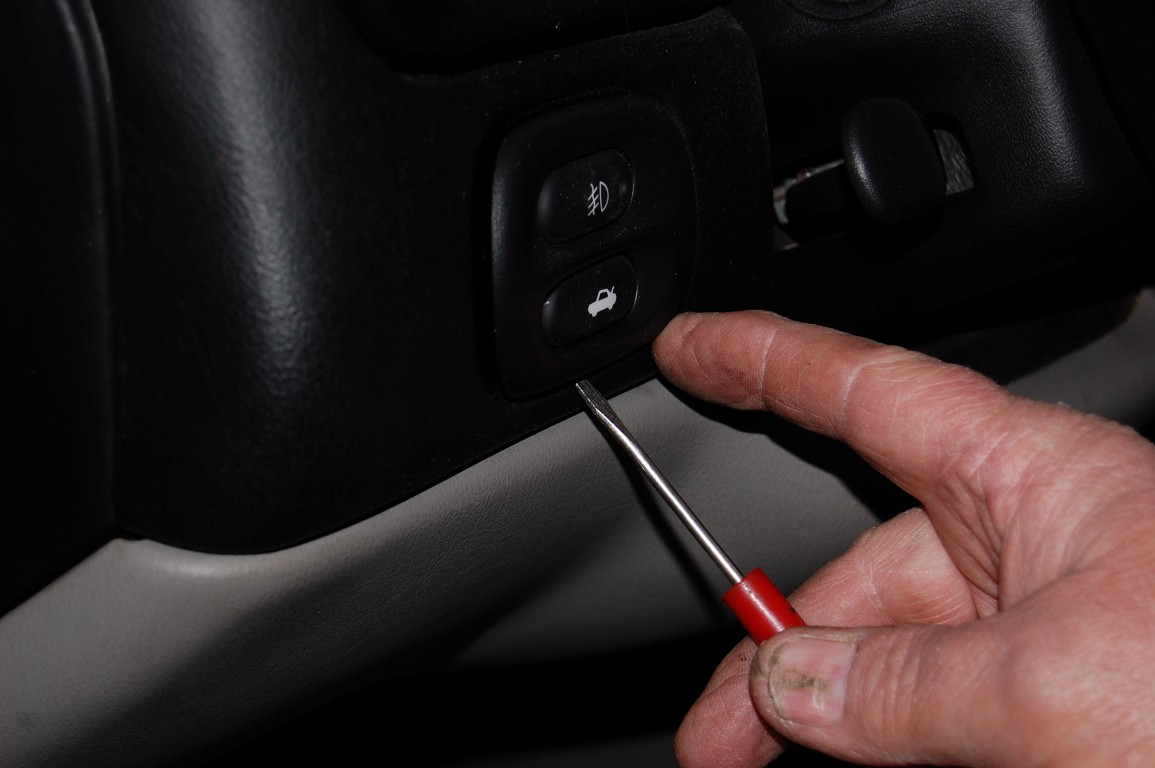
If you decide to remove the dash pad to replace the flasher or access other internals, the next step is to remove the fog light and rear hatch release bezel.

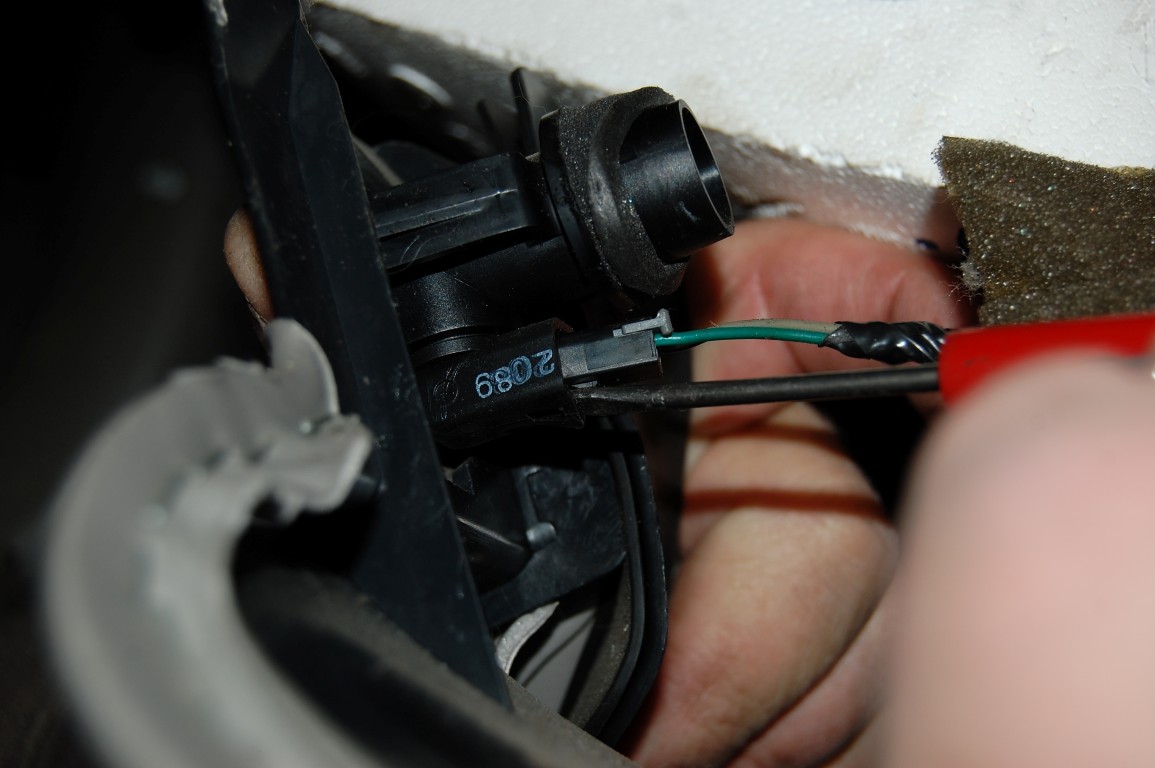
Remove the connector from the bezel by pressing down the tab.
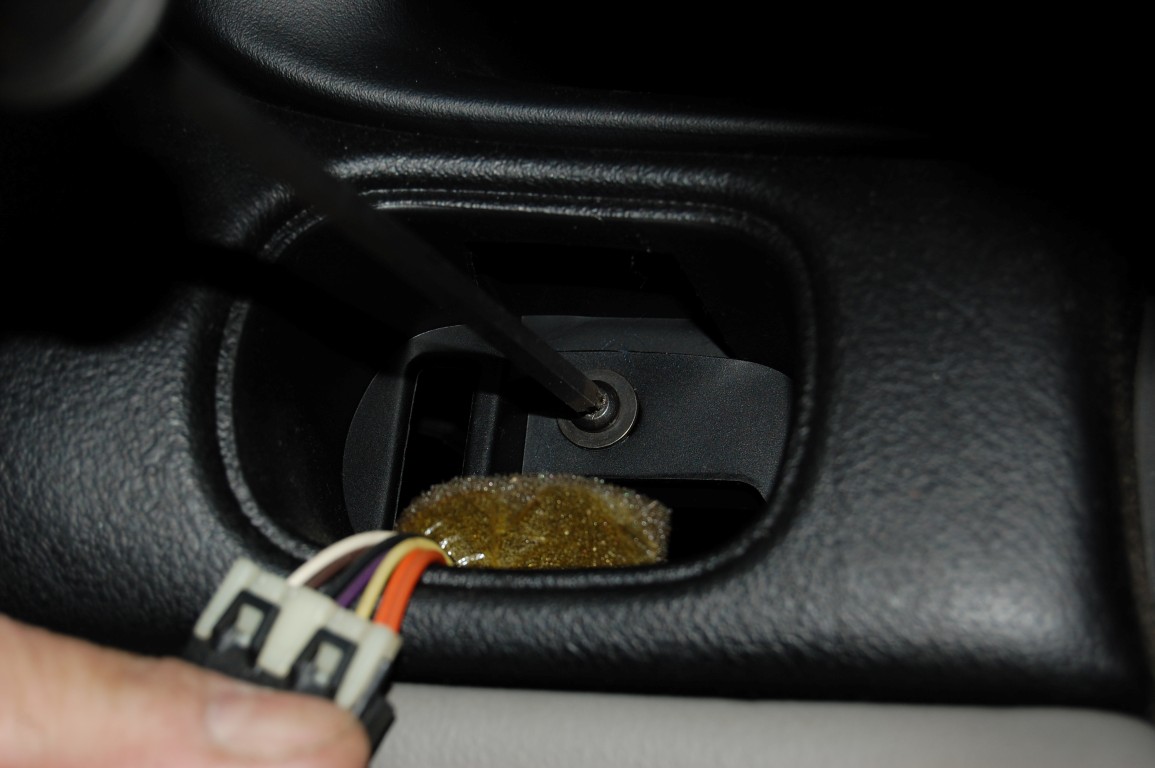
There is a Phillip’s head screw behind the bezel that needs to be removed. This is the type of hidden screw that can become quite the mystery later on. If you fail to remove a screw like this, you will either have great difficulty removing the dash or break the tab off if caution isn’t exercised.
Remove the screws that hold the driver side bolster in place.
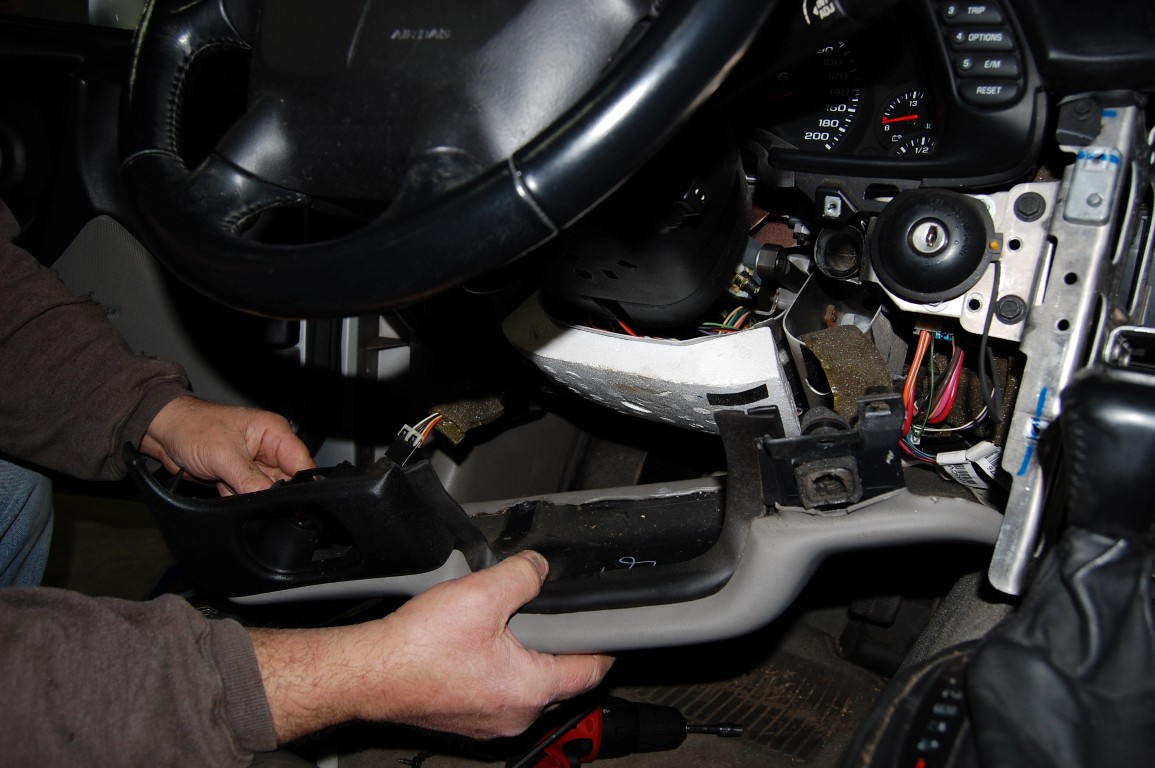
The bolster is down but not quite ready to be set aside.
The in-car temperature sensor connector needs to be removed before the bolster can be set aside. A small screwdriver is used to release the connector.

Two screws hold in the top of the instrument cluster to the dash pad. These must be removed to remove the dash pad.
Two bolts hold the bottom of the instrument cluster in place. These do not require removal unless you need to remove the dash cluster after dash pad removal.

This is one of several tabs that keep the dash in place and you do not want to miss one of them. If you forget it and it breaks, as you pull up the dash it will have to be repaired, which is not an easy task. Leaving it unsecured is sure to bring about a squeak sooner or later.
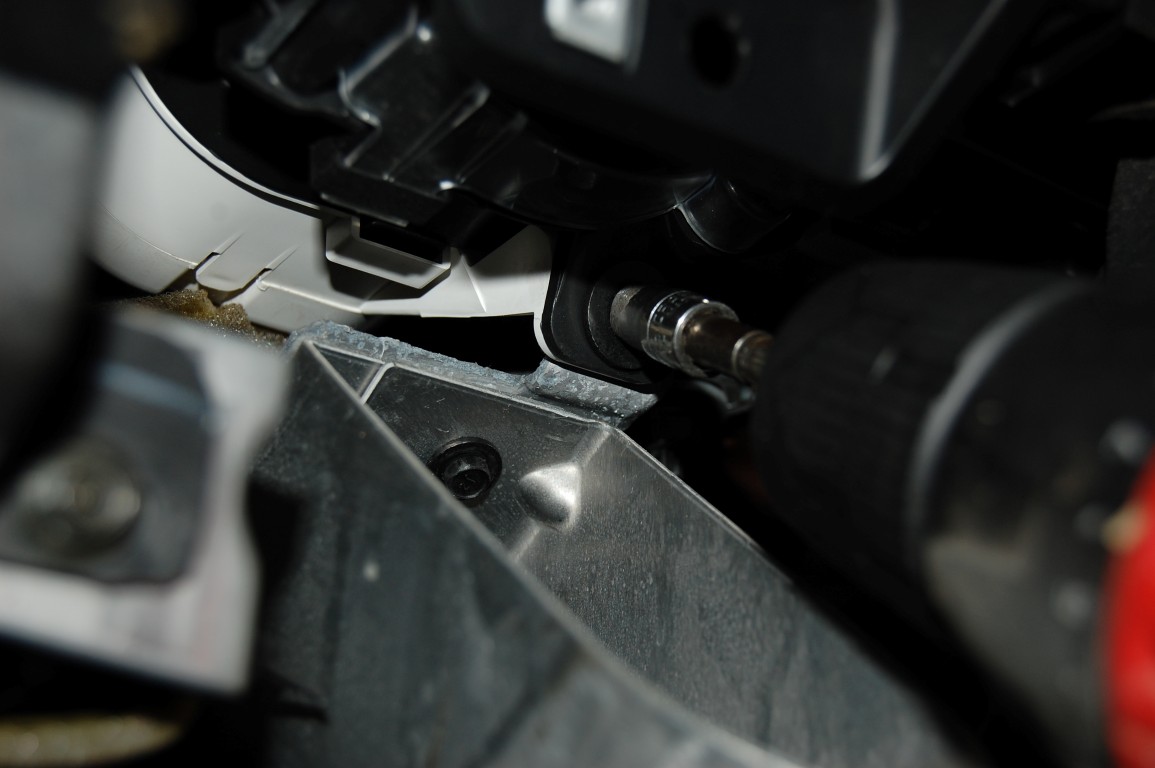
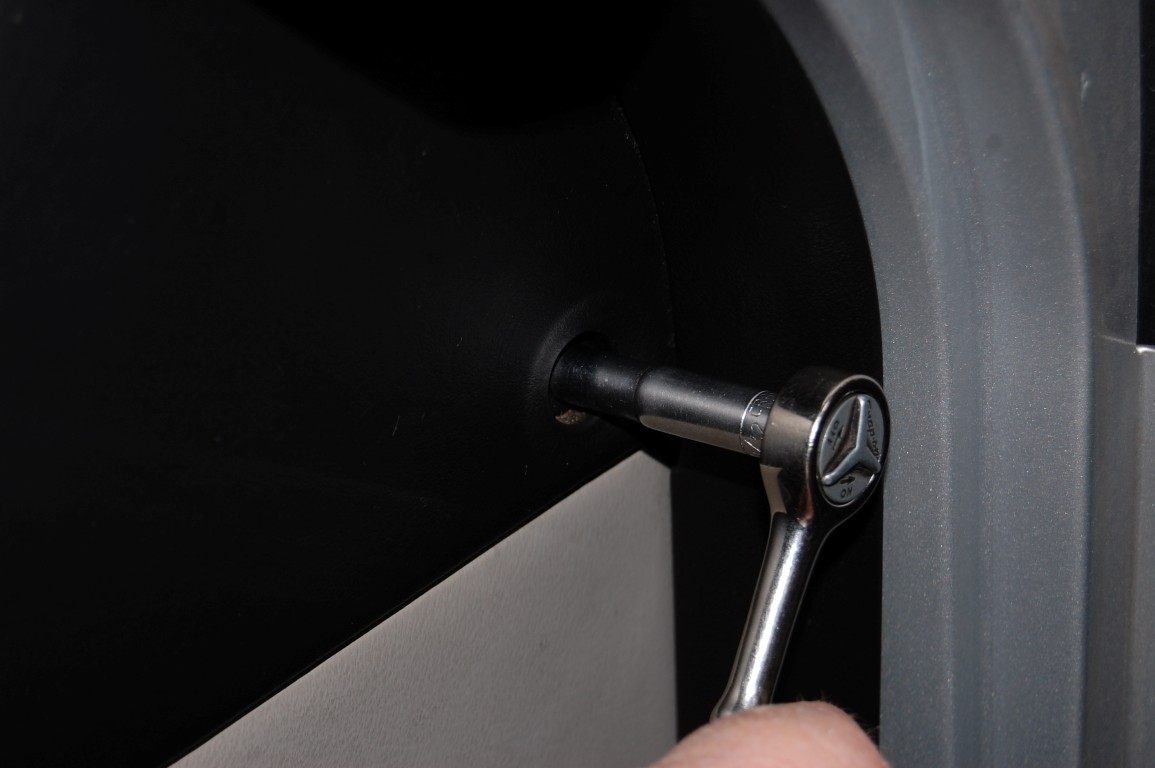
This 7mm screw is located on the right side of the carrier, slightly above where the A/C control panel was situated.
Remove the 7mm screw that is slightly below the last.
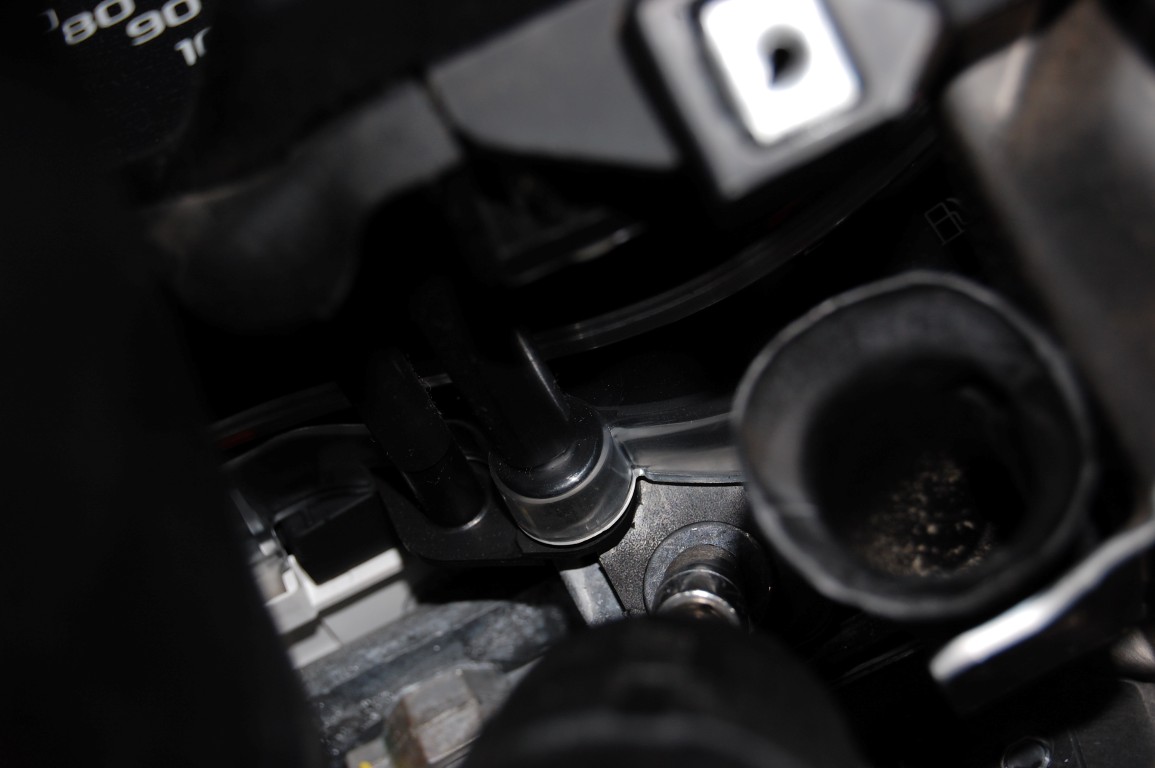
Remove the 7mm screw on the left side of the dash.

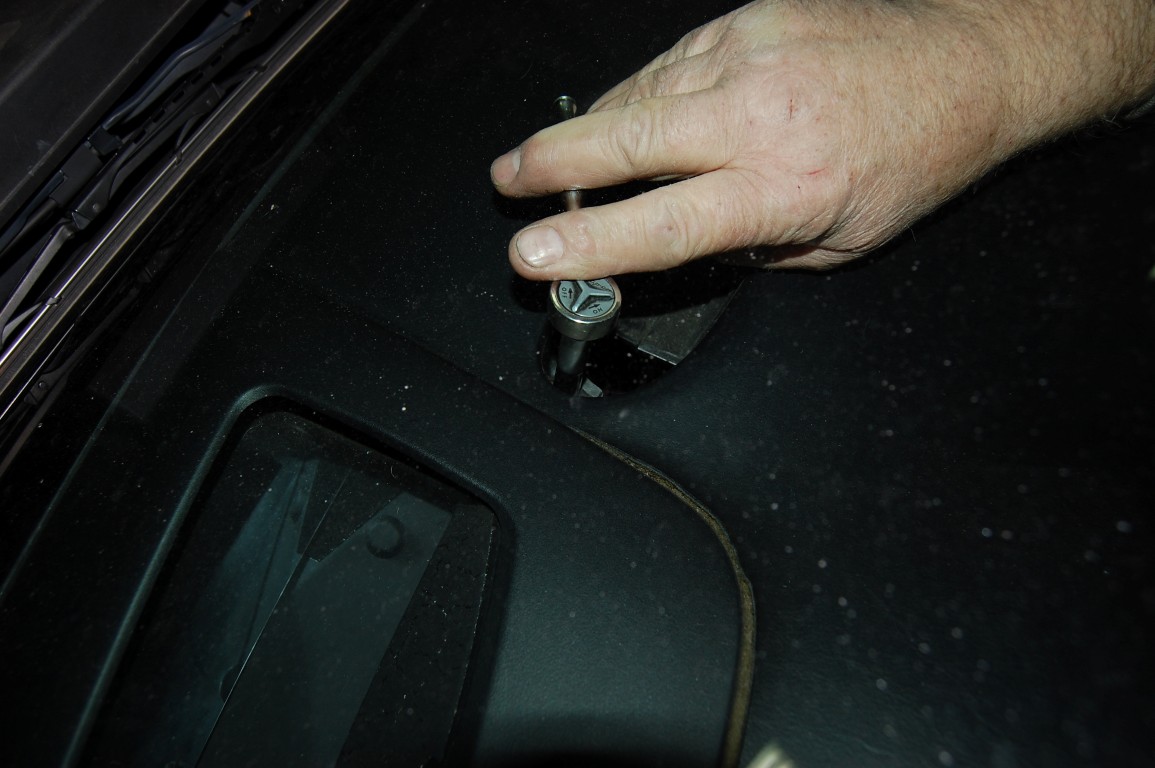
Pop up the defroster vent with a flathead screwdriver to access the photo sensor.

Gently twist the connector to remove it. There are two sensors, sun load and ambient light, one on each side.
Remove the two 7mm screws at the top of the dash.
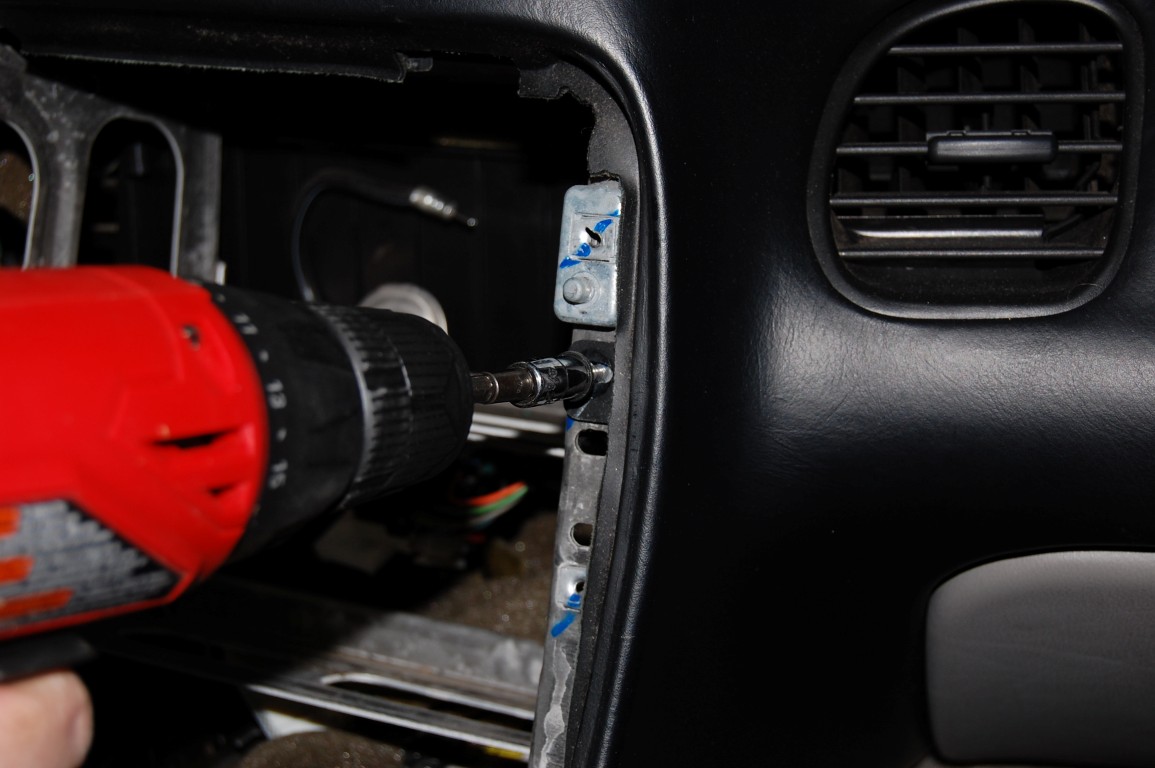
Remove the7mm screw on the right side of the dash near the door jamb.
Pop off these access covers inside the glove box with a flathead screwdriver to access the screws behind them.
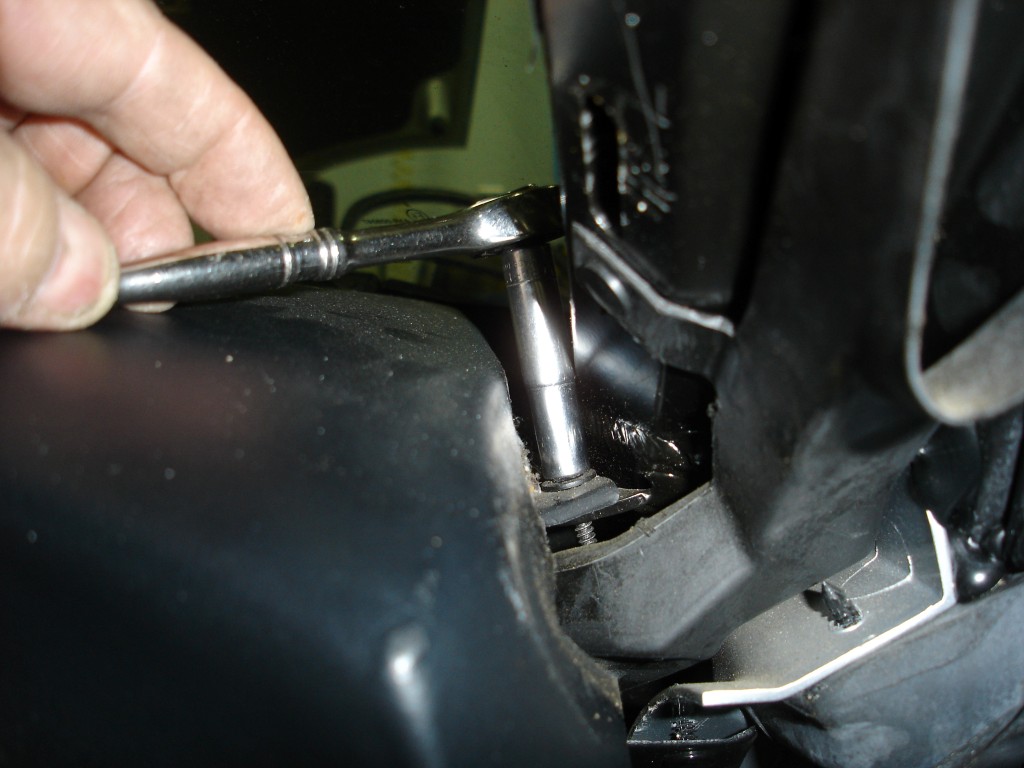
Remove two10mm hex head screws to release the glove box door.

The glove box light must be disconnected before going any further.
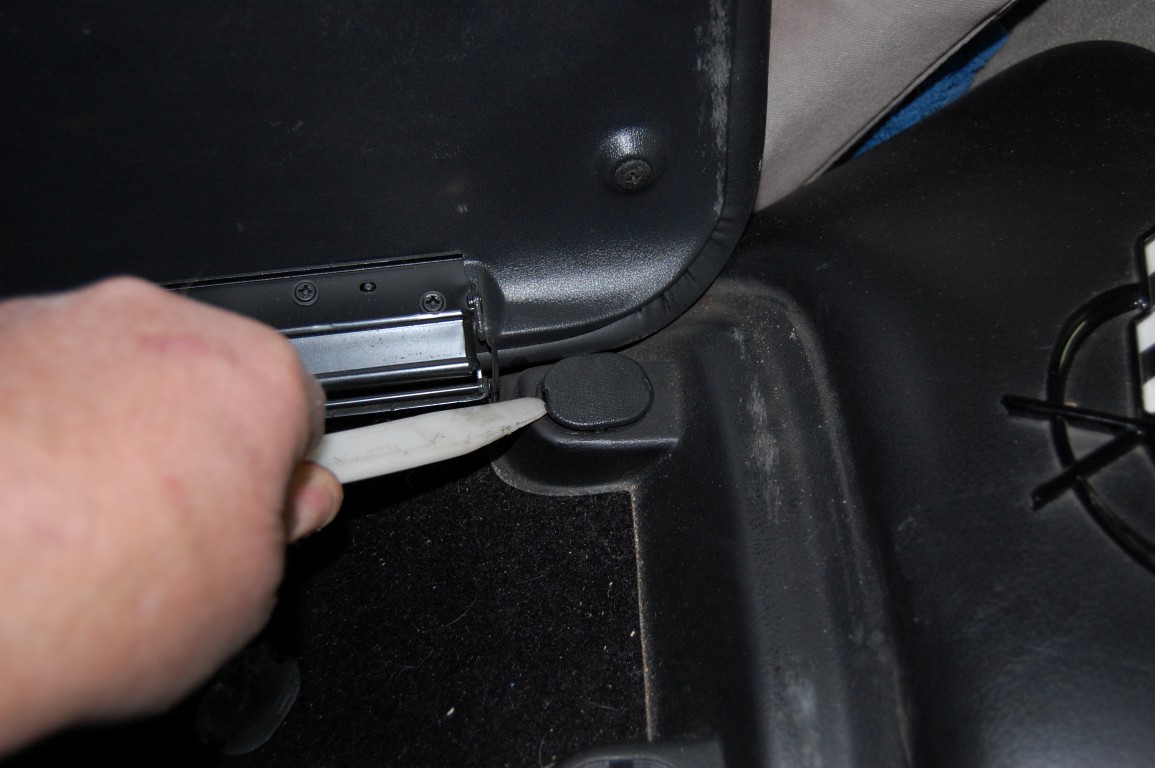
The windshield pillar covers on both sides of the car are removed using the plastic wedge.
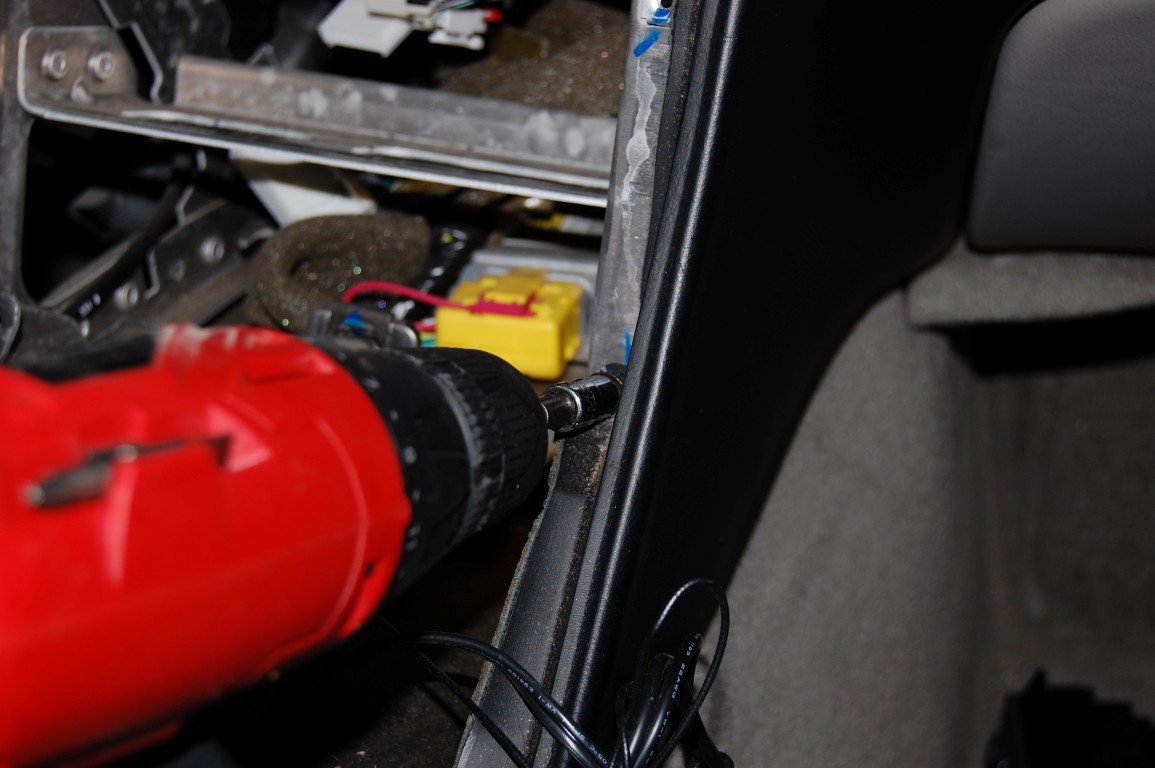
There are two concealed 7mm hex head screws under the windshield pillar covers to remove prior to removing the dash.
The dash is finally ready to be removed. You may find it helpful to have an assistant nearby to receive the dash once free.

With the dash removed, you can access several key components. It doesn’t hurt to do a thorough inspection of parts that commonly fail and replace them now to avoid having to tear into the dash in the near future.
Story and photos courtesy Chris Petris
Thank you so much for putting this instructions online. I am replacing my actuator door and this was spot on! Thank you!
Thank you. That is an amazing amount of effort on your part, to document the necessary and tedious steps involved. You save all of us a great deal of frustration, and who knows how much additional work and expense. You sir, deserve our respect and gratitude.