The radiator on my ’63 Split Window Coupe wasn’t doing its job well at all, rendering the car unusable due to overheating after 15 minutes of driving – even less if the ambient temperature was over 80 degrees.
While this is a numbers-matching car, the previous owner had made some cosmetic “eye-candy” mods such as a chrome fan shroud, chrome expansion tank and other non-correct items. I decided to replace the current radiator and surge tank with date-coded aluminum units from DeWitt’s Reproductions, Inc.
My decision to go with a correct reproduction aluminum radiator was based on the fact that brass/copper radiators are 30% less efficient than aluminum, though considerably cheaper. But you get what you pay for. The thermal coefficient (ability to dissipate heat) is much higher for aluminum than it is for brass/copper.
Purchasing a brass/copper radiator for about half of what an aluminum radiator costs — is false economy because it won’t do an adequate job of cooling and, eventually, you’ll have to spring for an aluminum unit unless you only want to drive your Corvette during the winter.
You can order a correct date-code and detailed radiator for a slight additional charge, and the Expansion / surge tank can also be ordered with the date-code stamped into it as well. Additionally, Corvette Central has everything else you’ll need to replace the radiator , including hoses, clamps, cushions and a radiator cap. The whole job will take about 4-5 hours using ordinary tools. Having an assistant is highly recommended. Here’s what’s involved in doing the replacement:
1. Order Required Parts Radiator Replacement
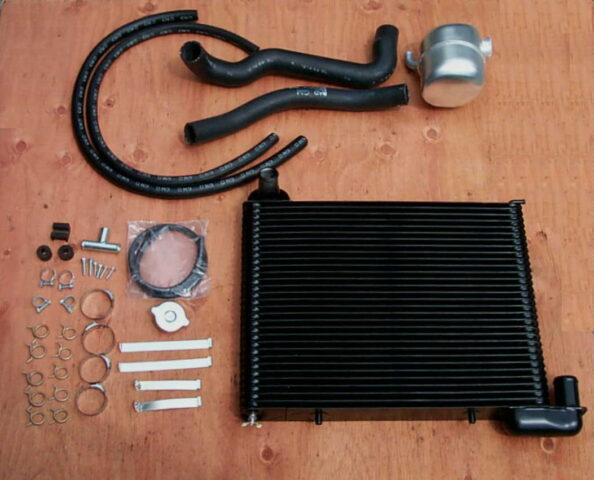
Here are the components ordered from Corvette Central. Clockwise from top center: lower and upper radiator hoses, surge tank, aluminum radiator, surge tank straps, radiator cap, overflow hose, hose clamps, screws, heater tee, upper and lower radiator cushions and heater hoses.
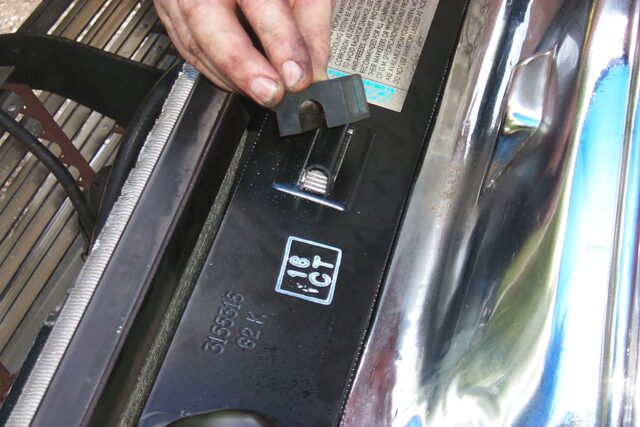
2. Confirm Radiator Date
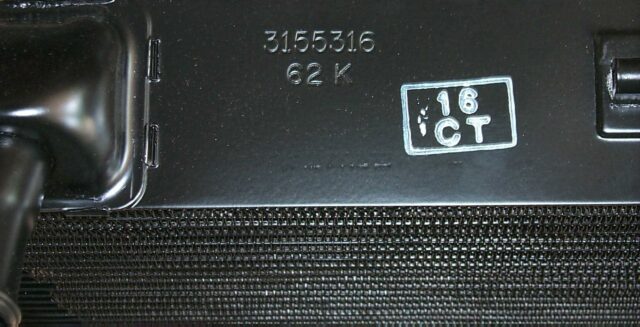
The 62K (October 1962) stamped into the top of the radiator is the correct date code. Depending on your Corvette’s year, you’ll want to explore either the 63-64 aluminum radiator or the 65-72 aluminum radiator. The extra-cost detailing is a must for the correct appearance and includes the correct black finish, the inspection stamp and the silver/blue Harrison sticker on the radiator.
3. Confirm Surge Tank Date

The aluminum surge tank can also be ordered with the correct date code. You’ll want to make sure you pick either the 63-64 expansion tank or the 64-67 tank depending on your model. Be sure to supply the VIN number with your order if you want the correct date codes on the radiator and surge tank.
4. Drain Coolant
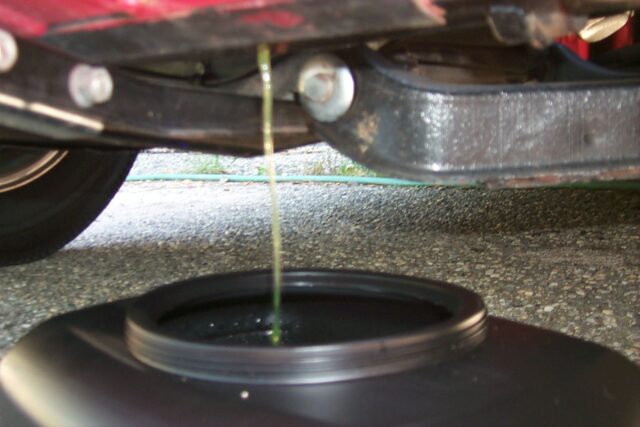
The first step is to open the petcock on the radiator and drain the coolant. Since antifreeze is poisonous, be sure to catch the drain-off in a suitable container to protect pets and the environment.
5. Remove Hood
For better access to the engine compartment, the hood should be removed. Use a scribe to mark the hinge positions for correct alignment when it’s time to reinstall the hood.
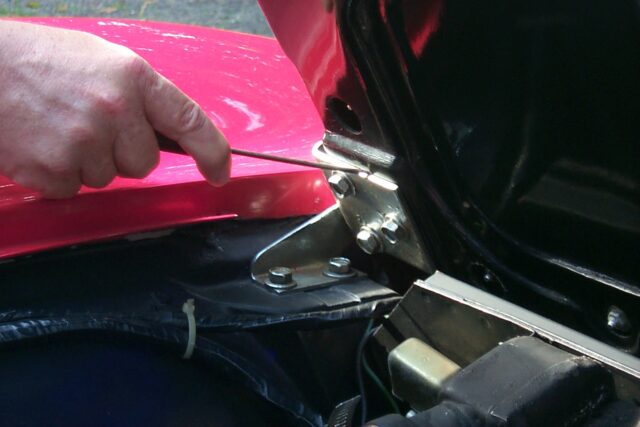
6. Remove Prop-Rod Hinge Bolts

Use a 7/16” socket or wrench to remove the two bolts that retain the prop-rod hinge to the hood.
7. Remove Hood Retaining Bolts
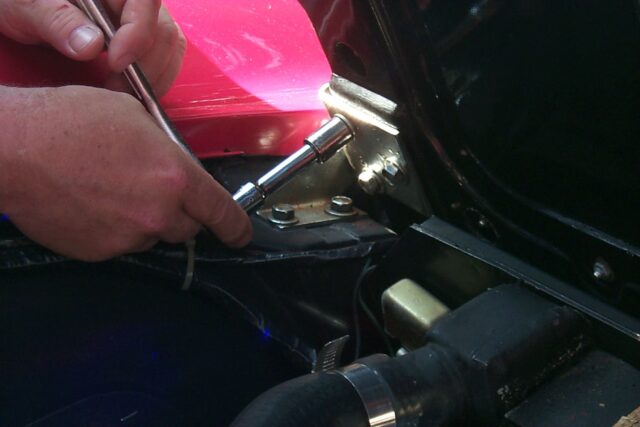
A ½” socket or wrench is used to remove the three hood hinge retaining bolts. Be sure to support the hood with one hand while removing the last bolt. Here’s where having an assistant to support the other side comes into play, as well as physically removing the hood to a safe location.
8. Loosen Radiator Hose Clamps
Loosen the upper and lower radiator hose clamps and disconnect the hoses from the radiator.
9. Remove Surge Tank Hose
Next loosen the clamp and remove the surge tank hose from the radiator outlet.
10. Remove Shroud Retaining Bracket
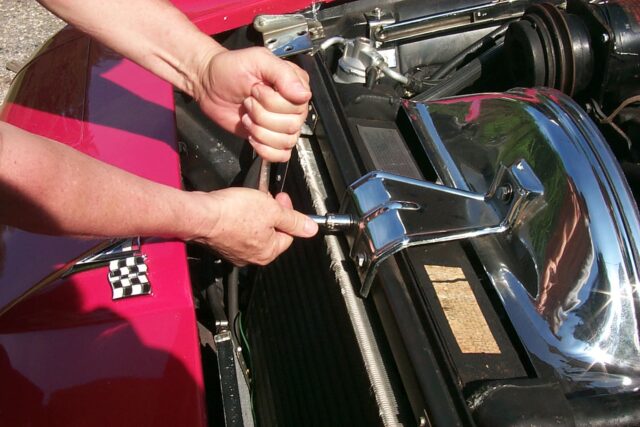
When all the hoses are disconnected from the radiator, the shroud and fan can be removed. Use a ½” socket or wrench to remove the three bolts from the shroud/radiator retaining bracket.
11. Remove Shroud Fan
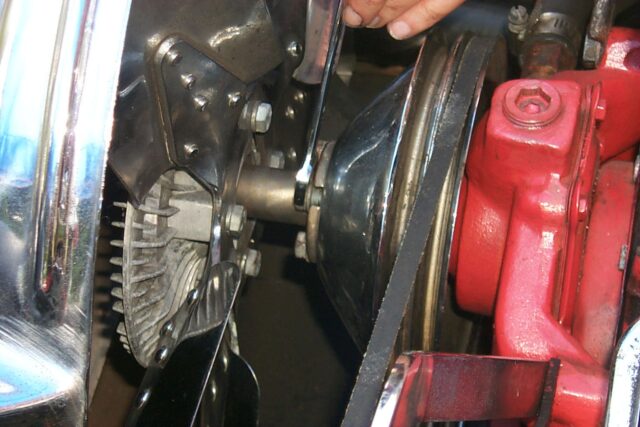
Use a ½” wrench to remove 3 of the 4 bolts that attach the fan to the pulley. The fourth bolt only has to be loosened and the fan will pull free. When the fan is removed, retighten the remaining bolt.
12. Remove Retaining Screws from Regulator Assembly
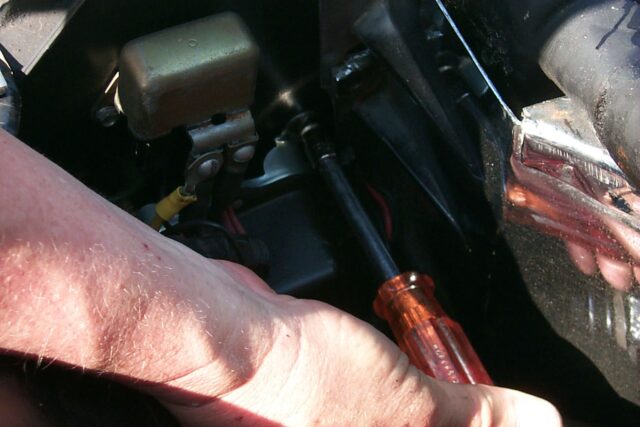
The horn relay and regulator assembly is attached to the front radiator mounting bulkhead. Use a 3/16” socket to remove one of its retaining screws and swing it around so it doesn’t impede shroud removal.
13. Remove Bolts from Shroud
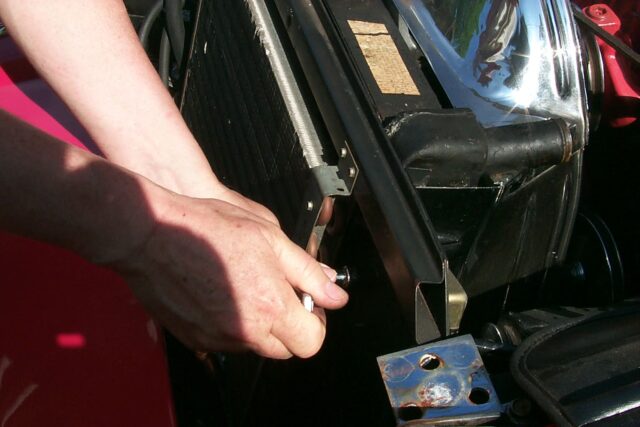
Three 9/16” bolts are used on each side of the shroud to retain it to the bulkhead. All three on the driver’s side are fairly accessible and easy to remove.
14. Remove Additional Bolts from Passenger Side
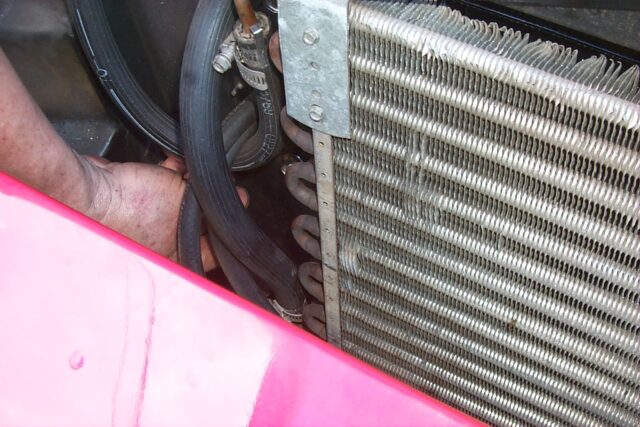
The shroud retainer bolts on the passenger side aren’t as easy to remove due to A/C evaporator and trans cooler lines getting in the way. A gear wrench makes removal of the lower bolt much less arduous. When all six bolts have been removed, the shroud can be lifted out, followed by the radiator.
15. Pressure-Flush Cooling System
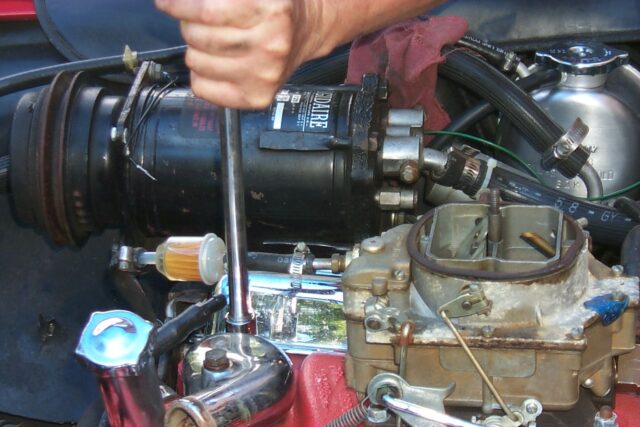
This is an ideal opportunity to pressure-flush all of the cooling system passageways in the block and heater. Use a 9/16” socket to remove the two retaining bolts that hold the thermostat/upper radiator hose housing in place.
16. Remove Thermostat
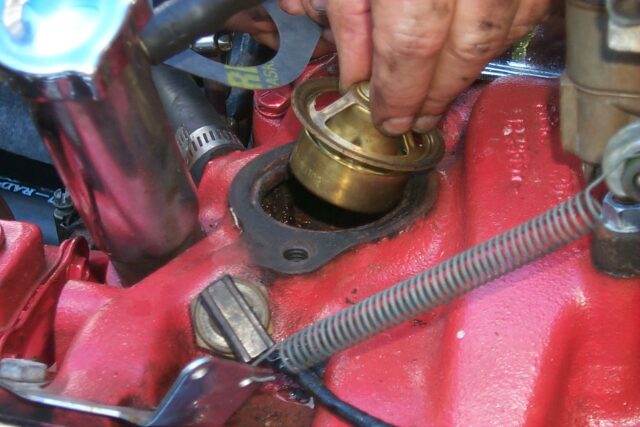
Remove the thermostat and then reinstall the housing, using the 9/16” bolts removed in step 15.
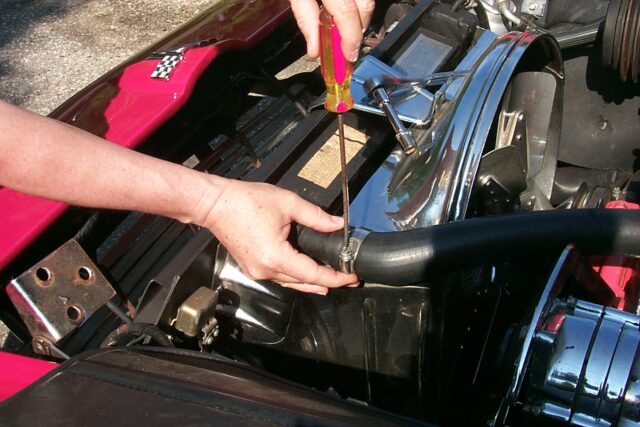
17. Insert Garden Hose
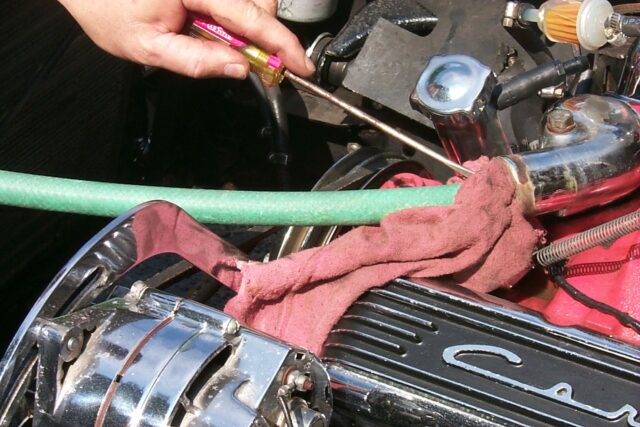
Insert a garden hose into the thermostat housing opening and use a screwdriver to tamp a shop towel around the hose to make a tight fit.
18. Circulate Water

Turn on the water to about half of full capacity flow and have a container positioned to catch the flow from the lower water pump outlet. Start the engine and turn the heater on high to fully circulate the water. When the water emanating from the water pump outlet is clear, you can turn off the engine and stop the flushing.
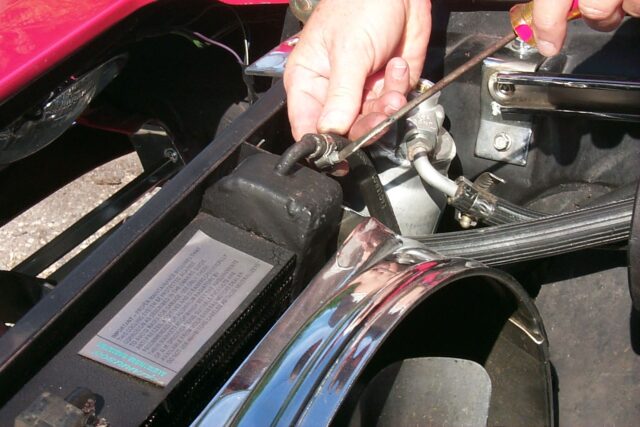
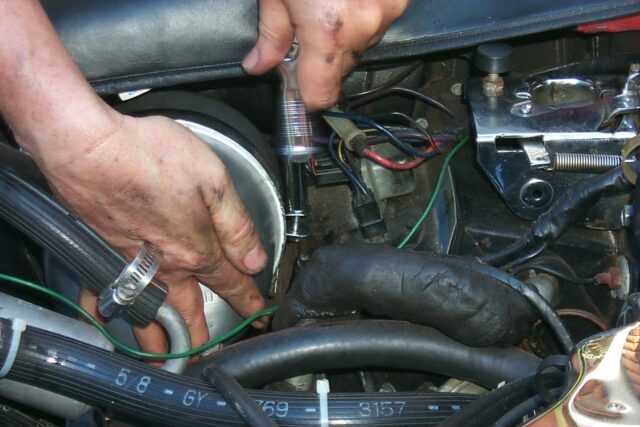
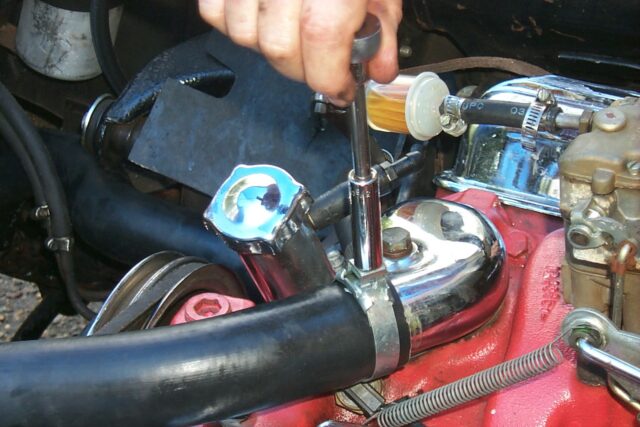
19. Remove Tank-to-Radiator Hose
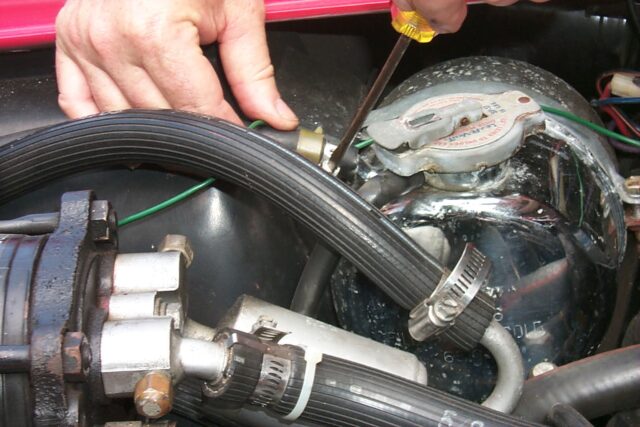
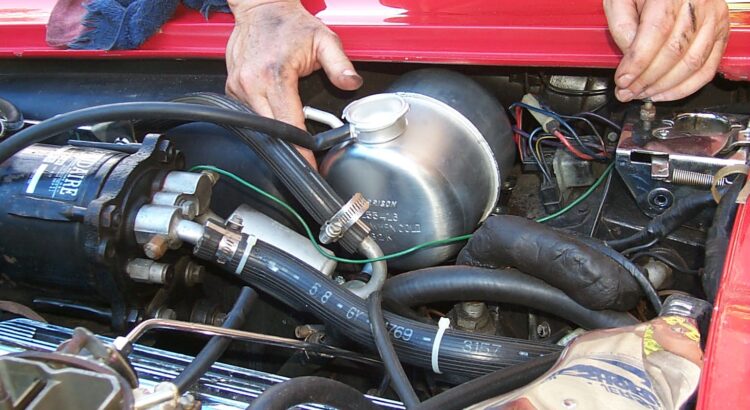
Removal of the surge tank is next. Loosen the clamp and remove the tank-to-radiator hose from the tank’s upper inlet. The overflow hose can be removed at this time as well as loosening the clamp and pulling off the heater “T” hose from the bottom of the tank.
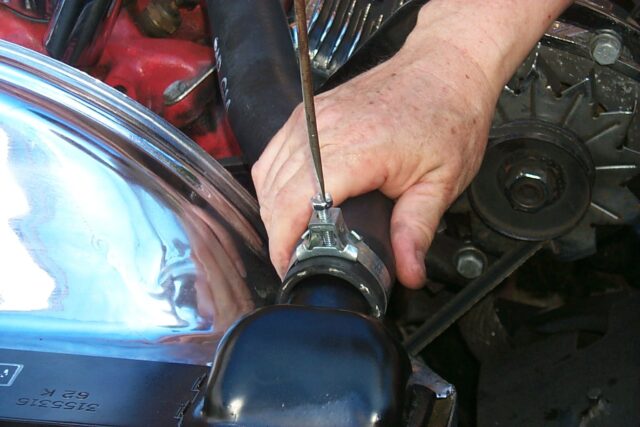
20. Remove Straps and Surge Tank
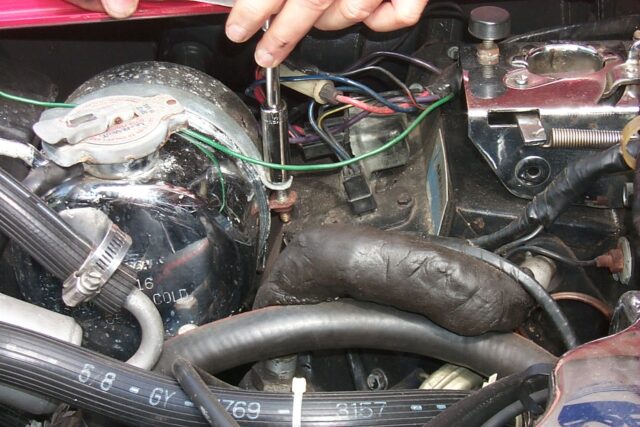
The tank is held in place by two straps, which are retained by 7/16” bolts. These can be removed using a socket at this time. Once removed, the surge tank can be lifted out. At this point, the heater hoses and a new “T” can be installed if required. My heater hoses, clamps and “T” were all in good shape, so I didn’t bother to replace them.
Also note that the correct hose clamps are the spring type, but I prefer the stainless steel worm-gear type. If you’re worried about losing points at judged shows, be sure to use the right clamps and correctly-marked hoses as supplied by Corvette Central.
21. Pre-Bend Upper Surge Tank Straps

Pre-bending the upper surge tank retaining straps makes installation a bit easier. Use the tank itself as a form to contour the straps.
22. Spray WD-40 to New Hoses
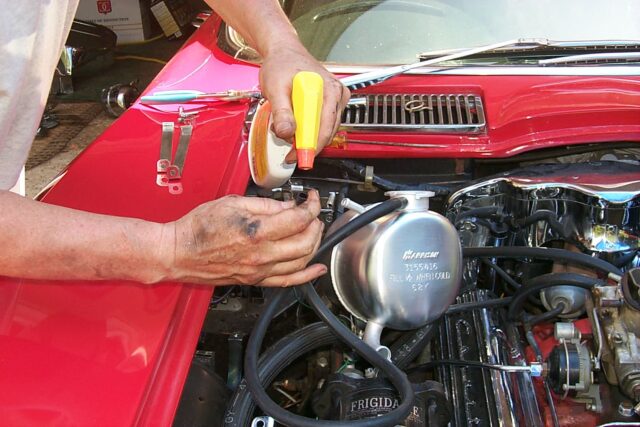
Here’s a tip: spraying a little Armor-All or WD-40 into the ends of the new hoses makes them easier to slip on.
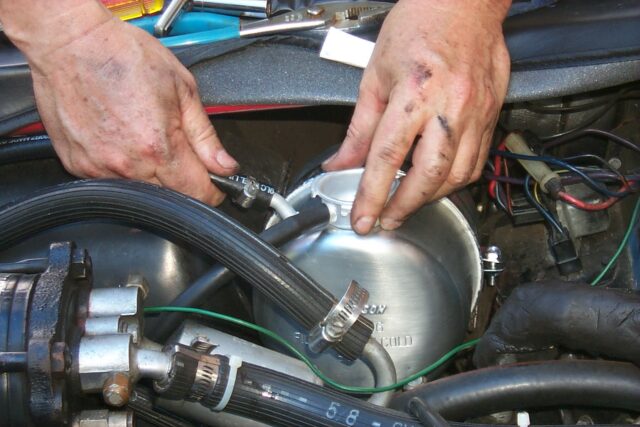
23. Reattach Lower Straps and Insert Surge Tank
Snap the two lower straps into their respective brackets and insert the surge tank.
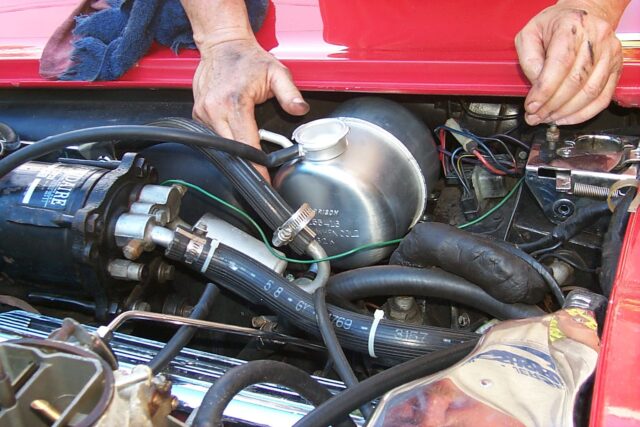
24. Reattach Upper Straps
Snap the two pre-curved upper straps into their brackets and use the 7/16” socket to tighten the new bolts supplied with the straps.
25. Reattach Lower “T” Hose
Reattach the lower “T” connector hose, the tank-to-radiator hose and the overflow hose and tighten all clamps at this time.
26. Insert Mounting Cushions
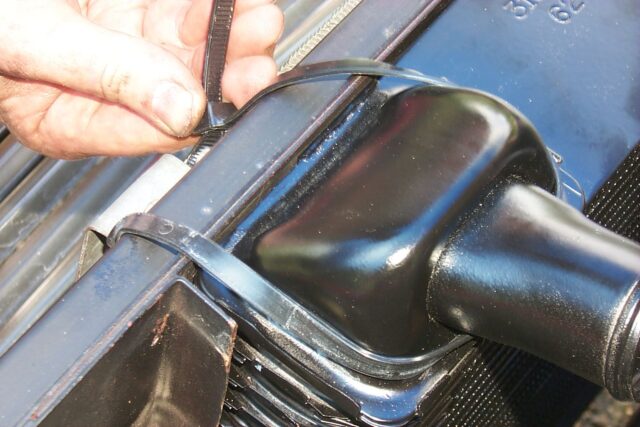
Insert the two rubber radiator mounting cushions on the bottom radiator mounting studs and lower the radiator straight down between the side guides on the bulkhead. Here’s a tip: use a cable tie to keep the radiator snug against the bulkhead; this will make reinstallation of the shroud much easier and helps to protect the fins of the radiator from being bent inadvertently during shroud installation.
27. Attach Lower Radiator Hose to Water Pump Outlet

Attach the lower radiator hose to the water pump outlet and the lower radiator outlet and tighten both clamps.
28. Position Hose for Clearance
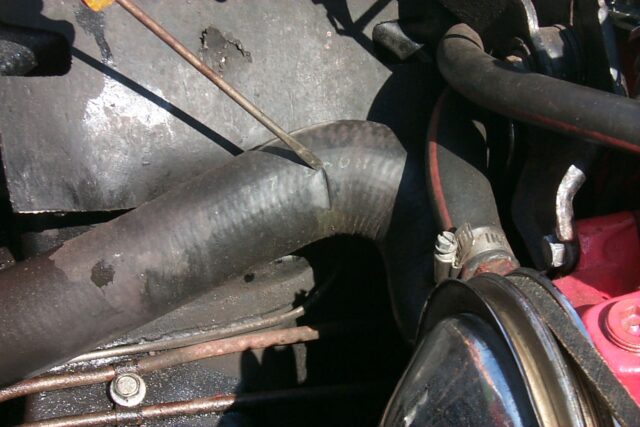
Be sure to orient the hose for best clearance and the clamp tightening screws for easy access. The old hose shows a wear mark from the A/C belt coming into contact with it; (the A/C belt was removed for better visibility in these photos).
29. Slide Shroud Into Position
Slide the shroud down into position, carefully avoiding contact with the radiator fins and secure it with three 9/16” bolts on each side. Clip and remove the cable tie used to keep the radiator taut against the bulkhead at this time. When that’s done, attach the upper radiator mount cushion to the boss on the top of the radiator and reinstall the radiator/shroud mounting bracket using the three ½” bolts previously removed. The radiator should be “floating” on the rubber cushions and not touching the bulkhead on either side.
30. Install New Thermostat and Gasket
Install a new thermostat and gasket in the upper hose housing, attach the upper radiator hose to the housing and tighten the clamp.
31. Attach Upper Hose to Radiator
Attach the other end of the upper hose to the radiator and tighten the clamp.
The last steps are to make sure all connections and clamps are tight and that the petcock is closed. We used two gallons of DeWitts antifreeze and about ¾ of a gallon of water to bring the system up to about half-full in the surge tank. We started the car and let it idle for a couple of minutes with the cap off, checking for leaks and adding additional water as required to keep the level at the half-way mark in the surge tank.
Final Steps
We then installed the new cap on the surge tank and took it for a test spin to get it up to normal (180-degree) operating temperature. On the particular day we did this installation, the ambient temperature was 95 degrees, but the car’s operating temperature stayed steady at 180 all the while. We let the car cool down and checked the coolant level once again, as well as doing a final check for any leaks. We then hosed down the driveway thoroughly to remove any stray antifreeze that may have evaded capture during the draining or flushing operations.
Oh, yes – one final note. When we removed the old radiator, guess what? We found that it was a brass/copper unit! The previous owner should have spent less money on chrome under-hood eye-candy and sprung for a genuine aluminum radiator, but he didn’t. Remember what I said about the false economy.
PARTS
1963 aluminum radiator w/date code & stickers
1963 aluminum expansion /surge tank w/date code
Surge tank straps set (1963) (1964-1972)
Our Catalogs
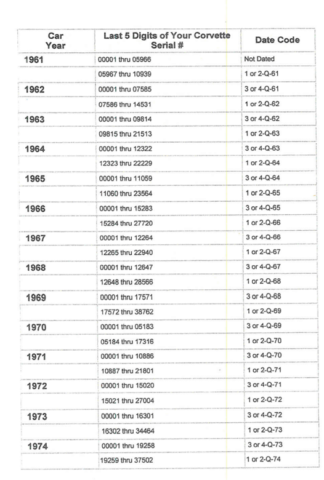
Radiator date code chart
Text and Photos by TOM BENFORD