If you think about it, your C5 or C6 Corvette door hinges take quite a beating. When open, they’re required to support the entire weight of the door, then take the shock of sudden closure when the door is shut. They do this time after time, year after year, without complaining—for the most part. All they ask for in return is a little periodic lubrication to continue doing their job. When Corvette door hinges aren’t lubricated, things can go bad in relatively short order.
Noticing the Signs for Replacement
We started noticing a distinctive clicking sound when the passenger door was opened, which got progressively worse over the course of a couple of weeks. Then, the door started to bind against the fender when opened and dip noticeably when opened—both indicators that we had a bad hinge. Upon inspecting both upper and lower Corvette door hinges, it was the lower hinge that was in bad shape and needed to be replaced.
We got new replacement hinges for both doors. The logic here was that if one hinge failed, the others would probably follow suit in the not-too-distant future.
Even though we replaced the upper and lower hinges on both doors, this blog will focus on the replacement of the lower passenger door hinge since that was the initial culprit. However, the procedures we’re showing here work for replacing upper, lower, or all the Corvette door hinges.
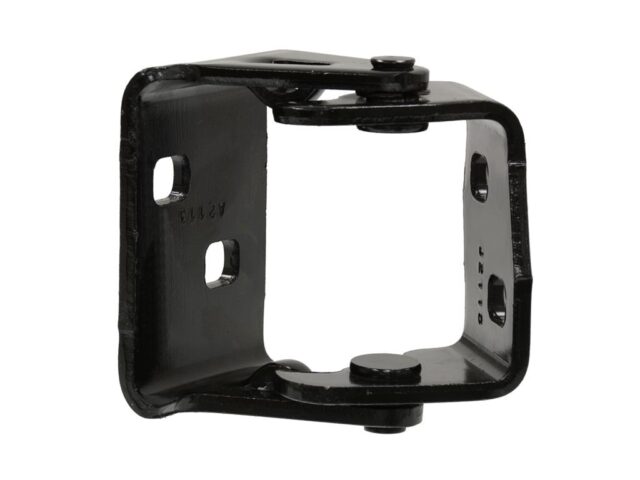
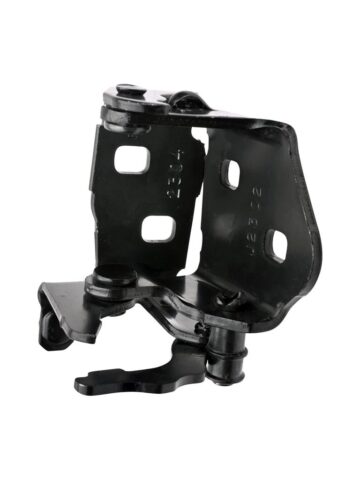
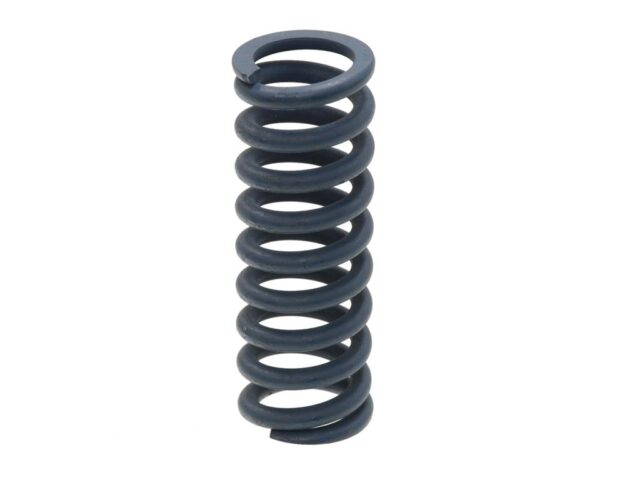
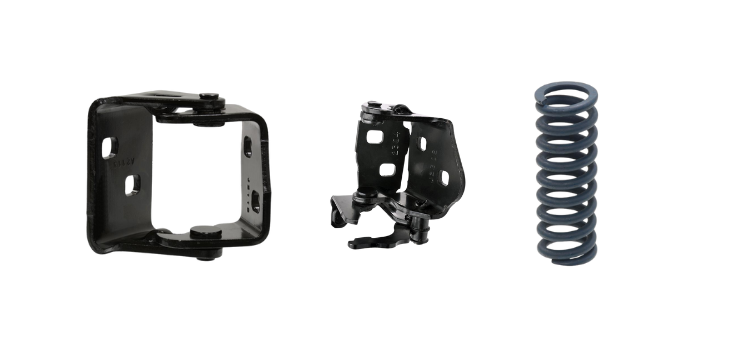
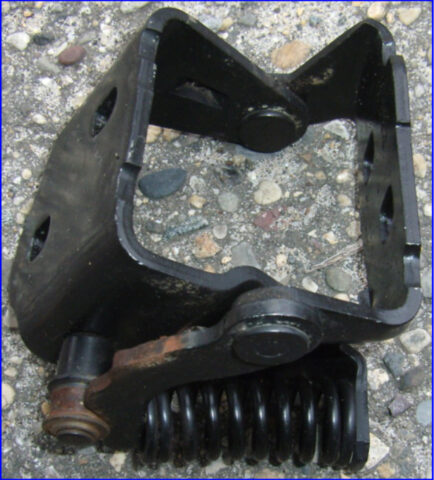
The images above show new upper hinges (part number 285091), lower hinges (part number 285123), and a new lower spring (part number 285072) available from Corvette Central.
#1. Inspect Your Hinges
We started by evaluating the current state of our original lower passenger door hinge, which showed signs of corrosion. We knew it was time to replace the hinge.
#2. Jack the Door Up
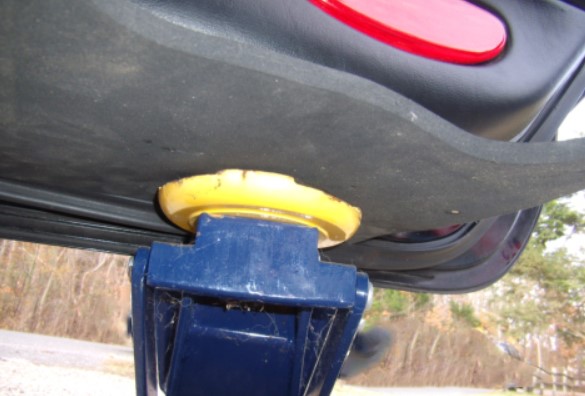
Open the problem door and support it at the trailing edge with a trolley jack. We had some scrap rubber material in the shop which we used to cushion the bottom of the door, but you can use a folded shop rag or corrugated cardboard for this purpose as well. Jack the door up just enough to take the weight off the Corvette door hinges.

#3. Remove Hinge Bolts
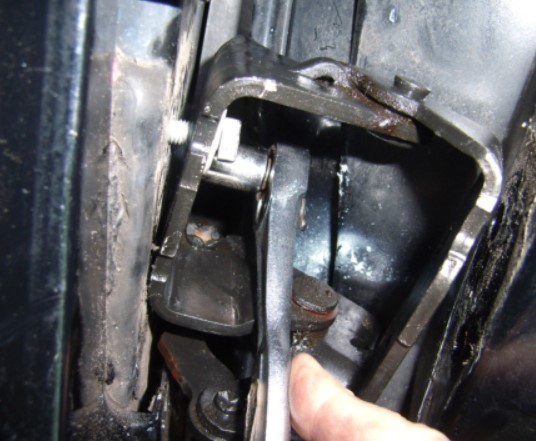
In this photo you can see how badly this lower passenger hinge is rusted. Lack of lubrication on the Corvette door hinges allowed the rust and accelerated wear. All of the door hinge bolts are 13 mm. We used both a box wrench and a socket on these bolts. We found that the bolts on the door side of the hinge were easier to remove with the box wrench.
#4. Continue Bolt Removal
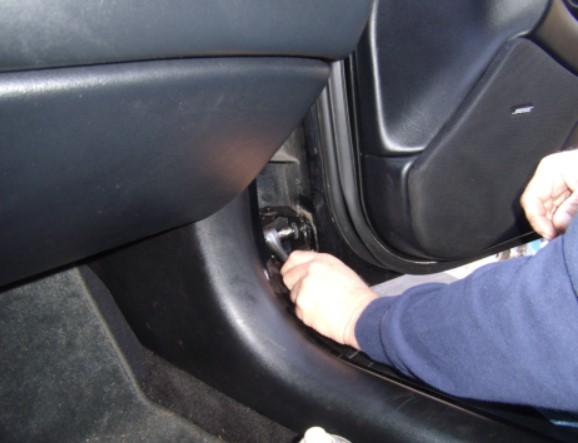
The bolts on the body side of the hinge were easier to access with the socket. There are four bolts per hinge for both upper and lower hinges.
#5. Replace Your Hinge and Make Adjustments
When all four bolts are out, remove the bad hinge, replace it with a new one, and hand-start the bolts, continuing with the wrench/socket to make them relatively tight. Snug up one bolt on each side (body and door) and lower the jack to make sure the door latches correctly. If it doesn’t, jack the door back up and make adjustments to your Corvette door hinges until they do close and latch properly, then tighten up all the hinge bolts.
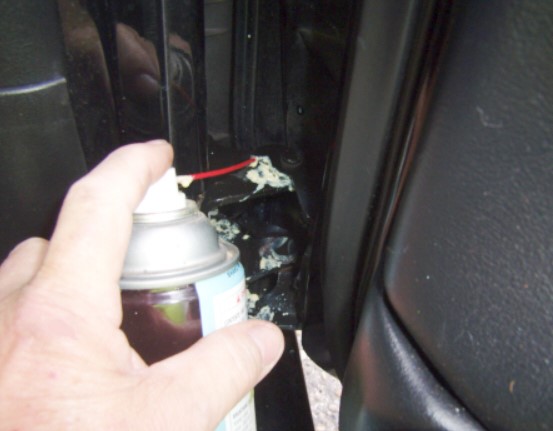
#6. Lubricate Your Corvette Door Hinges
Be sure to lubricate the new hinge (and any others) generously with white lithium grease or another suitable lubricant so that you don’t have to replace it (or them) again for a long, long time. That’s it!
Ready to Replace Your Corvette Door Hinges?
Get the high-quality parts you need for a job well done. At Corvette Central, we offer the C5 and C6 parts you need to swap out Corvette door hinges with ease.
Photos and story by Tom Benford
Installed verticle door hinges and want to replace them with stock hinges. C5 convertable. Please give me prices on all parts.
Here are our part numbers as well as links to our listings. I do not currently have the upper left door hinge available in stock.
Lower Door Hinges:
#285123L
https://www.corvettecentral.com/c6-05-13/doors/handles-latches-hinges/97-13-lower-door-hinge-97-04-left-05-13-right-285123l?returnurl=%2fsearch%3fcurrentsearchcategoryid%3d%26q%3d285123
#285123R
https://www.corvettecentral.com/c6-05-13/doors/handles-latches-hinges/97-13-lower-door-hinge-97-04-right-05-13-left-285123r?returnurl=%2fsearch%3fcurrentsearchcategoryid%3d%26q%3d99%2bdoor%2bhinge
Upper Door Hinges:
#285091L
https://www.corvettecentral.com/c6-05-13/doors/handles-latches-hinges/97-13-upper-door-hinge-left-285091l?returnurl=%2fsearch%3fcurrentsearchcategoryid%3d%26q%3d99%2bdoor%2bhinge%26count%3d27
#285091R
https://www.corvettecentral.com/c6-05-13/doors/handles-latches-hinges/97-13-upper-door-hinge-right-285091r?returnurl=%2fsearch%3fcurrentsearchcategoryid%3d%26q%3d285091