Replacing the ball joints in a C4 isn’t as hard as most people think, although it is a bit time consuming and a complete front-end alignment is required after the installation is complete. The hardest part of this project is the removal of the upper control arms, but once they’re out of the car, the rest of the project is fairly straight forward, so that’s where we’ll pick it up here.
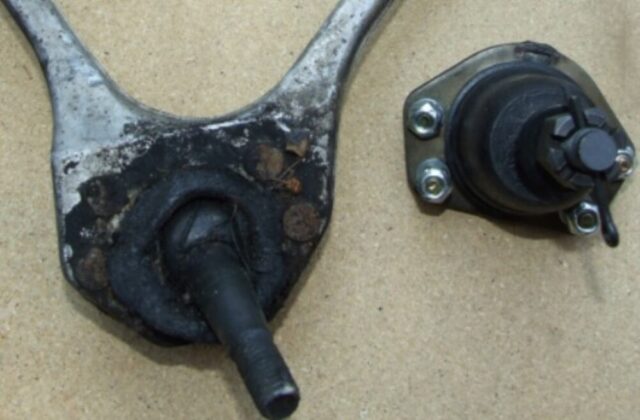
The stock factory ball joint still in the control arm at the left and the new replacement ball joint at the right. The original has seen better days for sure, and that’s why it’s being replaced.
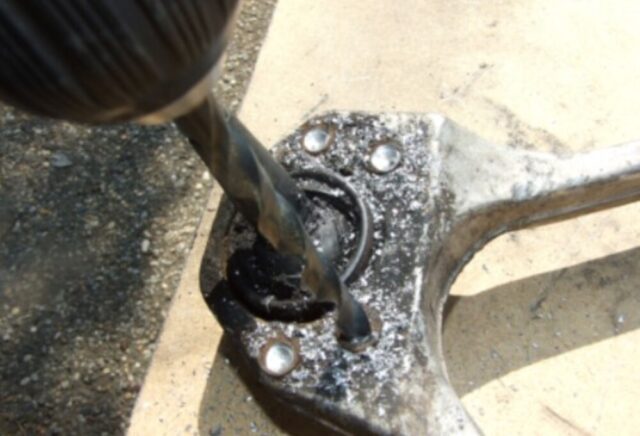
The ball joints are riveted to the control arms at the factory, so the first task is to drill out the heads of the rivets, then knock the rivets out using a punch and a ball pein hammer.
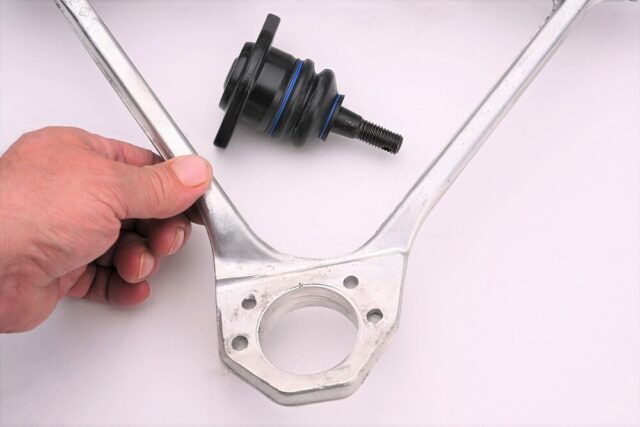
Here’s the control arm after removing the original ball joints. A 3M scuff pad or some steel wool can be used to clean up the aluminum control arm prior to installing the new ball joint.
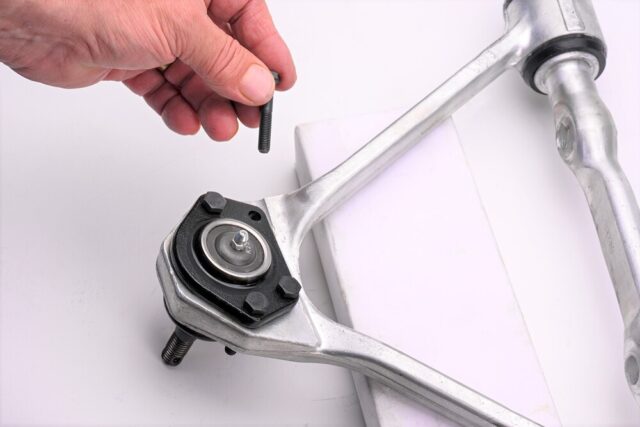
Installing the new ball joints is simply a matter of bolting them in using the supplied hardware and securing them with the nylon lock-nuts. Supporting the control arm with a block of wood makes the job a bit easier.
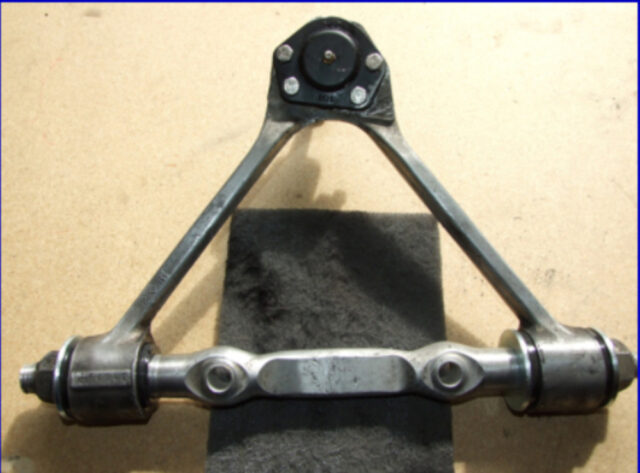
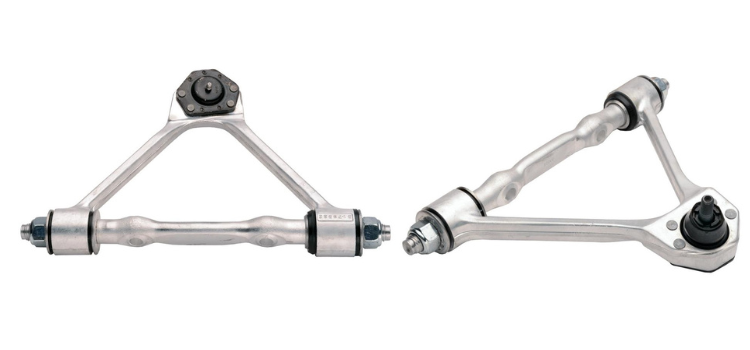
Here’s the refurbished control arm with new ball joints and bushings installed, all cleaned up and ready to re-install in the C4.
Show how much fun it is to replace the bushings