Article and photos by Tom Benford
Like all things mechanical, the serpentine belt tensioner and idler pulley on your C5 or C6 Corvette engine will eventually wear, develop play, and require replacement. Here’s how to identify when that time comes and how to handle the replacement.
When Does a Corvette Serpentine Belt Need to Be Replaced?
A slight squeaking noise coming from either the tensioner pulley or the idler pulley — or both — is a good indication that it’s time to install new units. These are two components associated with the serpentine belt. When one or more of these components aren’t functioning correctly, it’s time to replace, and it’s often most time- and cost-effective to do replace them all.
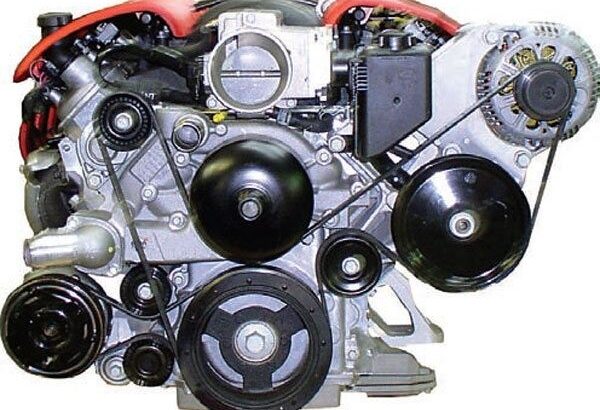
Here’s a photo of all the tensioners and belts on your engine.
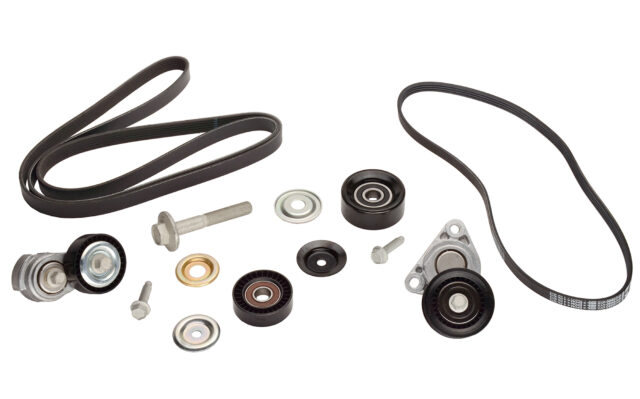
Shop C5 Corvette pulley, tensioner, and balancer parts here.
Shop C6 Corvette pulley, tensioner, and balancer parts here.
Intro to Our Corvette Serpentine Belt Replacement Example
When it became necessary to replace the tensioner on this C5 Corvette, we decided that the most prudent course of action was to replace the idler pulley and put on a new serpentine belt at the same time. The reasoning here was that if one element (the tensioner) had sufficient wear and required replacement, then the idler pulley couldn’t be far behind. And even though the belt didn’t look at all bad, this was the ideal time to install a new one, since the old one had to come off anyway in order to replace the tensioner and pulley.
We also decided to stow the old serpentine belt in the trunk of the C5 rather than throwing it away. It only weighs a few ounces and doesn’t take up much room, so what’s the harm in keeping it in the trunk? After all, you never know when an emergency might arise and it could save the day or maybe for some other Corvette owner on the side of the road that we might be able to rescue.
How to Replace a C5 Corvette Serpentine Belt: Steps & Photos
Firstly, it’s important to note that serpentine belt, tensioner, and idler pulley replacement is virtually the same for C4 and C6 Corvette models. Here are the basic steps.
1. Identify Factory Sticker
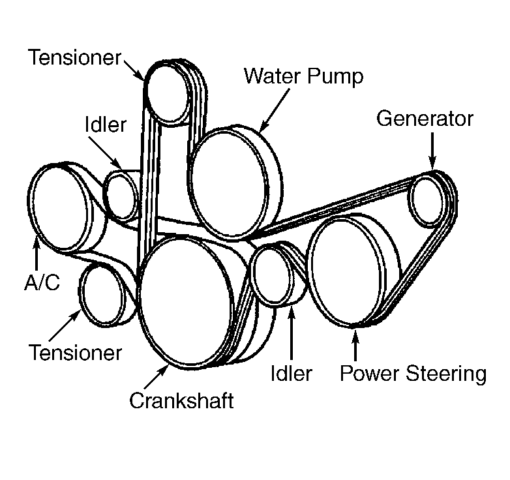
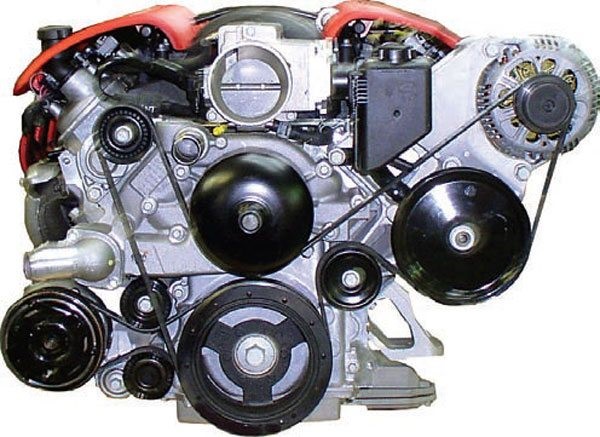
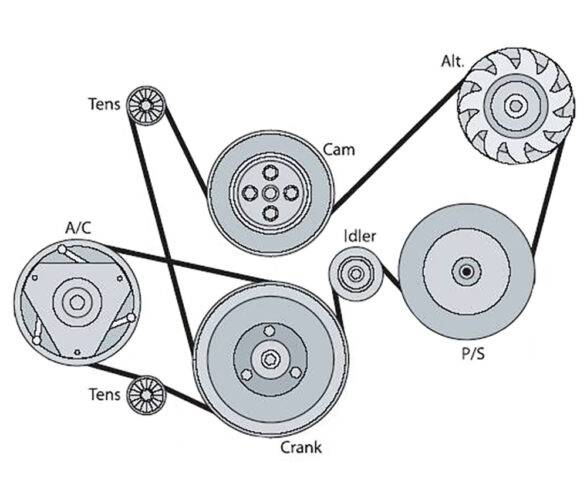
There’s a factory sticker on top of the inner left front fender of C5s that shows the belt routing in case you need a reference. However, the route the belt takes is pretty straightforward (in a roundabout kind of way).
2. Relieve Serpentine Belt Tension
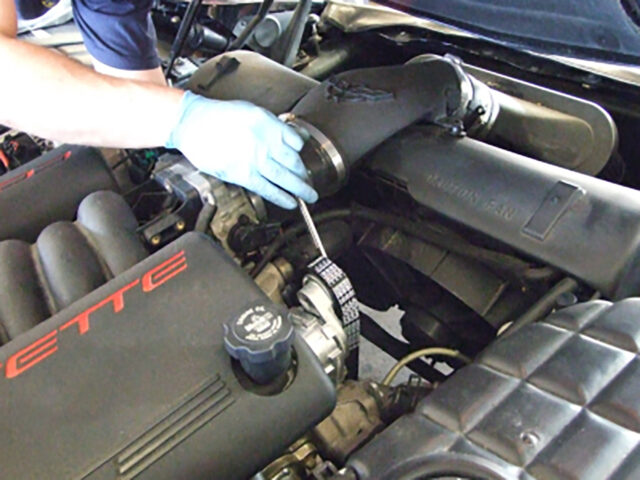
Standing on the driver side of the car, use the box end of the 15mm combination wrench to pull the nut on the tensioner pulley toward you. Doing this relieves tension on the belt so it can be slipped off and over the alternator pulley.
3. Remove Serpentine Belt
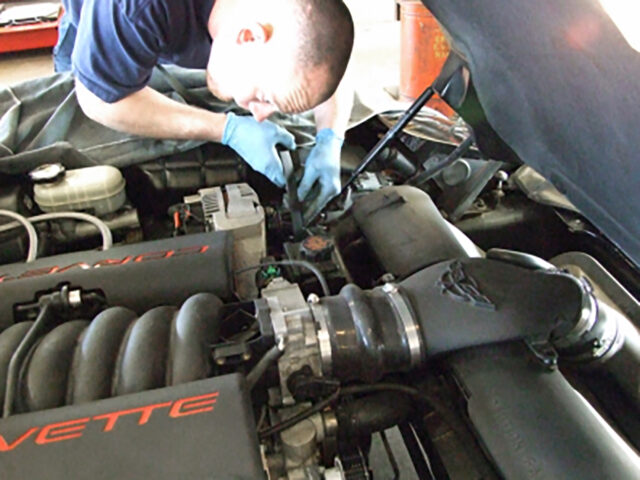
Once the belt is off the alternator pulley, slip it off the other pulleys and remove it from the car.
4. Inspect & Remove Tensioner
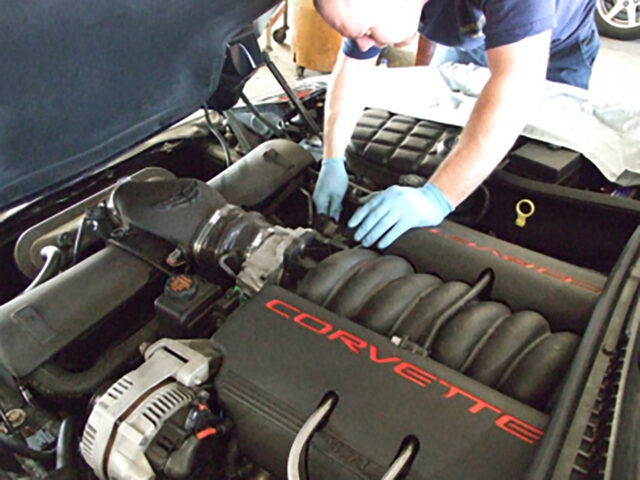
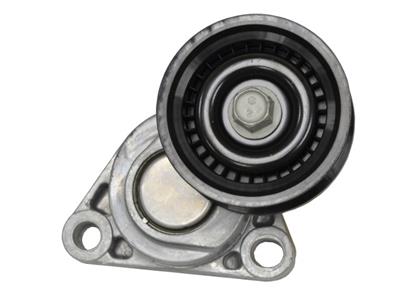
The tensioner is held onto the engine block with two 15mm bolts.
There should be absolutely no side play in the pulley on the tensioner. Ours had about 1/64th of an inch side play which indicated the end wasn’t far off. A slight telltale squeaking sound from the tensioner pulley is what alerted us to the problem in the first place.
5. Install New Tensioner
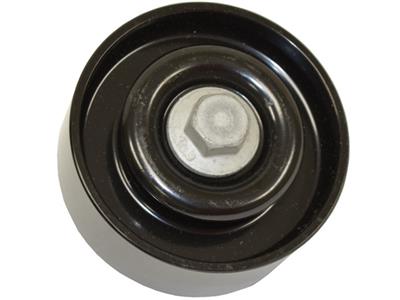
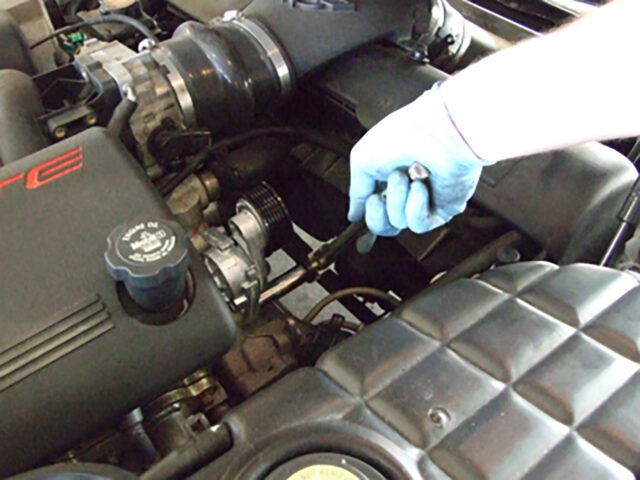
The air conditioning pulley and the one on the tensioner are both sealed units that can’t be lubricated, so when they start to wear there’s no saving them. They must be replaced.
The new tensioner is installed by inserting and tightening the two 15mm bolts to retain it. Make sure they’re nice and tight.
6. Remove Old Idler Pulley & Install New One
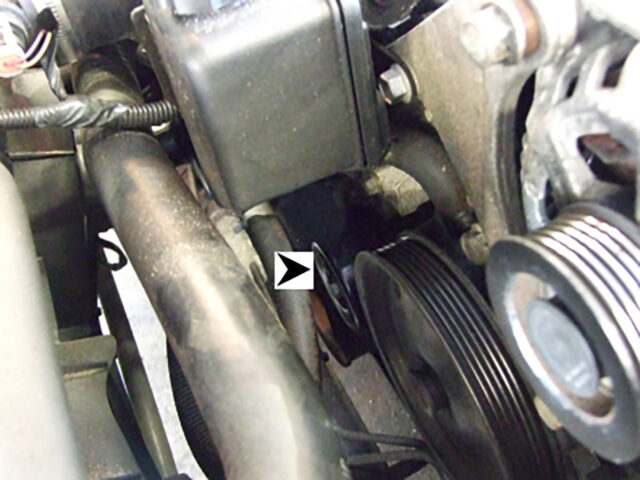
You’ll have to reach in with your socket and ratchet to get to the 15mm bolt that holds the idler pulley in place (the arrow is pointing to it). For this reason, you’ll want to make sure that the engine is cool so you don’t have the discomfort of your arm rubbing against a hot radiator hose.
The replacement pulley installs in the exact reverse of the procedure you used to take the old one off. Again, make sure this bolt is good and tight.
7. Thread New Serpentine Belt In
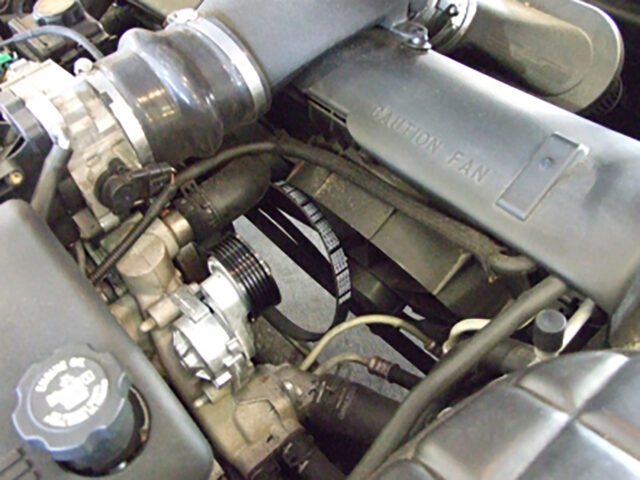
Once the new tensioner and idler pulley is in place, thread the new serpentine belt around the alternator pulley through the path shown in the routing diagram, so that the only thing that the belt isn’t around yet is the tensioner pulley.
8. Wrap the Serpentine Belt Over the Tensioner Pulley
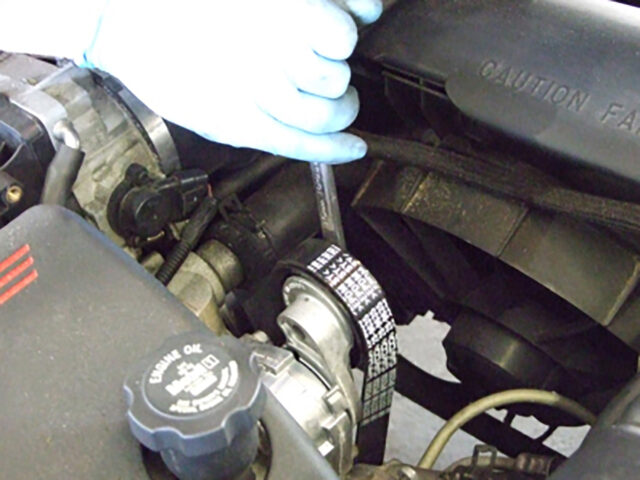
Again standing on the driver side, put the slack belt loop next to the tensioner pulley, put the box end of your 15mm wrench on the pulley nut and pull it toward you, then slip the belt over the tensioner pulley, and release the wrench so the tension takes up any remaining slack in the belt.
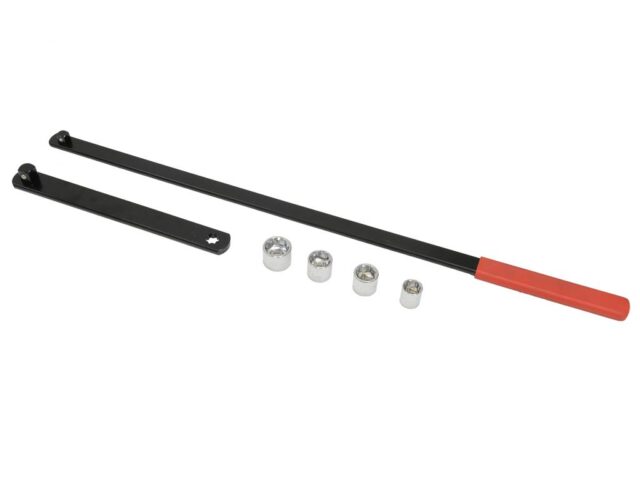
We also offer a tool to assist in the job (pictured below). This tool is a must for removing and installing serpentine belts with a spring-loaded idler pulley. The 23-inch long slender design provides proper reach and prevents damage.
Get Serpentine Belts & Other Replacement Parts for Your Corvette at Corvette Central
If you’re on a mission to replace the serpentine belt or other engine parts in your Corvette, trust Corvette Central to offer the highest quality supply. As Caretakers of the Legend since 1975, we’ve been providing Corvette owners and enthusiasts with everything they need to maintain, fix, and upgrade their cars. Explore our full inventory at corvettecentral.com.
I have a C6 2013 60th anniversary LS7 (427) convertible 15,000 miles, is the serpentine belt replacement instructions the same as the LS1 C5 an the LS2-LS3 C6.
also I own a 2023 C8 coupe an would like to have catalog on the c8 if you have one in print . I like to sit an look through the catalog to see what I want to buy next , I prefer the catalog over the internet.
Thank you; creighton j. williams (john)
I like the C5, C6 serpentine belt and tensioner replacement instructions with examples. I have a 2012 with 20,000 miles and like to do my own maintenance as possible.
I will add this to my things to do when needed.!