Tools needed:
- ratchet or drill
- 9/32″ or 7mm socket
- 10mm socket
- 13mm socket
- deadman tool
- small flat head screwdriver
- pry bar
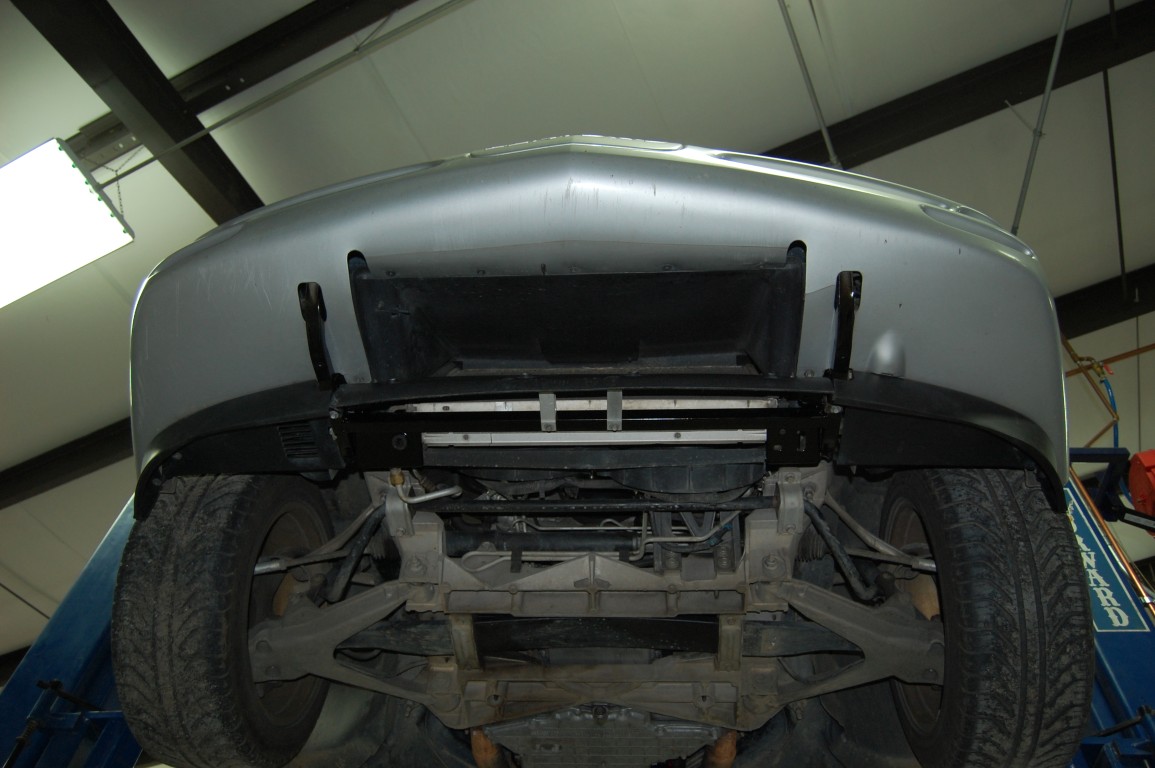
If you are fond of putting miles on your C5, you will likely need to replace your skid plate/radiator support at some point. The support literally takes a beating. Even the most careful owner can unintentionally come into contact with a parking bumper or bottom out on a speed bump.
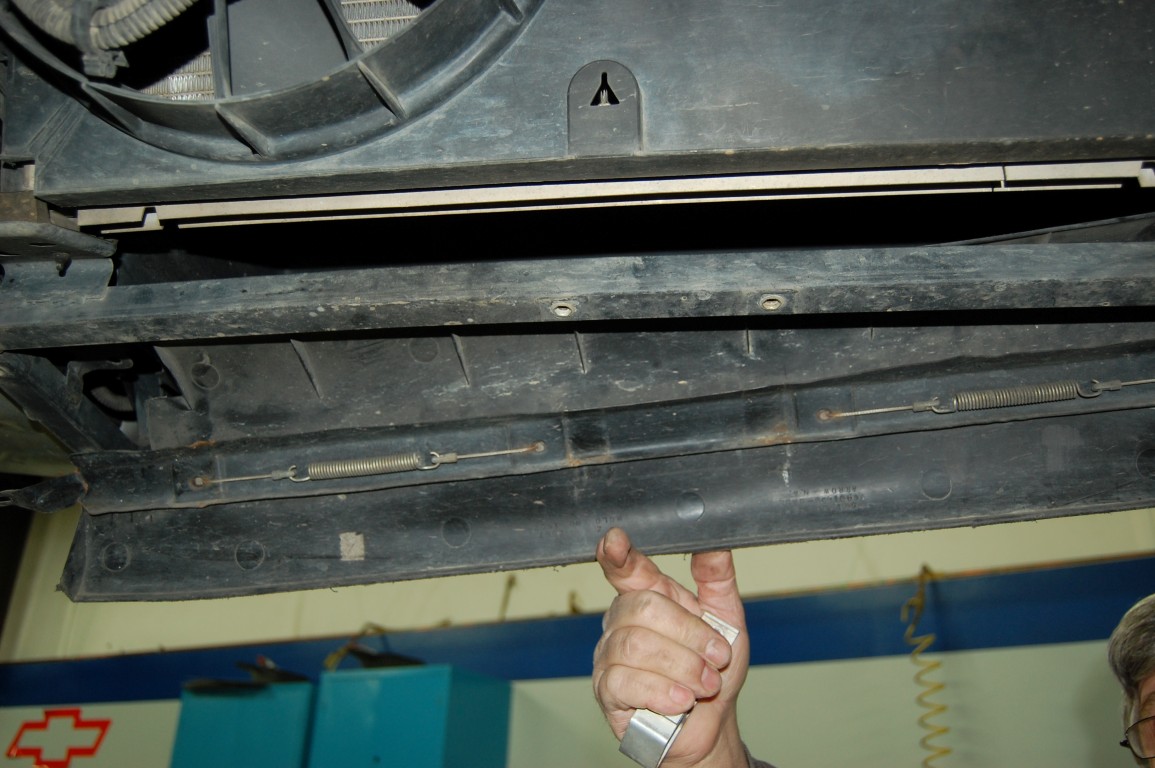
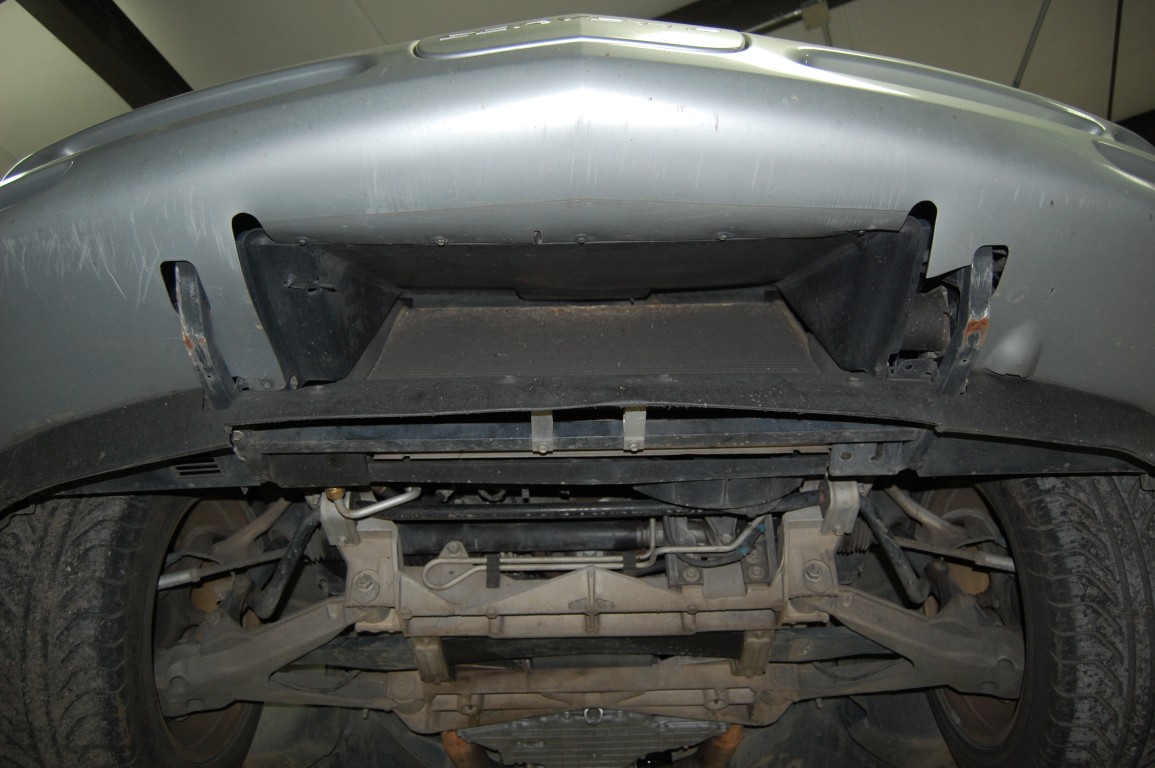 This skid plate has come into contact with a parking bumper at least once, as evidenced by the missing paint and resulting rust. It is also worth noting the missing bumper flap located near the driver’s side of the skid plate, which likely snapped due to friction.
 If the contact is severe enough, you may end up damaging one or both of the valance panels as well as the front spoiler, although they may have simply worn out. Either way, now is the best time to replace them if necessary.
 Remove the bolts holding the valance panels with a 9/32” or 7mm socket.
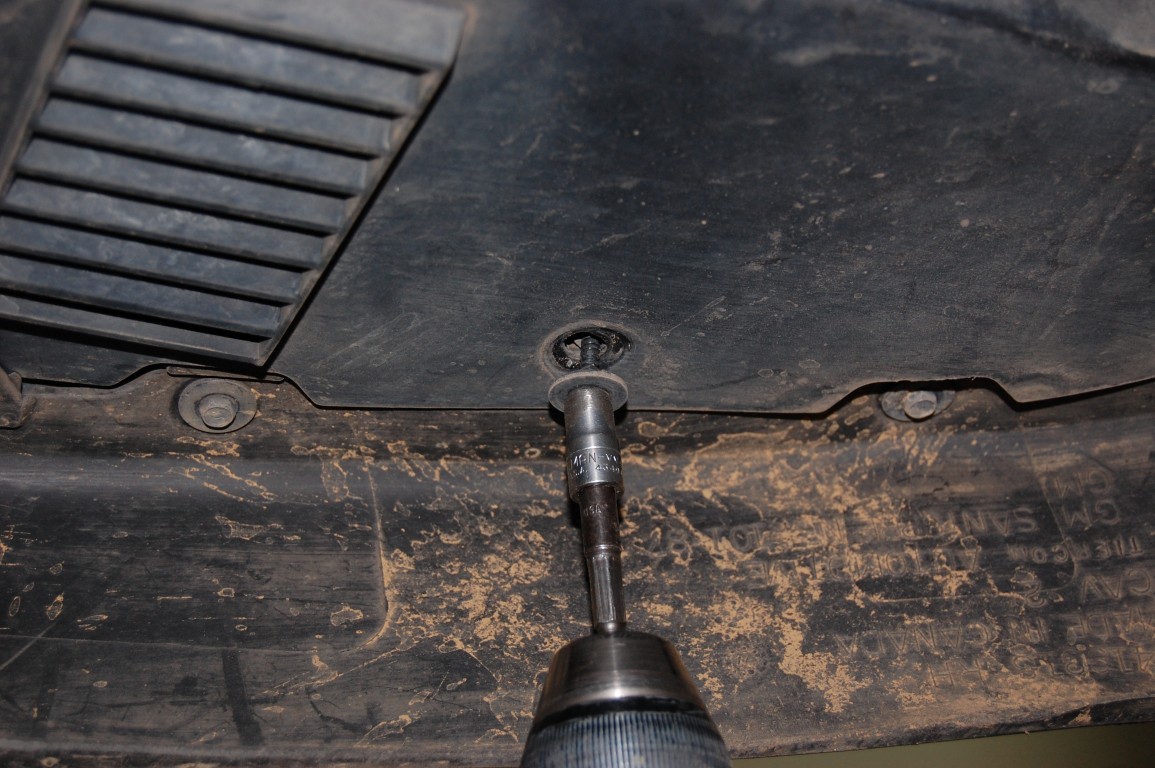 Now you will need to remove the lower inner fender extensions, which are also held with 9/32” bolts. You may want to set aside the valance panels (if they are in good condition) and lower inner fender extension covers and wash them before reinstalling them.
 Remove the spoiler by loosening the two 10mm bolts on the extreme left and right side of the spoiler.
 Remove the two 10mm bolts holding the spoiler support brackets in place.
 Move the spoiler out of the way.
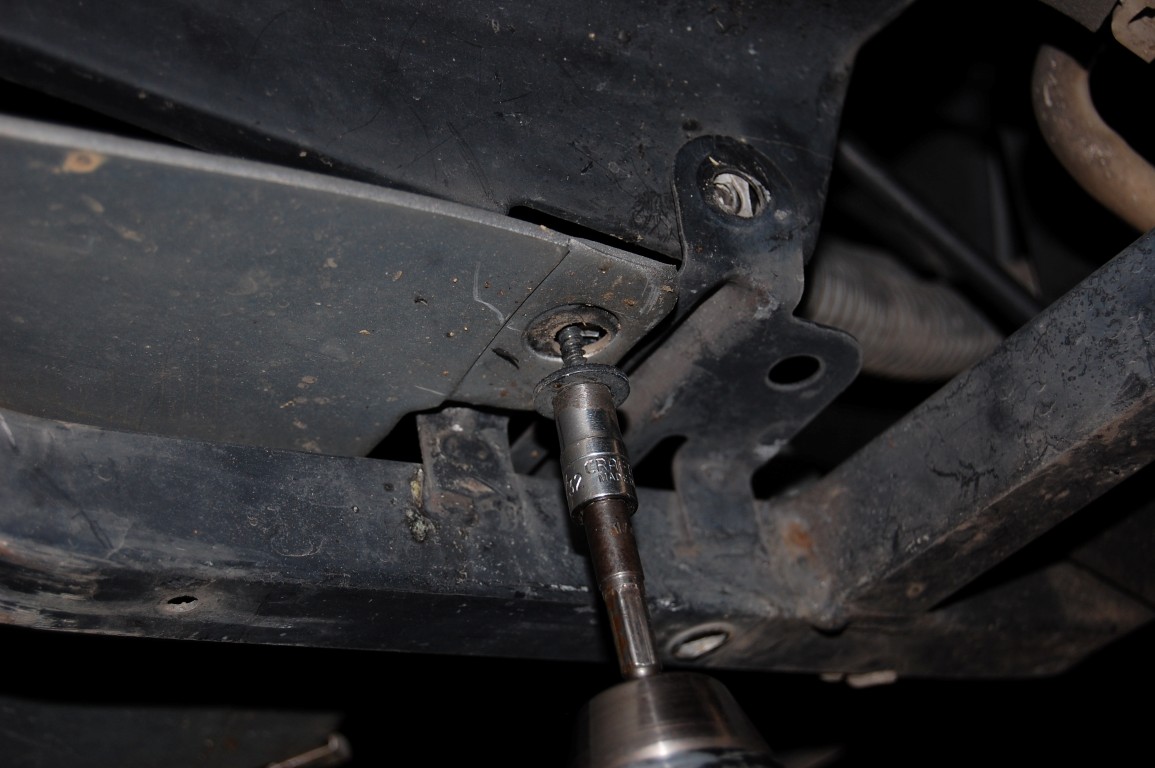
 Using your 7mm or 9/32” socket, remove the bolts that attach the radiator forward housing to the skid plate assembly.
 This is the perfect opportunity to replace the ambient air temperature sensor if it is malfunctioning or no longer working. Many times this sensor does not get reconnected during service and the outside temperature is stuck below zero. Corvette Central part number 455054 fits all 1997-2013 Corvettes.
 Remove these 9/32” bolts to free the bumper from the skid plate.
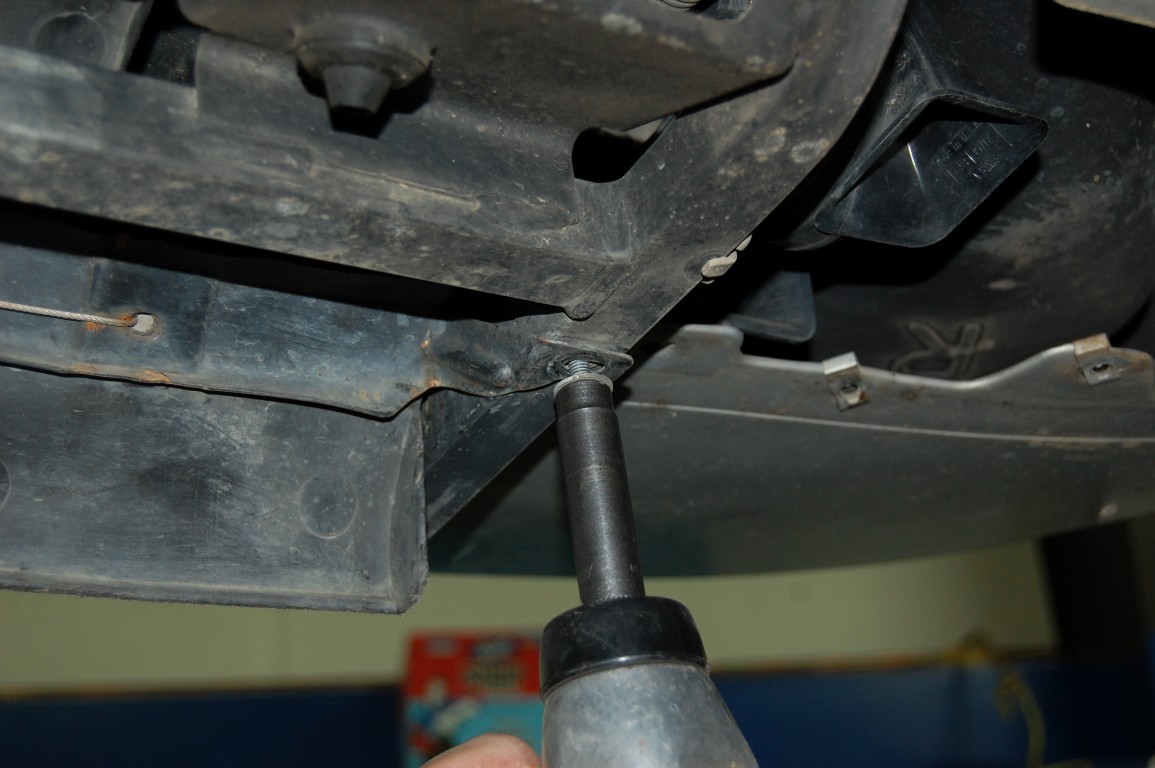
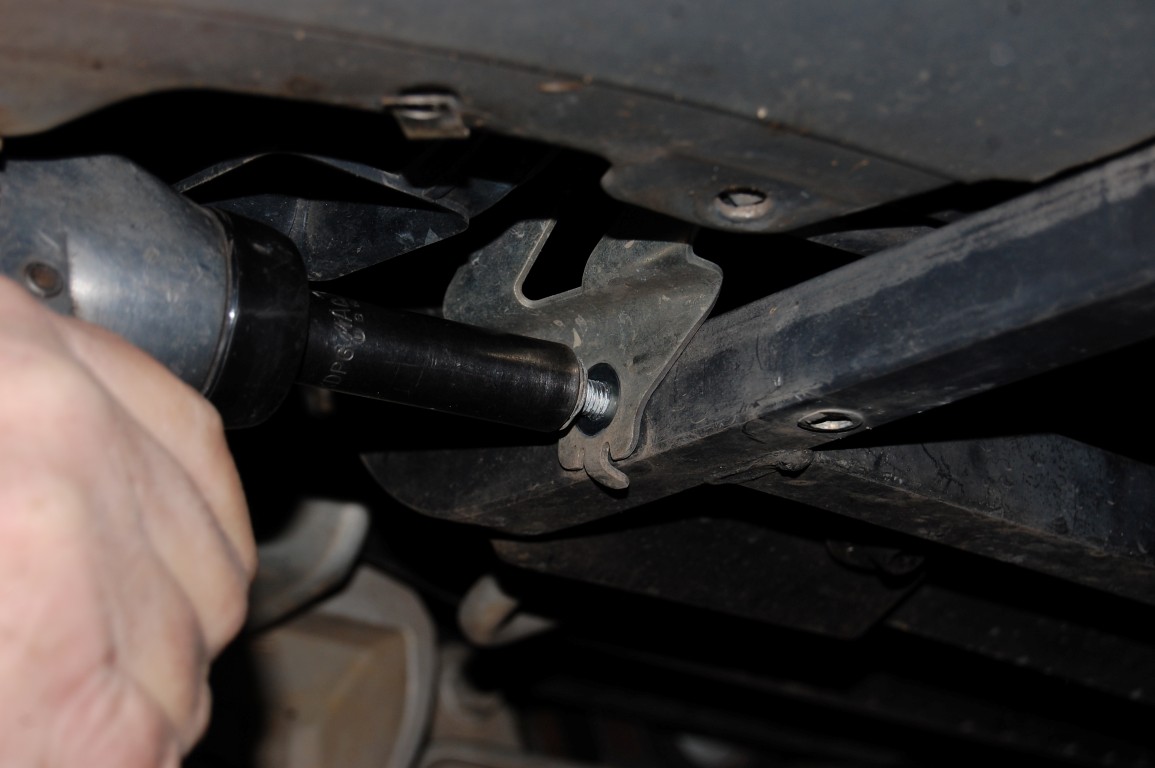 Remove the 13mm hex head bolt that holds the horn retainer support to the skid plate.
 Disconnect the Weather Pack connectors and place the horn assembly aside.
 Remove one of three 10mm screws that retain the A.I.R. (Air Injection Reaction) pump and valve assembly onto the skid plate assembly.
 This is one more A.I.R. pump assembly 10mm screw that needs to be removed; there is one more 10mm screw (above this screw, behind a connector) to remove.
 You may decide it is easier to remove the top A.I.R. 10mm screw with the brake cooling duct removed. In our project, we removed the duct assembly to access the lighting. The duct is twisted to the notch and pushed toward the front bumper and then up. As you can see, we remove it completely from the bottom.
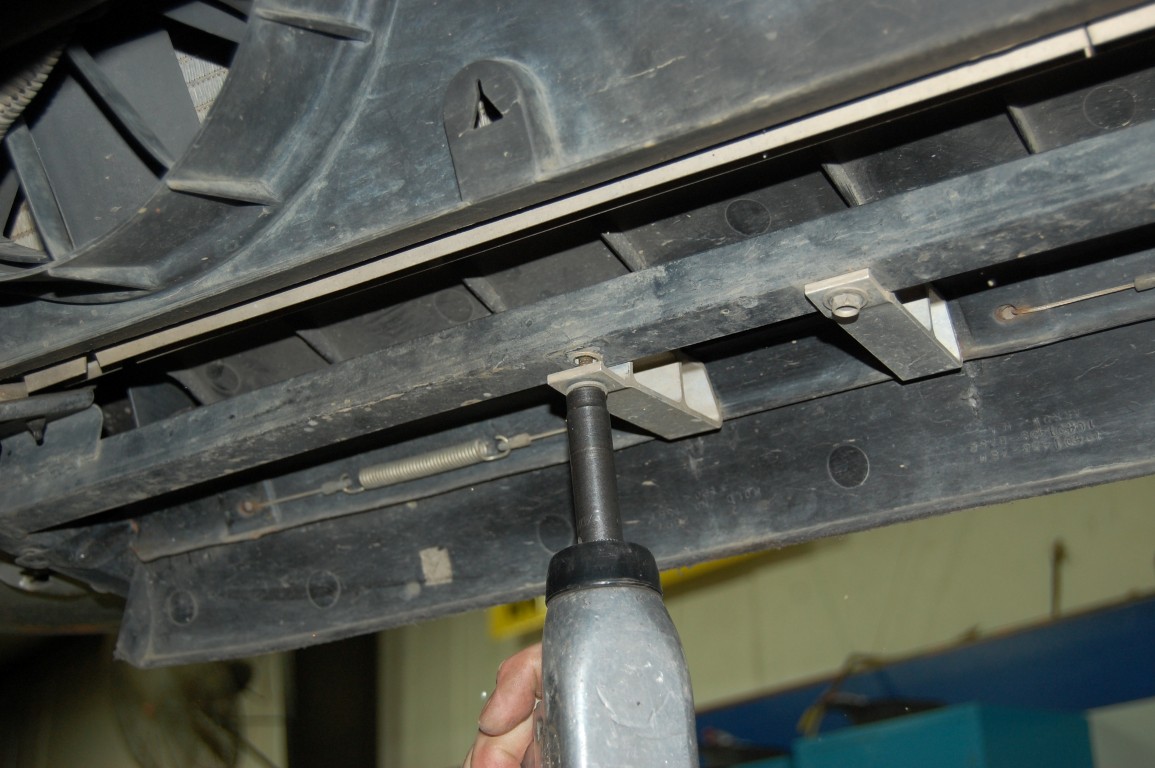
 The dead man keeps everything in its place so that we can remove three of the 13mm hex head skid plate-to-frame mounting bolts.
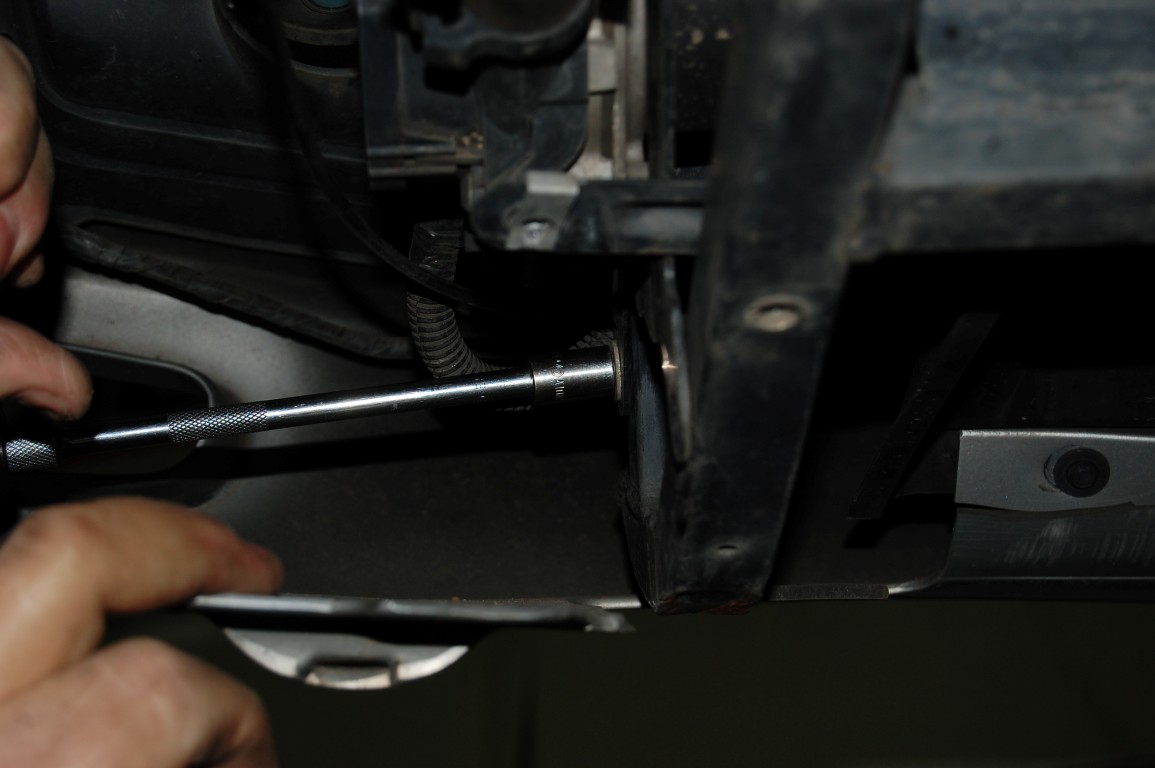
 This bolt is somewhat hidden by the A.I.R. system wiring harness on the driver’s side. An extension and universal socket makes this task easier.
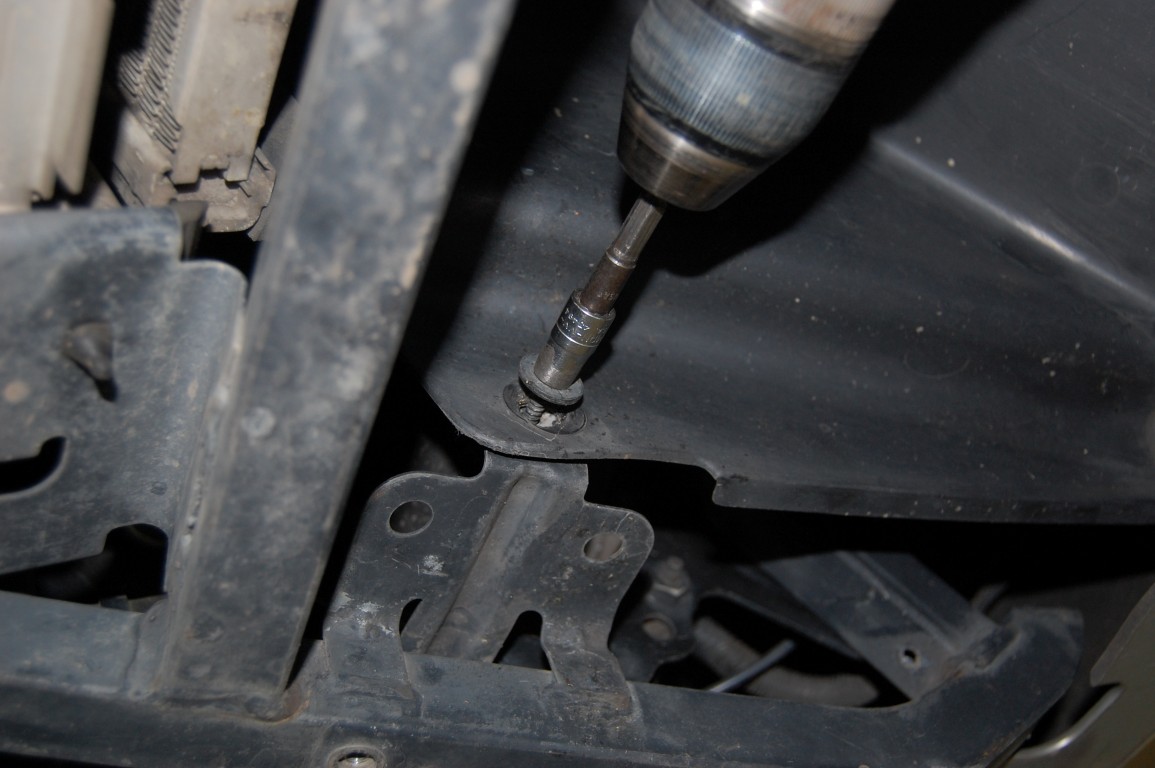
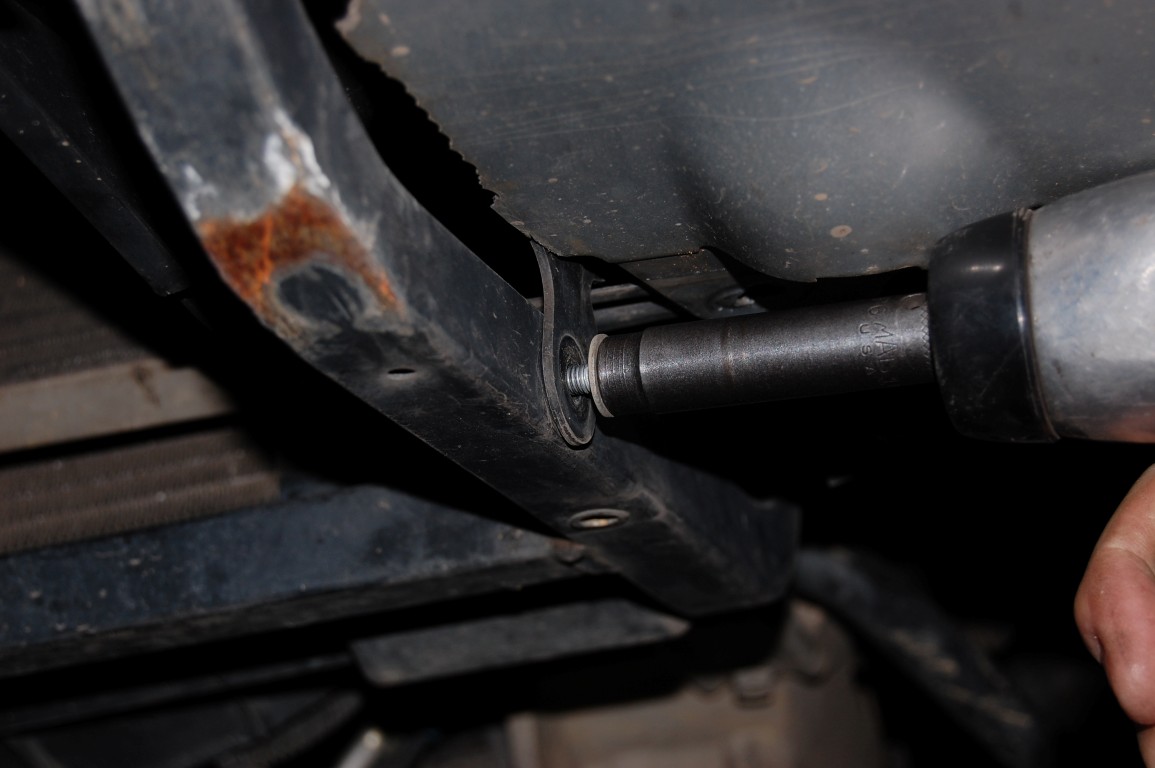
 Two 13mm hex head screws hold the skid plate at the rear on each side.
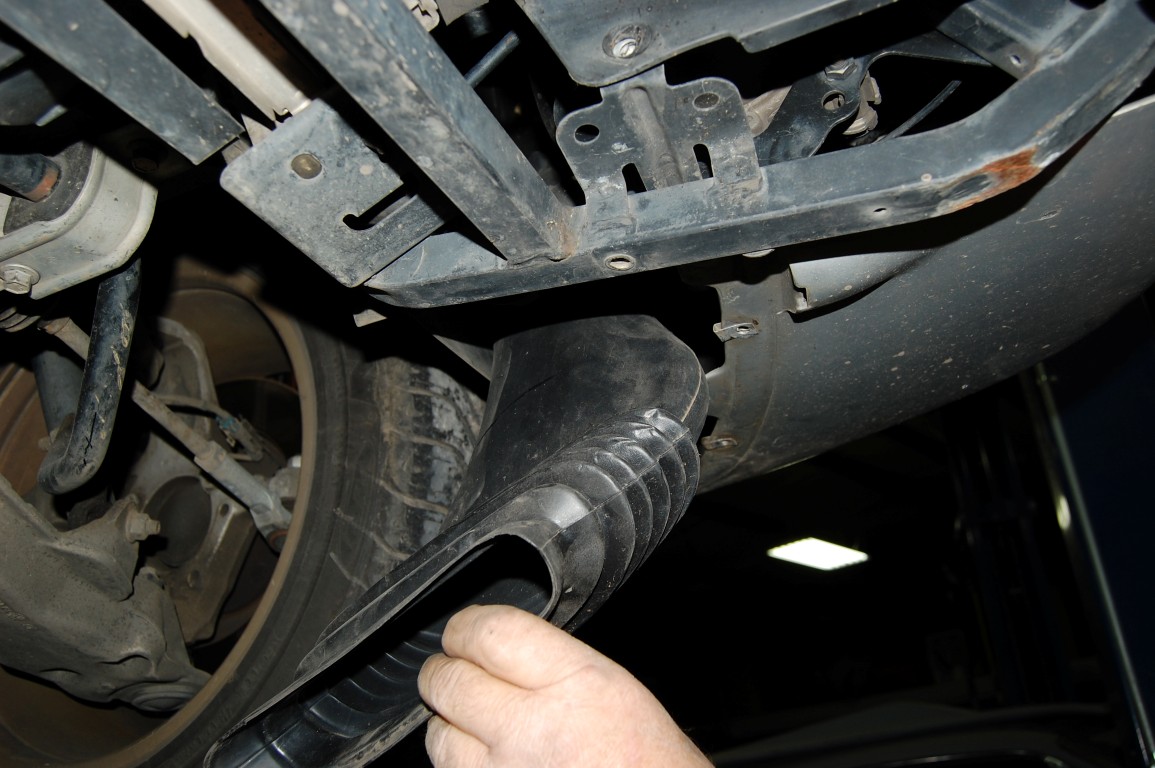
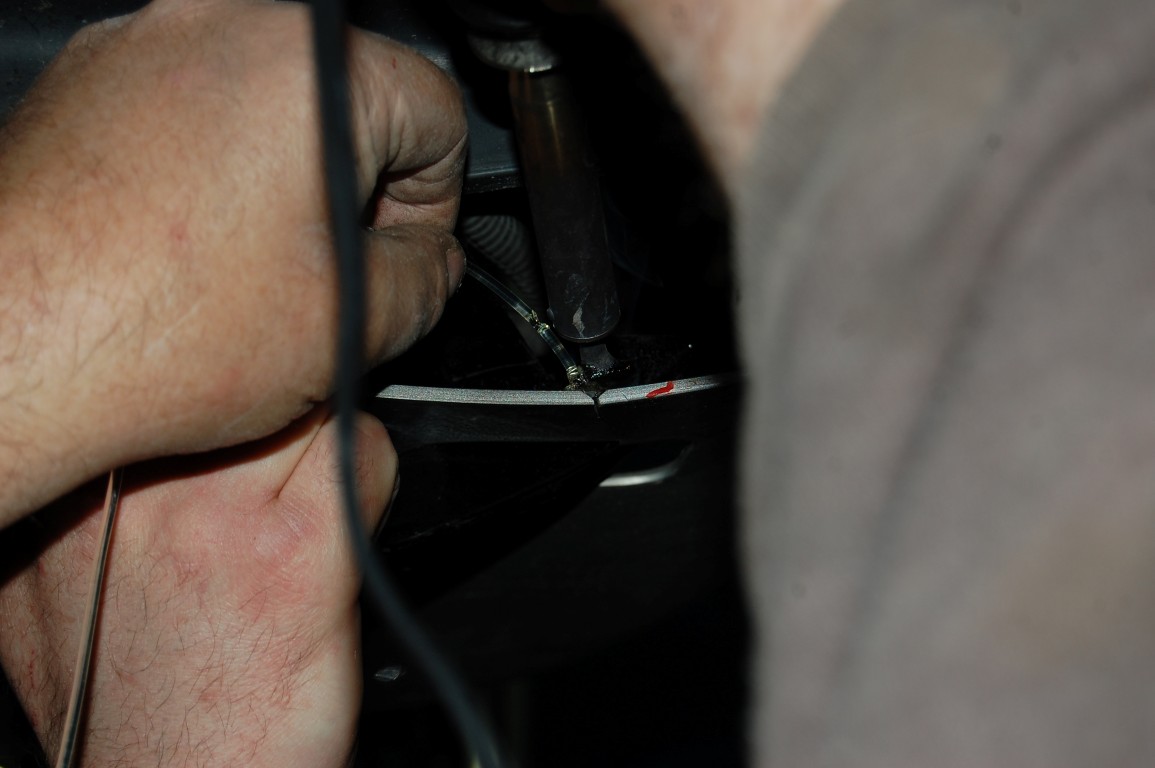
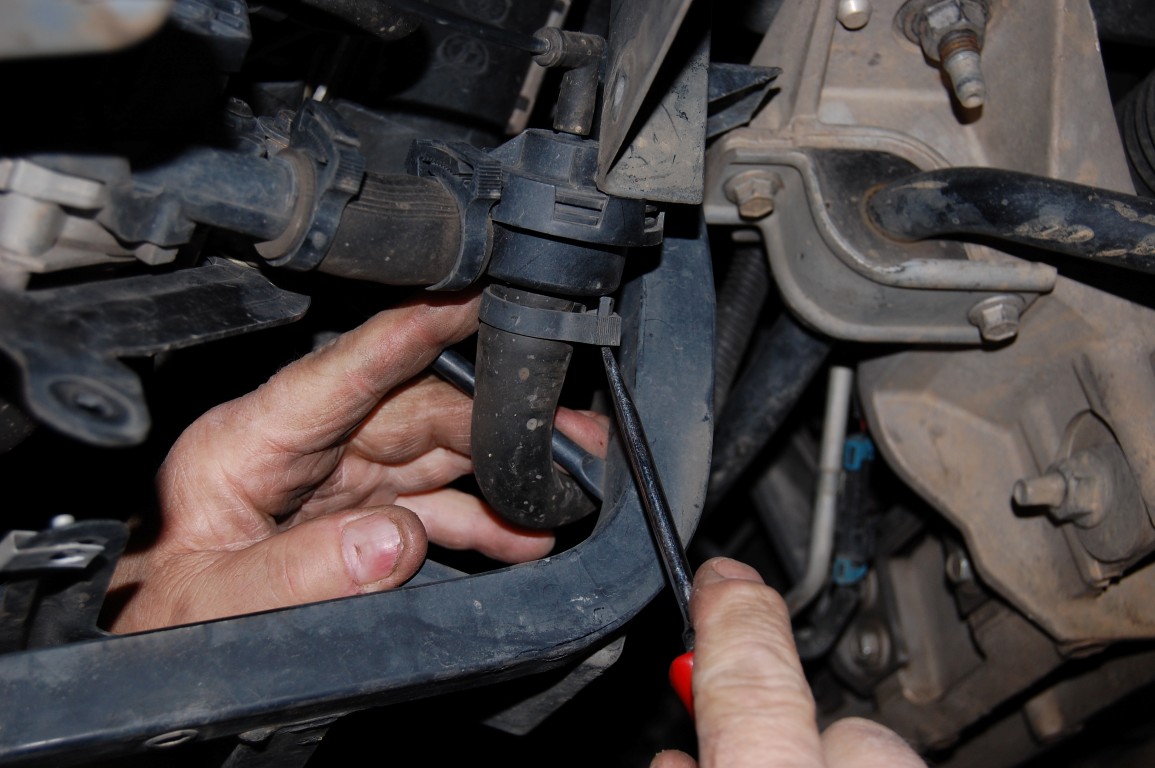 Disconnect the A.I.R. intake air supply hose that is fed through the skid plate. Notice that we release the clamp by pushing one of the internal band clamps fingers outward.
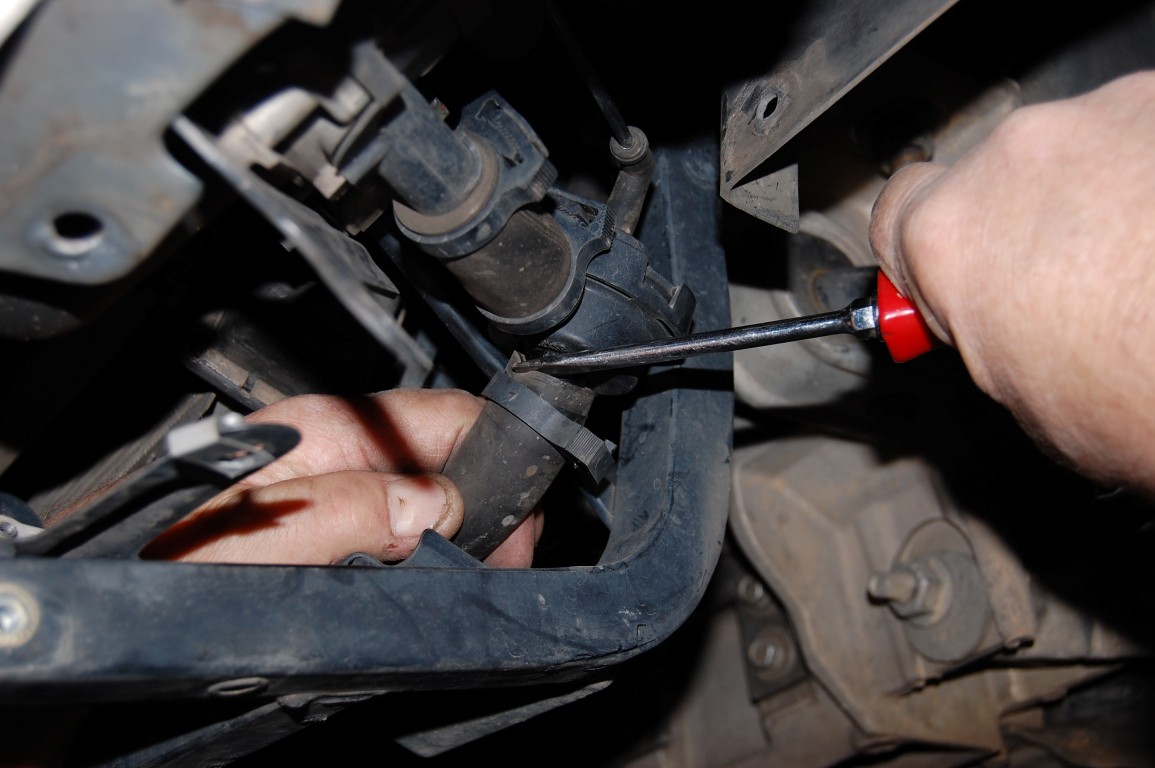 Use a screwdriver to push the hose off.
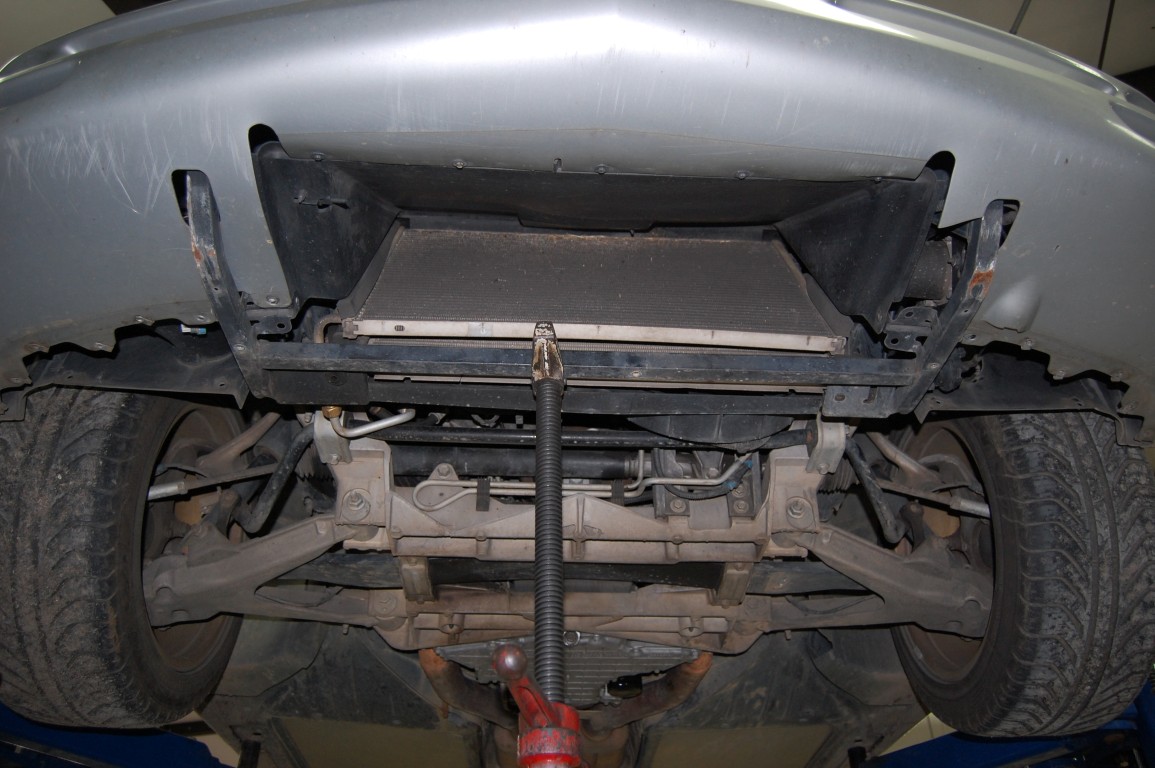
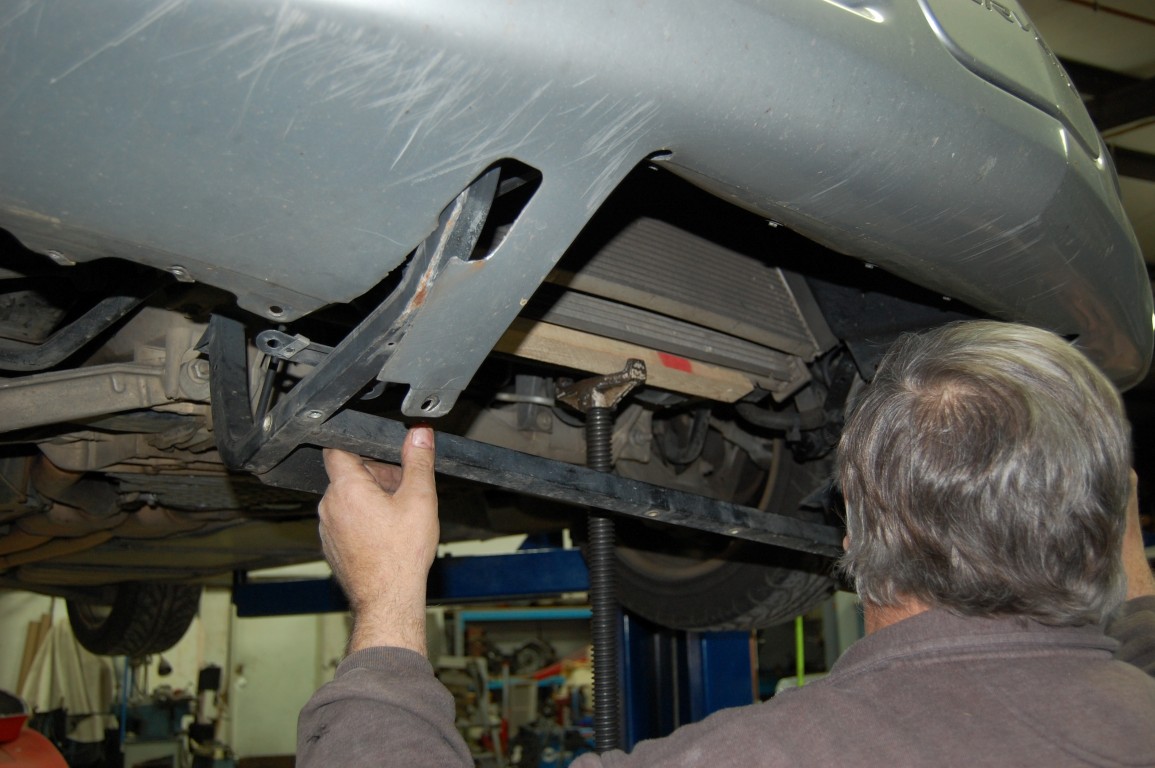 After repositioning the dead man to support the radiator, we can now remove the old skid plate. The A/C condenser is supported by the radiator; once the radiator is held stationary, all the other items are fine for skid plate removal. Use caution when bringing the skid plate down around the bumper flaps.
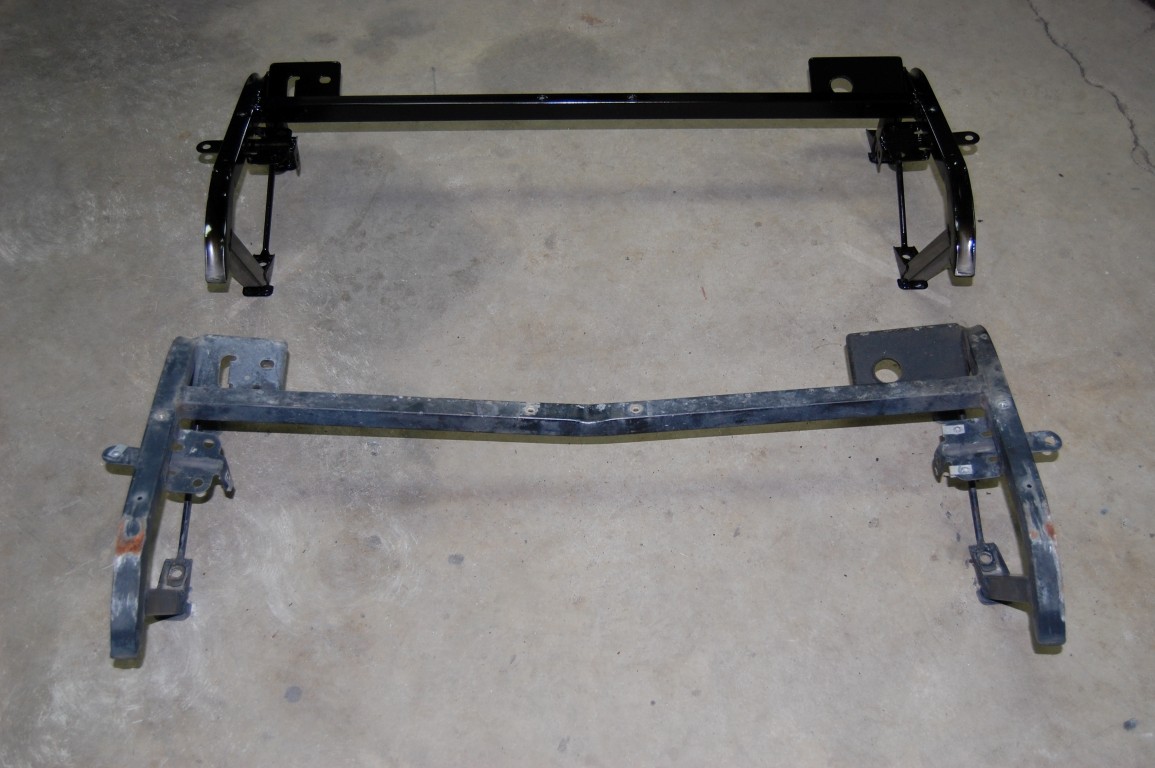 We applied a coat of acrylic enamel with hardener on the new skid plate to keep it from corroding. The light-weight stamped steel pieces need a coating to preserve them and it really makes it stand out!
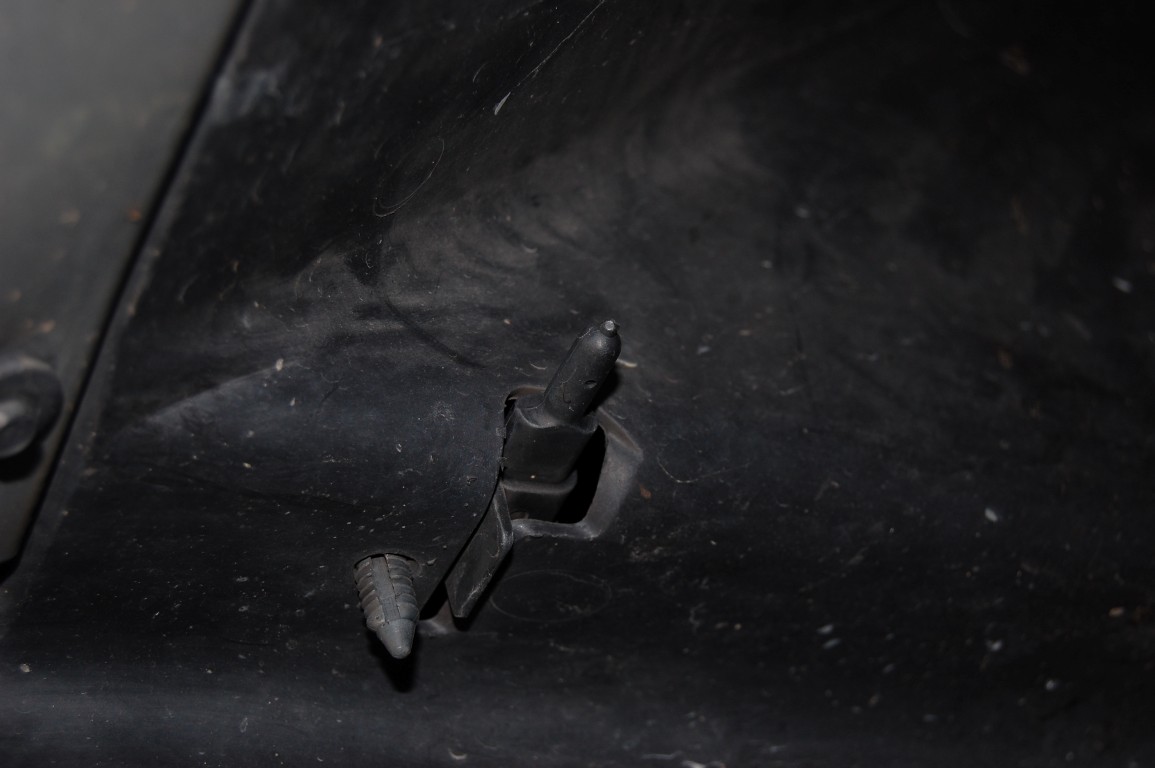
 There are a few of these J-clips used for the skid plate that must be removed and then installed on the new assembly. This mini screwdriver works well by pulling up the center retainer ring first. Once the clip is off, push the ring back down and the clip will stay in place.
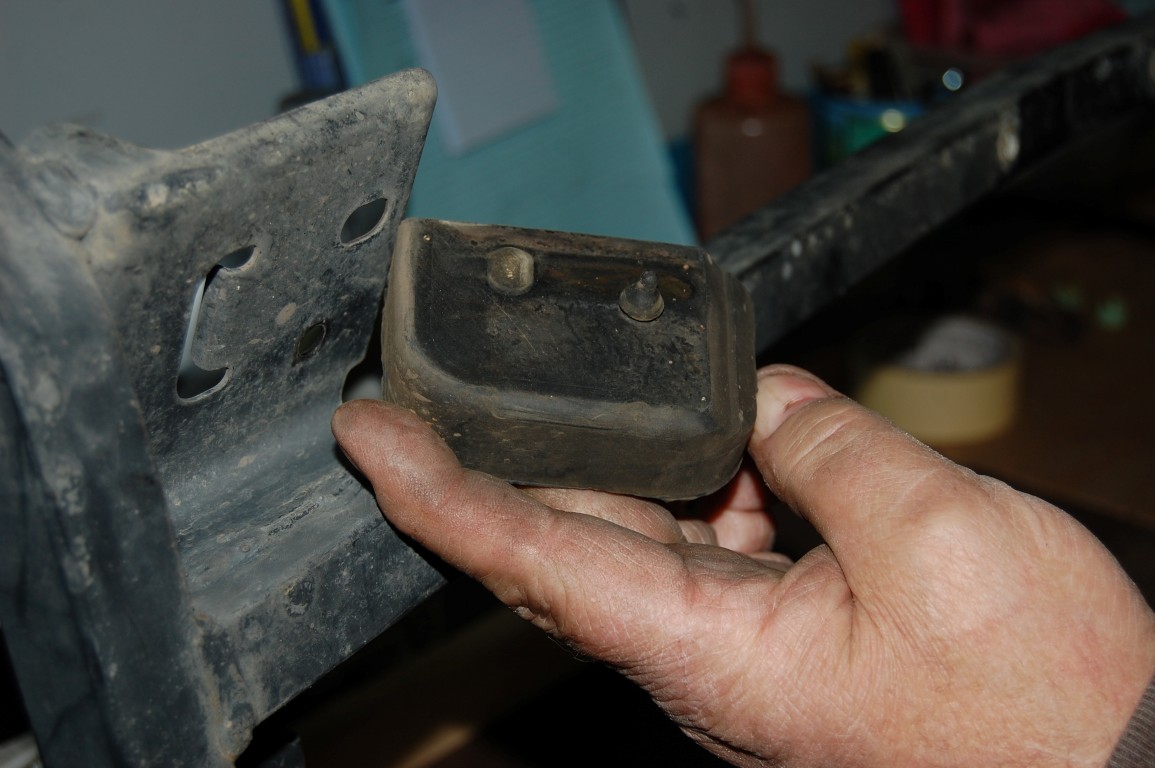 The radiator rubber support will also require transfer to the new assembly.
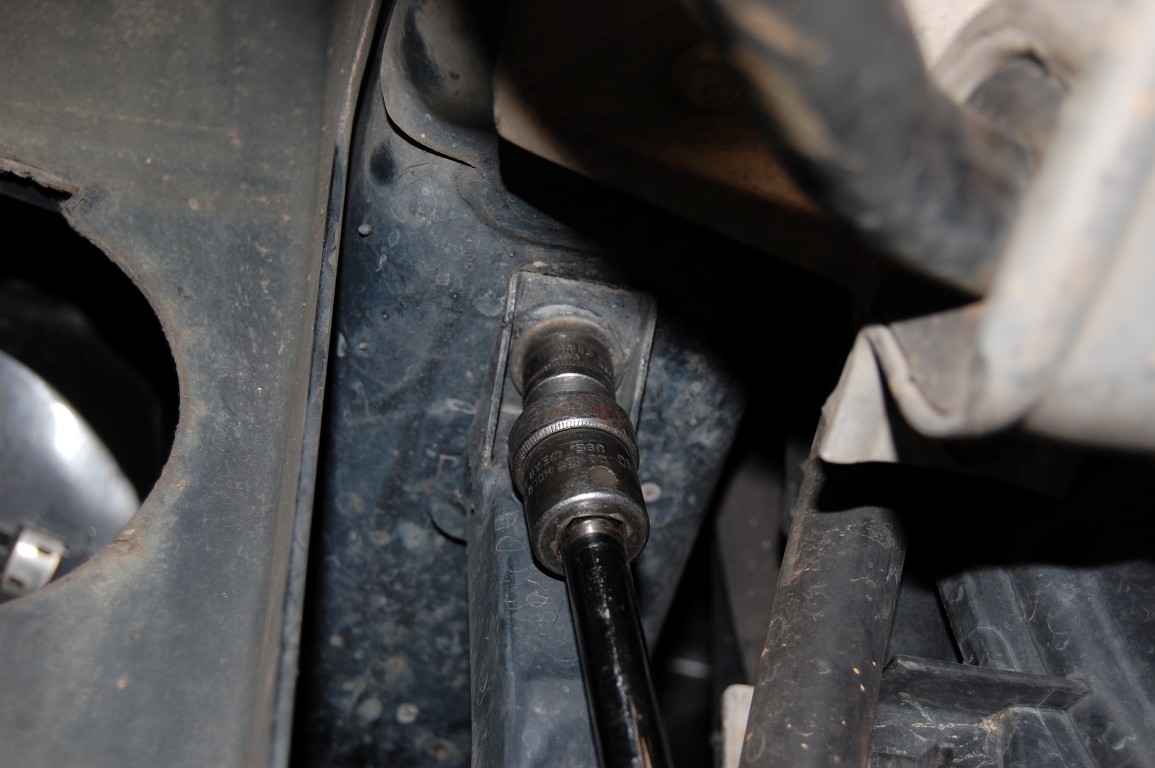
 The radiator support locating nipple is pulled through the retainer hole in the skid plate assembly.
 Do not tighten any of the fasteners until all of them are in place. Make sure the radiator mounting lug is in place and avoid pinching any wires as you tighten the skid plate fully.
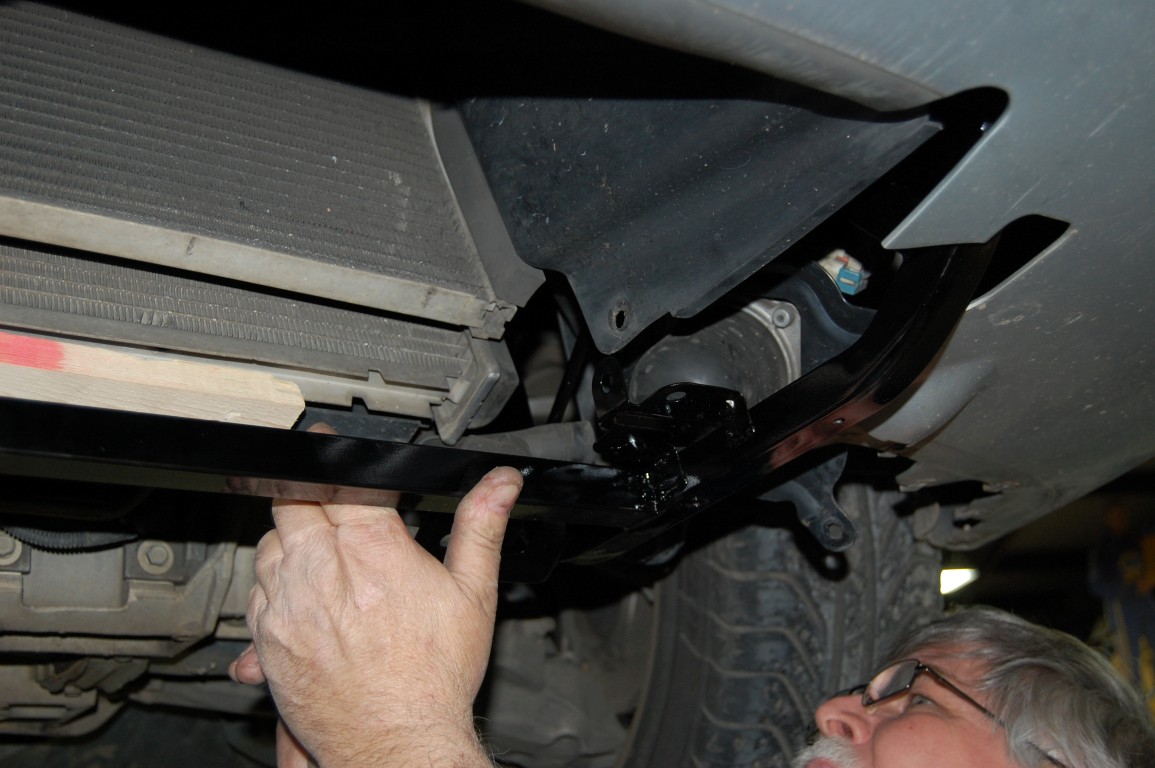
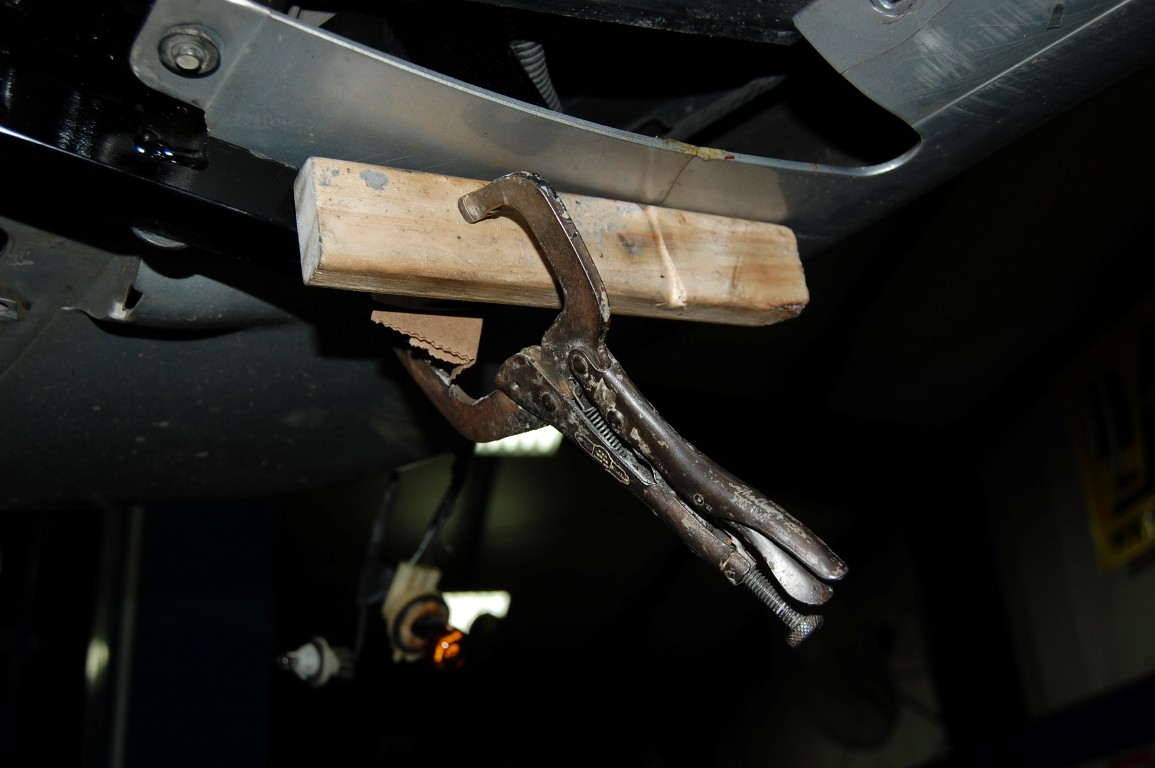
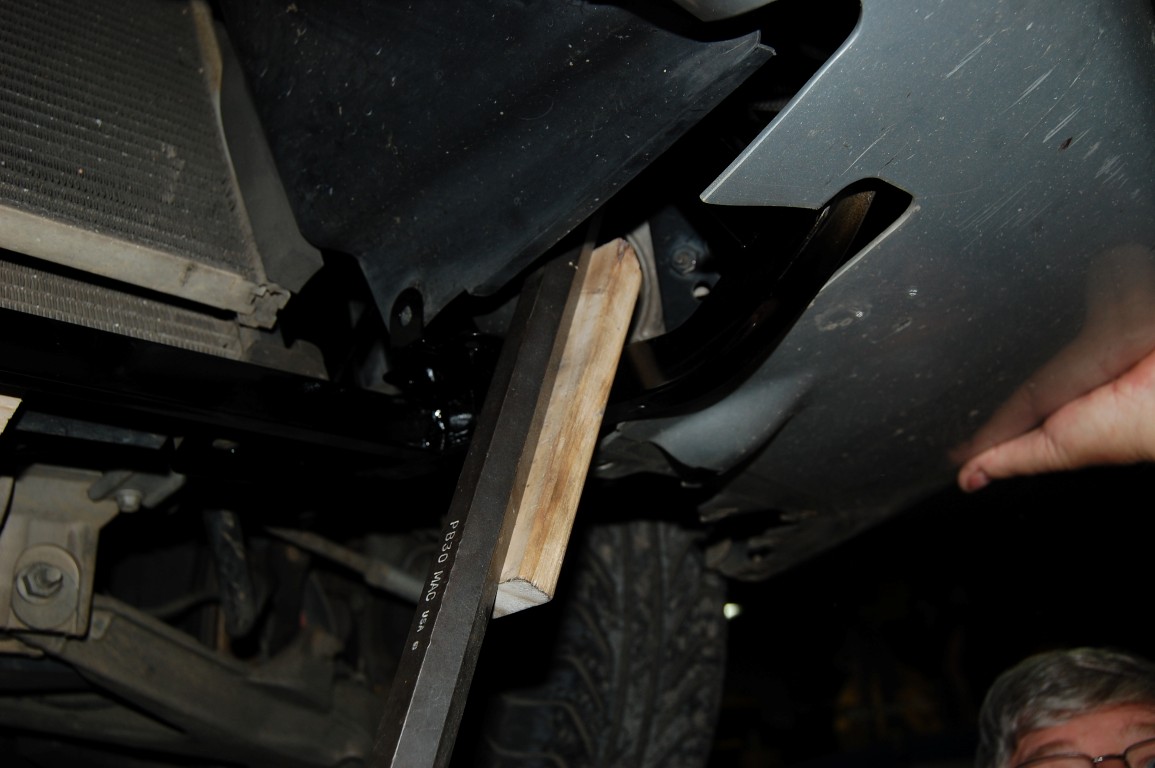 Once our skid plate was in place, it required a minor tweak to the driver side at the bottom to get the bumper openings centered. We used our long bar with the wood to prevent paint damage.
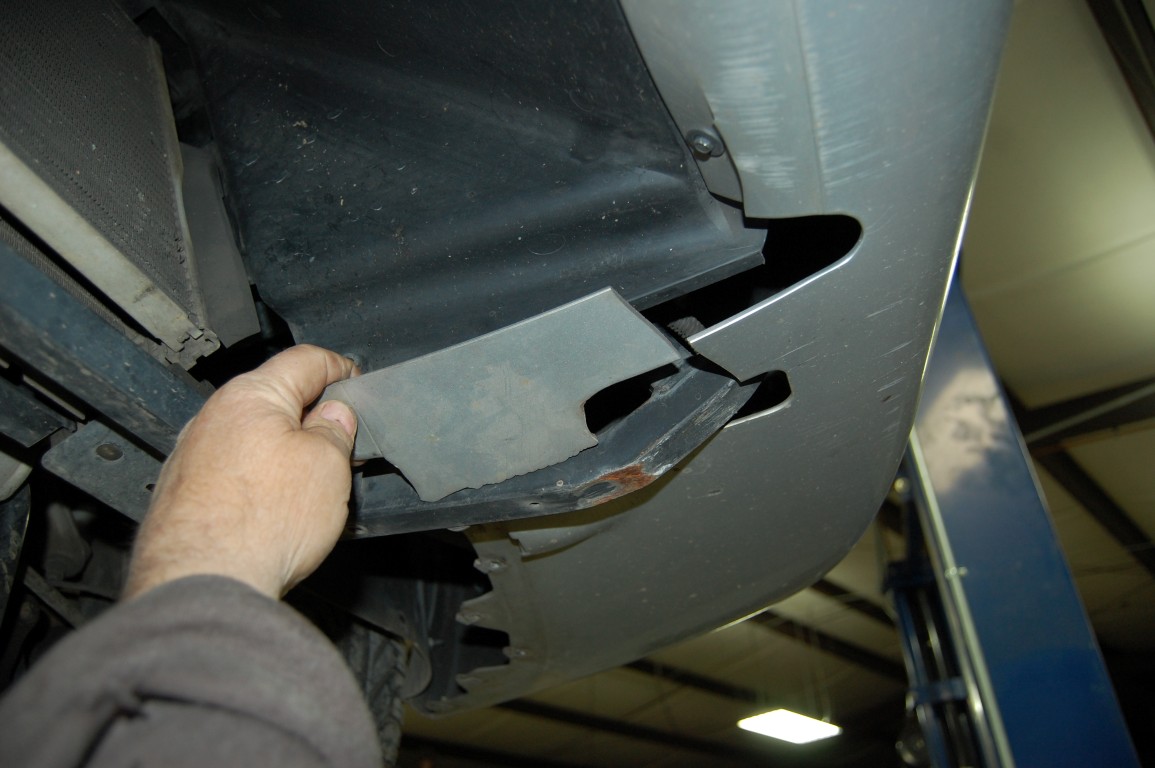 As mentioned earlier, this section broke free from the bumper and was held in place by one bolt. Plastic welding is an easy way to repair this kind of damage.
 An extra set of hands was imperative during this plastic welding operation. The area must first be ground with a “V” in the center for the repair material to flow into. Urethane welding material must also be used, as the bumper material does not melt and fuse together like most plastics; it smokes and burns. The correct material bonds to both of the urethane pieces.
 Set up a brace to allow the repaired pieces to cool for at least 15 minutes. Once the pieces cool to ambient temperature, they are either bonded or not. While warm, they can lose their bond to each other.
Shuichi tends to change his clothes only when he’s at home
quick weight loss Amazon’s Actions Validate Private Clouds
jogos da barbiefashion show a success in Charleston
Story and photos courtesy Chris Petris