The Other Way Of Stopping Wilwood C1 Front Disc Brakes
By Jay Heath
Wilwood front disc brakes help turn our fishtailing ’58 into a decelerating dynamo
As recent auction results make clear, ’53-’62 Corvettes continue to rank among the most desirable U.S.-built vehicles in the collector-car marketplace. Credit the car’s historical significance and timeless good looks, traits blissfully undiminished by the inexorable forward marches of time and automotive technology.
If only the same could be said of the C1’s driving dynamics, which not surprisingly mirror those of the ’49 Chevy Special/Deluxe with which the car shares the bulk of its mechanicals. Factor in the cost of OEM replacement parts and a driving position seemingly optimized for 13-year-old Romanian gymnasts, and it’s easy to see why many of these classic roadsters were long ago consigned exclusively to show or parade duty.
Fortunately for that subset of C1 owners who want to use their cars as, well, cars, the aftermarket brims with products designed to bring the early Vette’s driveability and functionality into concinnity with its iconic styling. When it comes to braking, perhaps the single most transformative upgrade one can make to a first-gen is to install a modern disc setup in place of the old-tech drums, a swap that vastly improves not only performance, but safety, ease of maintenance, and driver confidence as well.
In the case of our Signet Red ’58 project, an unswerving focus on functional, affordable modifications meant locating high-performance discs that were compatible with the factory frame and suspension hardware (what was left of it, anyway). You’ll recall that we paved the way for just such a conversion when we bolted up a quartet of 15-inch American Racing Torq-Thrust II wheels from Corvette Central a few months back (“Starring Roll,” Nov. ’13). The rims’ five-spoke design and generous internal clearance made them ideal for not only housing a modern set of binders, but showing them off as well.
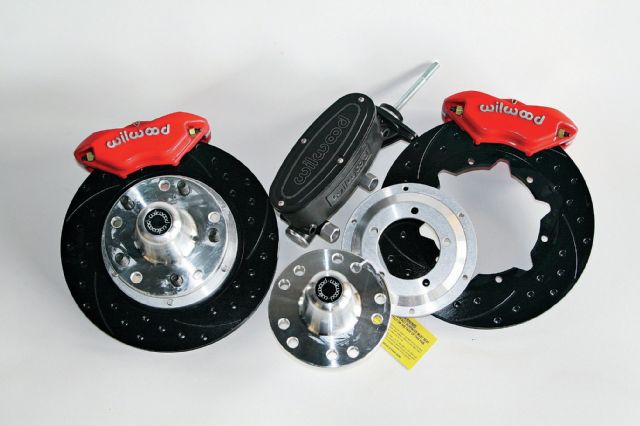
The front half of our brake upgrade comprised a pair Forged Dynalite Pro rotors, along with four-piston calipers. (We’ll install the master cylinder in Part 2.) Note that Wilwood’s kits come complete with pads, hoses, and a full complement of installation hardware.
When it came time to select our kit, we turned to the experts at Wilwood for guidance. Established in 1977, the Camarillo, California– based company has established itself as one of the aftermarket’s premier manufacturers of high-performance brake components for a wide variety of vehicles, including every generation of Corvette.
Taking into account that our ’58 is a bit of a mongrel—those aftermarket wheels and a previously installed 9-inch rearend being the chief deviations from factory form—Wilwood’s Dustin Burr assembled for us a custom setup comprising 11-inch drilled-and-slotted rotors and four-piston calipers for each corner, along with a master cylinder and proportioning valve. (Note that because every car represents something of a unique case, Wilwood strongly recommends that customers contact the company for a specific recommendation before placing an order.)
Sadly, certain factors prevented us from performing baseline brake testing with the stock hardware, not the least of which was the car’s unnerving tendency to immediately lock up one or more wheels and initiate a lurid, tire-smoking slide at the slightest hint of pedal pressure. So unpredictable was the car’s braking performance, in fact, that even normally unflappable test pilot/coconspirator Greg Lovell was loath to complete the planned test session. Following the old maxim about discretion being the better part of valor—especially when dealing with someone else’s classic Corvette—we elected to forgo the panic stops and skip ahead to the install.
We’ll be splitting the front- and rear-brake installations into two separate installments, the better to highlight the unique aspects of each. Let’s take a look at the anterior end now, as we start to get our slip-sliding C1 on the road back to stopping salubrity.
AntiVenom’s Greg Lovell begins the job by securing the car on jackstands and removing the front wheels.
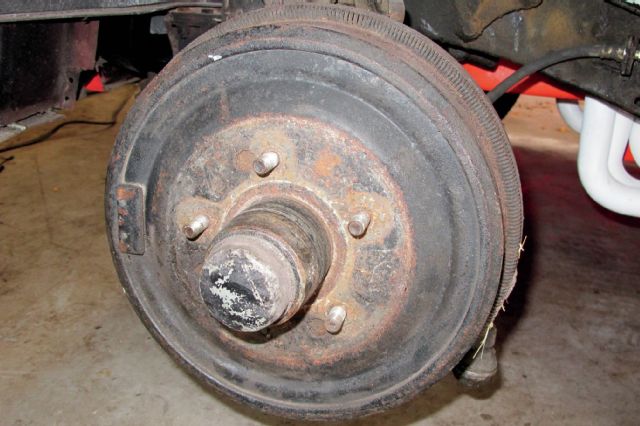
With the rims out of the way, we can observe the finest in midcentury braking technology up close. Yes, people really did race on these back in the day.
Popping off the dust cap with a screwdriver provides access to the nut that secures the hub.
Remove the nut, and you should be able slide the hub right off.
Note that the factory hub is equipped with ball bearings. As we’ll see shortly, the Wilwood kit features roller bearings for improved performance and durability.
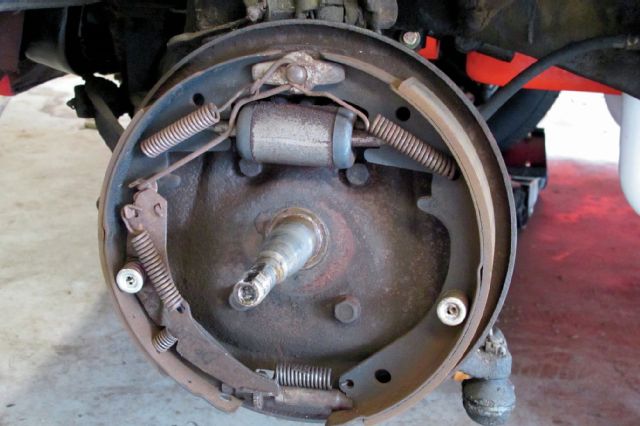
All that remains of the stock braking hardware at this point is the backing plate. Note that in an apparent concession to modernity (and convenience), a previous owner added a self-adjusting spring mechanism at some point.
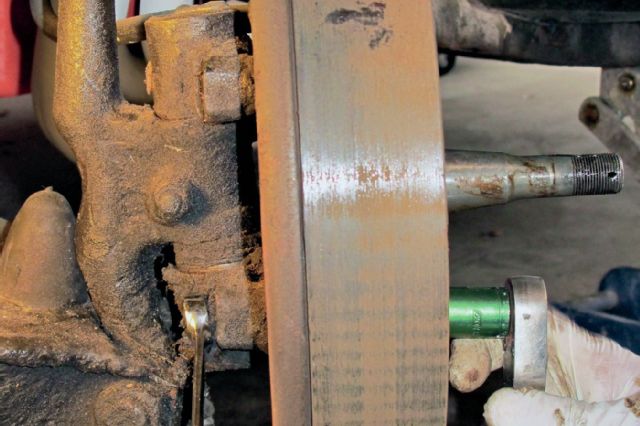
To liberate the plate assembly, you’ll need to secure the nut on the interior surface with an open-ended wrench while removing the four bolts on the front.
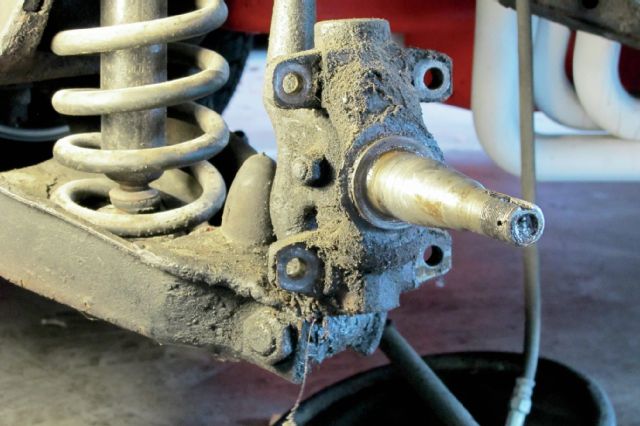
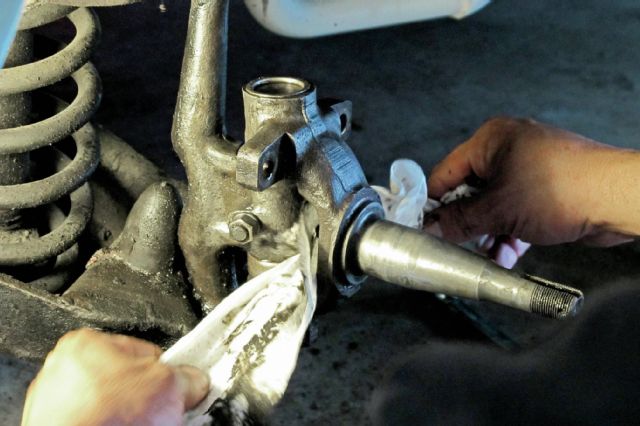
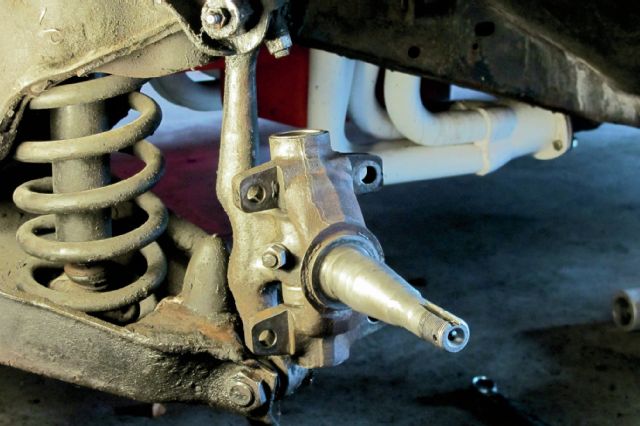
With the backing plate gone, we can get a good luck at the grime-caked factory spindle. Note that the brake hose can also be disconnected at this point, allowing the old fluid to drain into a pan below.
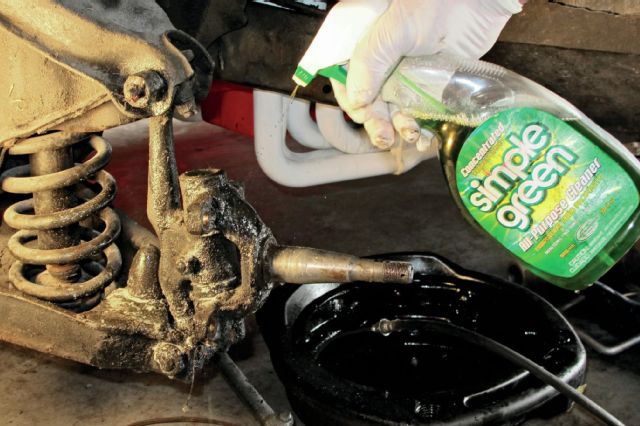
This seemed like a good time to do a little underside detailing, so Lovell hit the area with a little Simple Green and a wire brush. More-drastic measures were ultimately deemed necessary, however, at which point a few shots of brake cleaner and lacquer thinner (shown) took care of the most obdurate crud.
Following a quick-mop-up with a shop towel, the spindle emerges in all its Eisenhower-era glory.
It’s time to move over the workbench and start putting together the first hub-and-rotor assembly. Fortunately Wilwood provides step-by-step directions to walk you through the process.
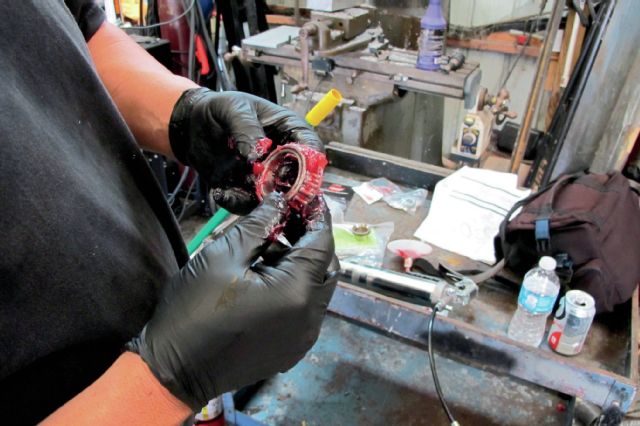
Lovell begins by applying Lucas “Red ‘n’ Tacky #2” grease to the inner (shown) and outer wheel bearings. As we noted earlier, the Wilwood bearings use a modern roller configuration.
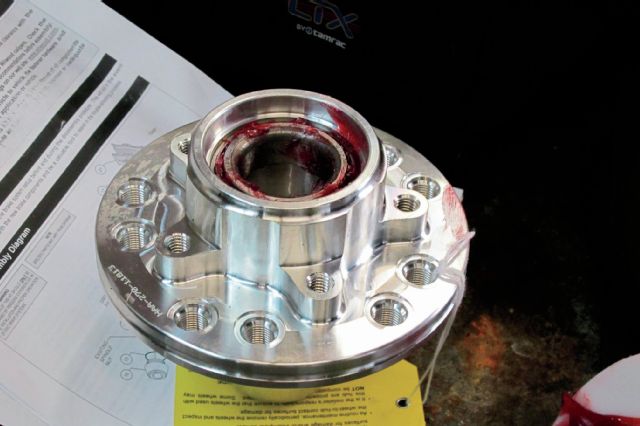
The bearings then go into the hub, as shown here. Note that in this photo, the seal has not yet been installed.
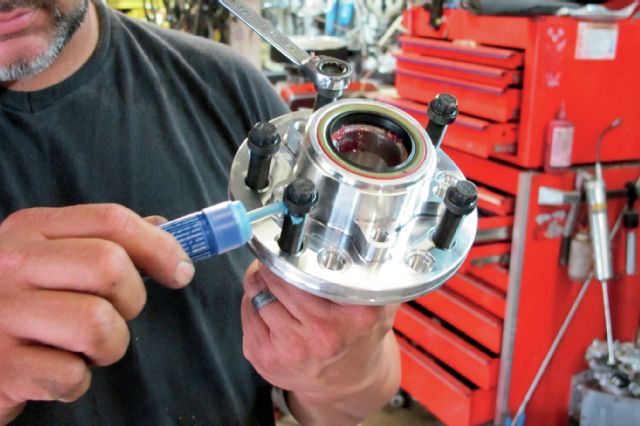
After tapping in the seal with a rubber mallet, Lovell applies blue Loctite to the hub studs before torquing them down.
The next step is to bolt the hub to the rotor adapter, again using Loctite on the threads.
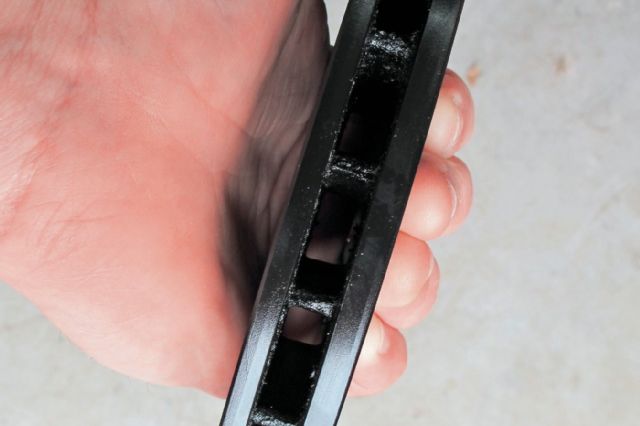
Before affixing the rotor to the adapter (using more Loctite, natch), we snapped this photo of its internal vanes. The vanes greatly improve cooling as compared with the old solid-rotor configurations.
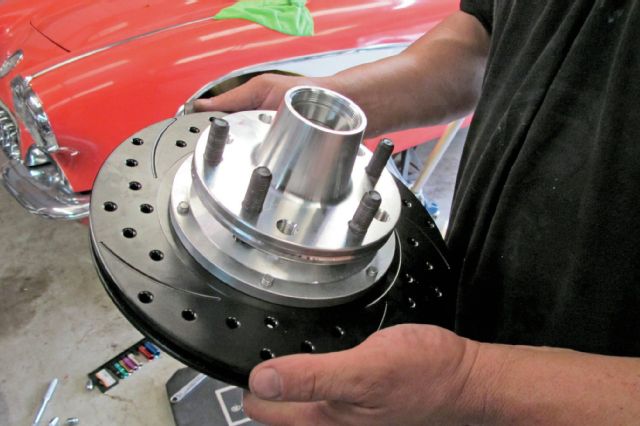
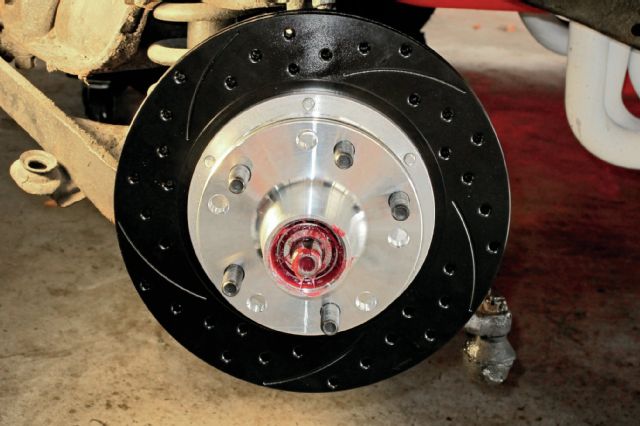
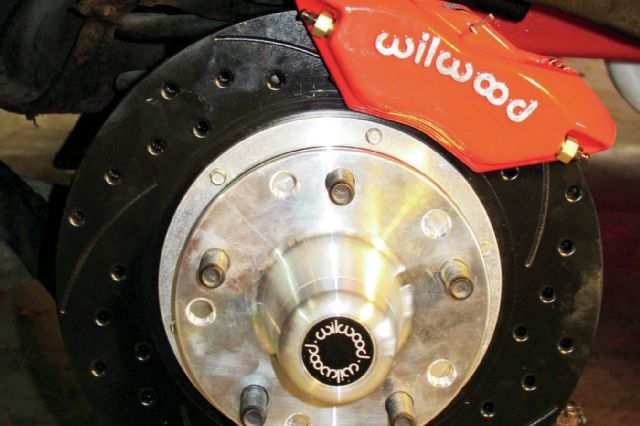
Here’s the completed hub-and-rotor assembly, ready to bolt up to the car.
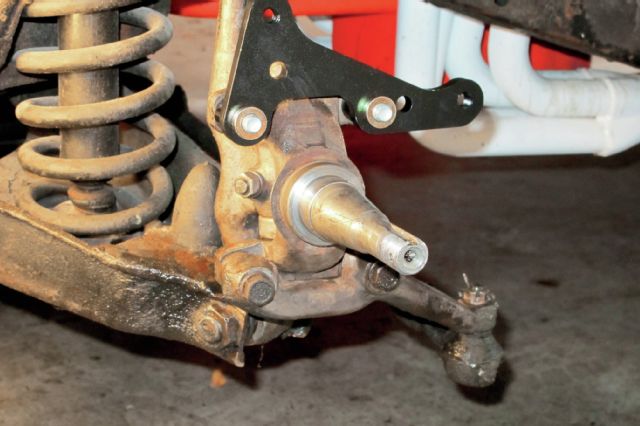
Since the original spindle wasn’t designed to accommodate disc brakes, Wilwood helpfully includes this caliper-mounting bracket. You’ll need to bolt it into place (yep, more Loctite) before installing the new brakes.
It’s time to bolt on the hub and rotor, applying some extra grease to the spindle-nut area along the way.
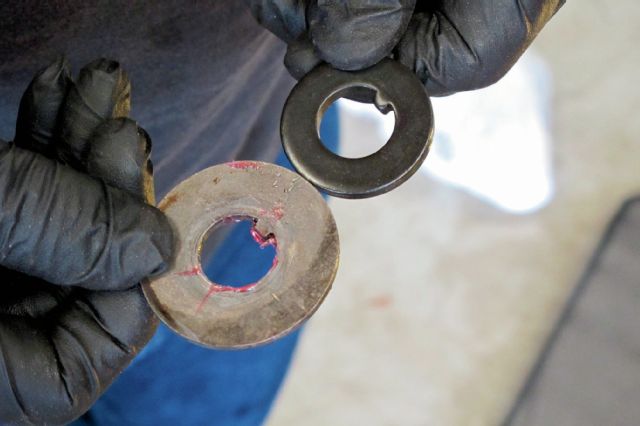
While you can reuse your old spindle nut, you will need to install the new, thicker washer (right) that comes with the Wilwood kit.
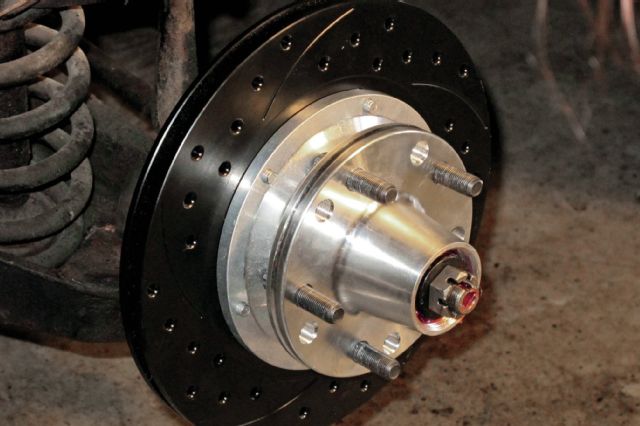
Here’s the finished assembly, complete with nut and washer. Give yourself bonus points if something looks a little “off” in this photo.
That’s right: We installed the left-side rotor on the right side of the car—this, despite the fact that Wilwood includes directional indicators on each one. Always remember to check your work as you go!
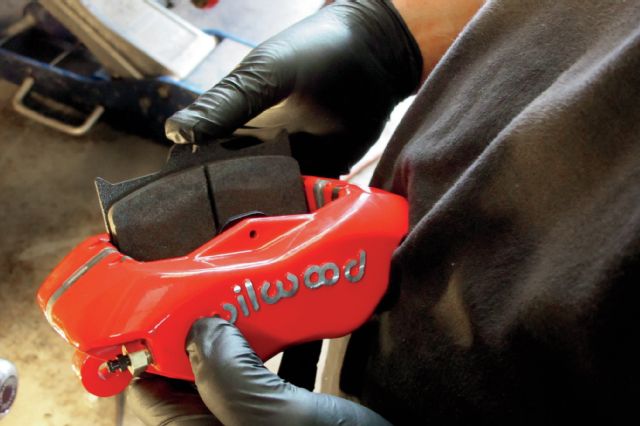
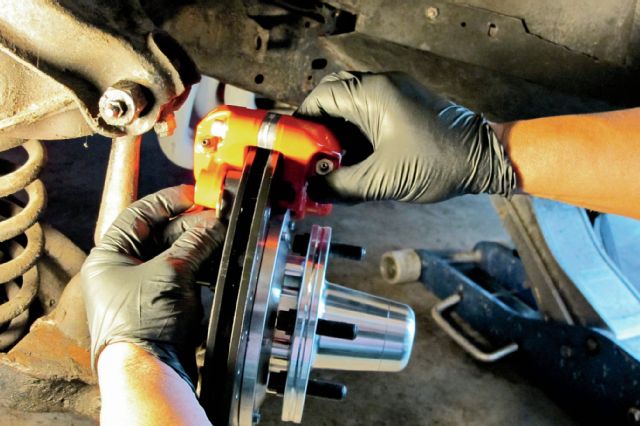
After straightening out our rotor snafu, it was time to bolt on the new natty, Wilwood four-piston calipers. They come with matching high- performance pads, one of which Lovell is shown installing here.
The caliper then bolts to the previously installed adapter…
…and the first half of our front-brake upgrade is complete. Note that the protective black coating on the rotors will wear off with use, revealing a gleaming silver finish beneath.
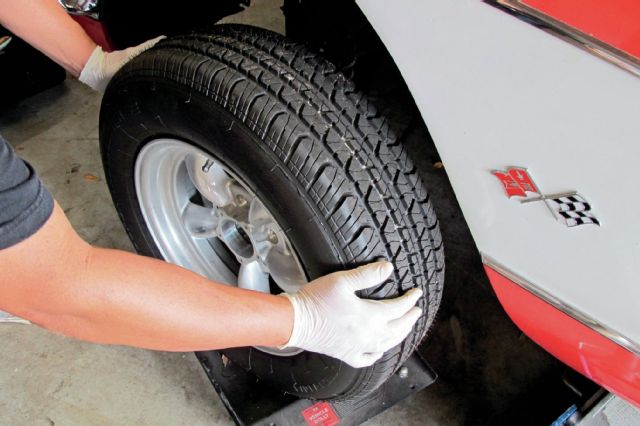
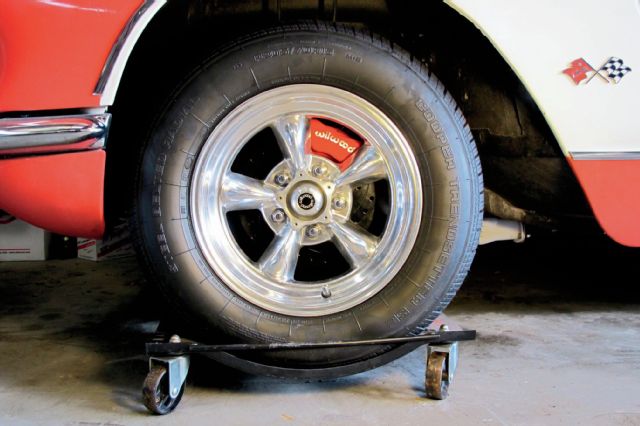
With the wheel reinstalled, the transformative nature of our brake upgrade starts to become apparent.
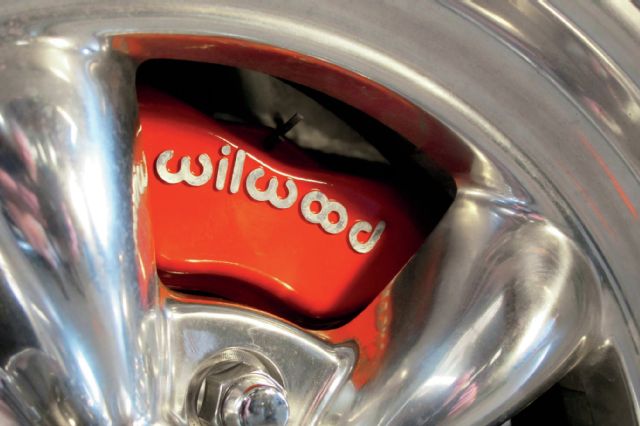
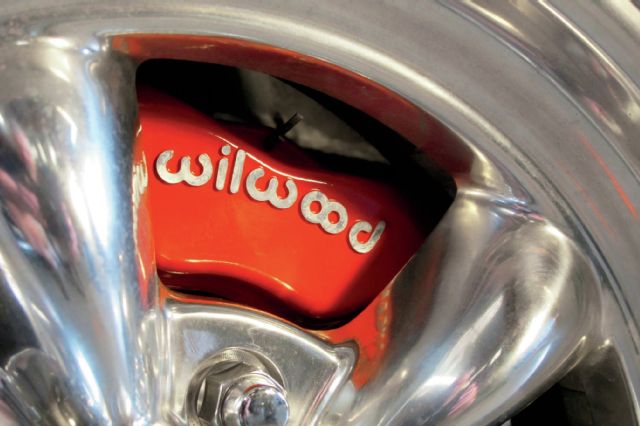
Our kit offered a choice of black-anodized or red-powdercoated calipers. We chose the latter, both to match the Signet Red finish of the car and to draw attention to the upgrade itself. Snazzy, no?







Nothing said about installing a dual master cylinder and new brake lines.
This is where I currently find myself stuck with my 1958 corvette. I bought the wilwood 4 disc kit, got a dual master cylinder with brake booster, and bought the complete disc conversion brake line kit. The full brake line kit is only for front disc with rear drums. I talked to wildwood and they said I should be fine just using this kit and I can just buy the rear new lines since I want all new lines and blocks. They said the residual valve to the rear could be skipped but I told them the lines are cut to length, which I am sure requires the length of the valve included. They said that will add 10psi to the rear which is nothing for daily drivers but would be a concern to drag racers. Wildwood also said I could purchase a proportioning valve to help adjust the system if there are any problems. My instructions say there should be an arrow on the residual valve to point towards the rear of the car but there is no arrow, so I am going to ask around about that.
Pose a question, if I may: Will the 12.17 Wilwood
rotors clear on a set on 15″ Americans. I know it is close.
I am sure this is not the first time for such a combination?