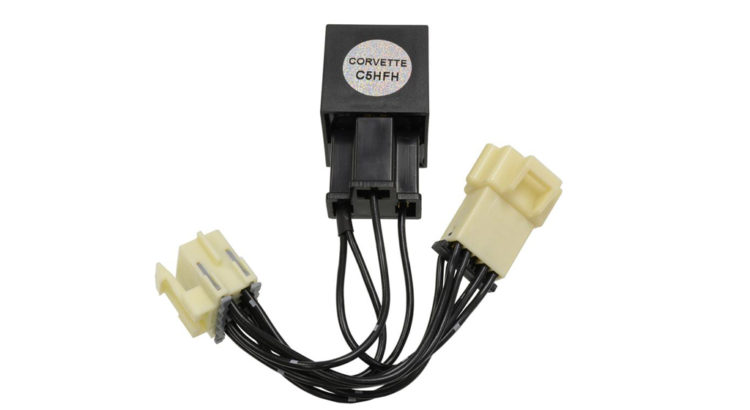
When it comes to brightness, you simply can’t beat LEDs, especially LED tail lights vs. stock units. The only problem with LED tail lights, however, is that they flash much more rapidly than bulb tail lights; this is because the LEDs have little or no load on the circuit, whereas bulbs have lots of resistance or ‘load’. Aside from modifying the hazard flasher module itself (which is difficult, laborious, time-consuming, and not the best way to slow down your LED tail lights), the easy fix is to install a Flasher Bypass Module like the one offered by Corvette Central. It’s not a difficult installation, and you only need a small screwdriver and a #15 Torx driver – and, of course, the Flasher Bypass Module itself. Here’s how to go about installing the module.
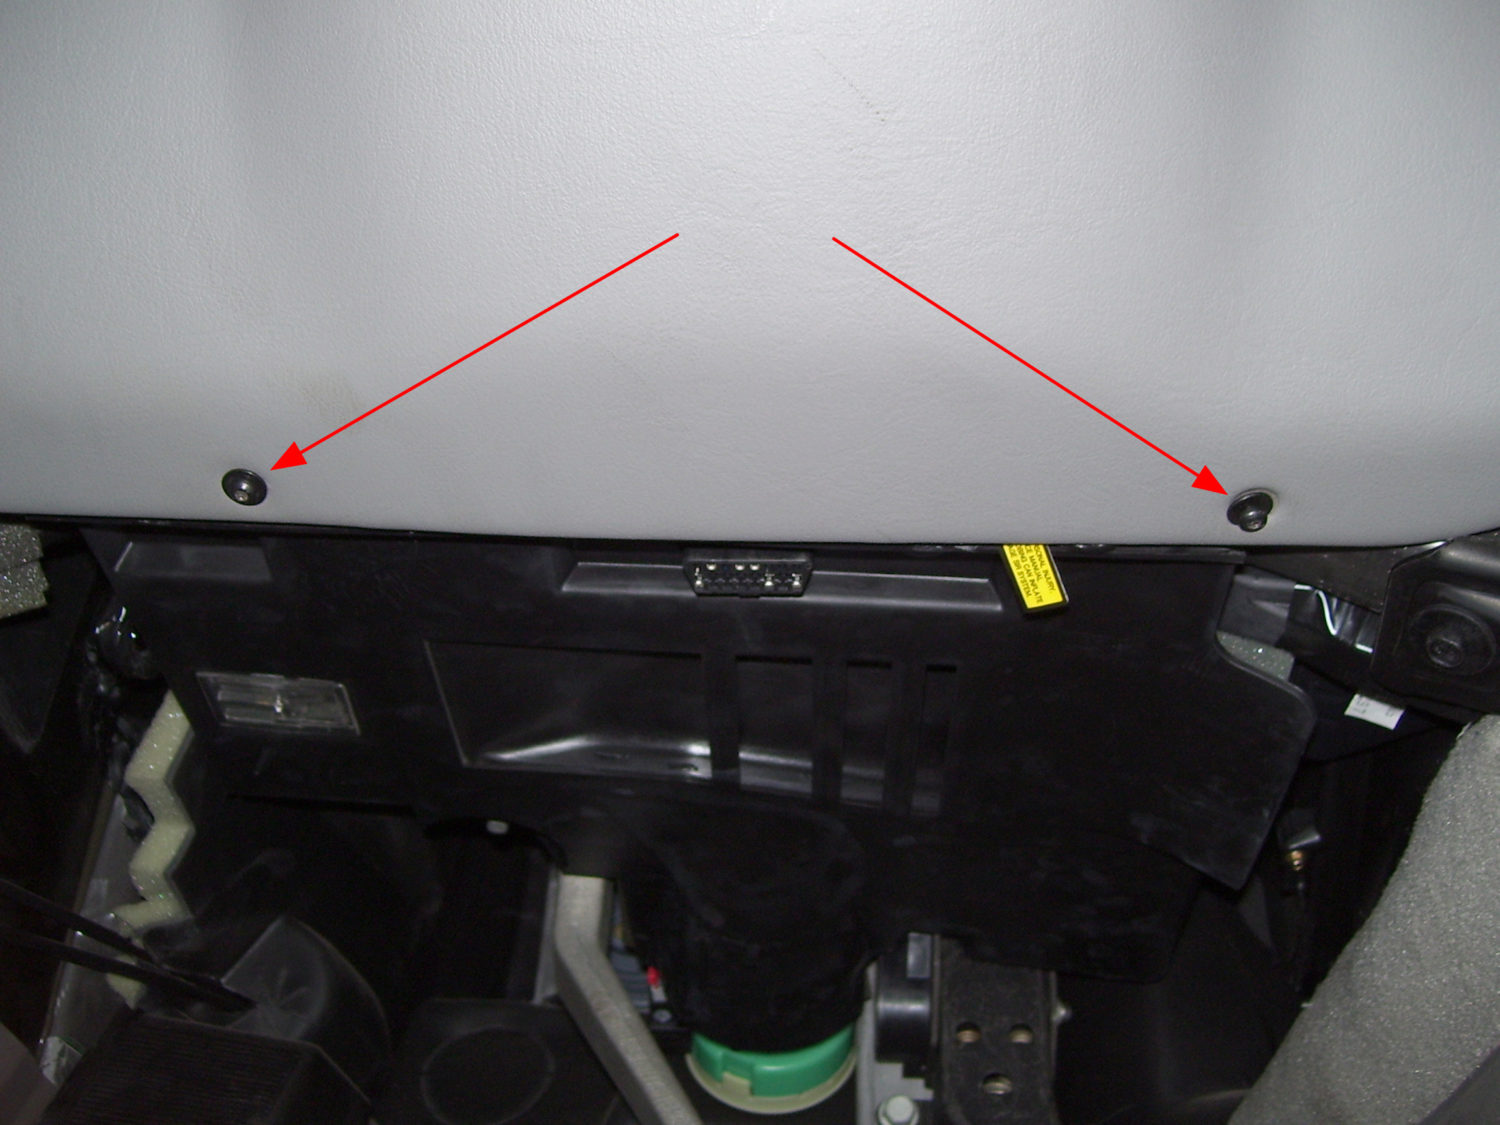
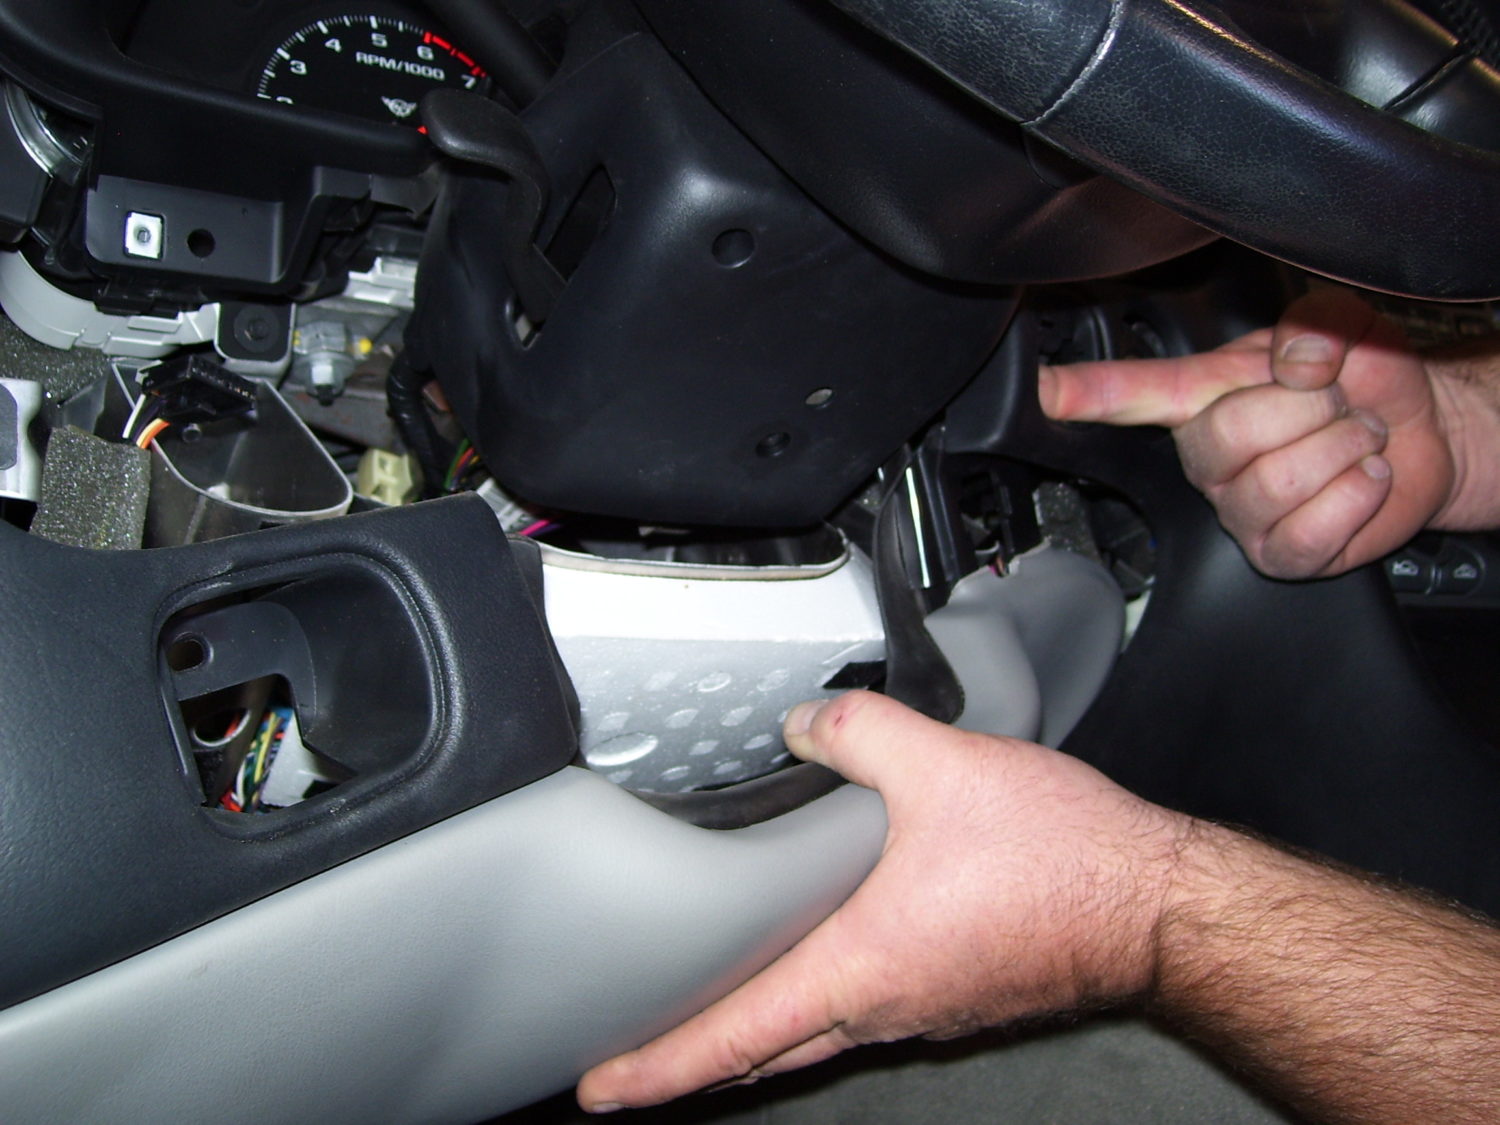
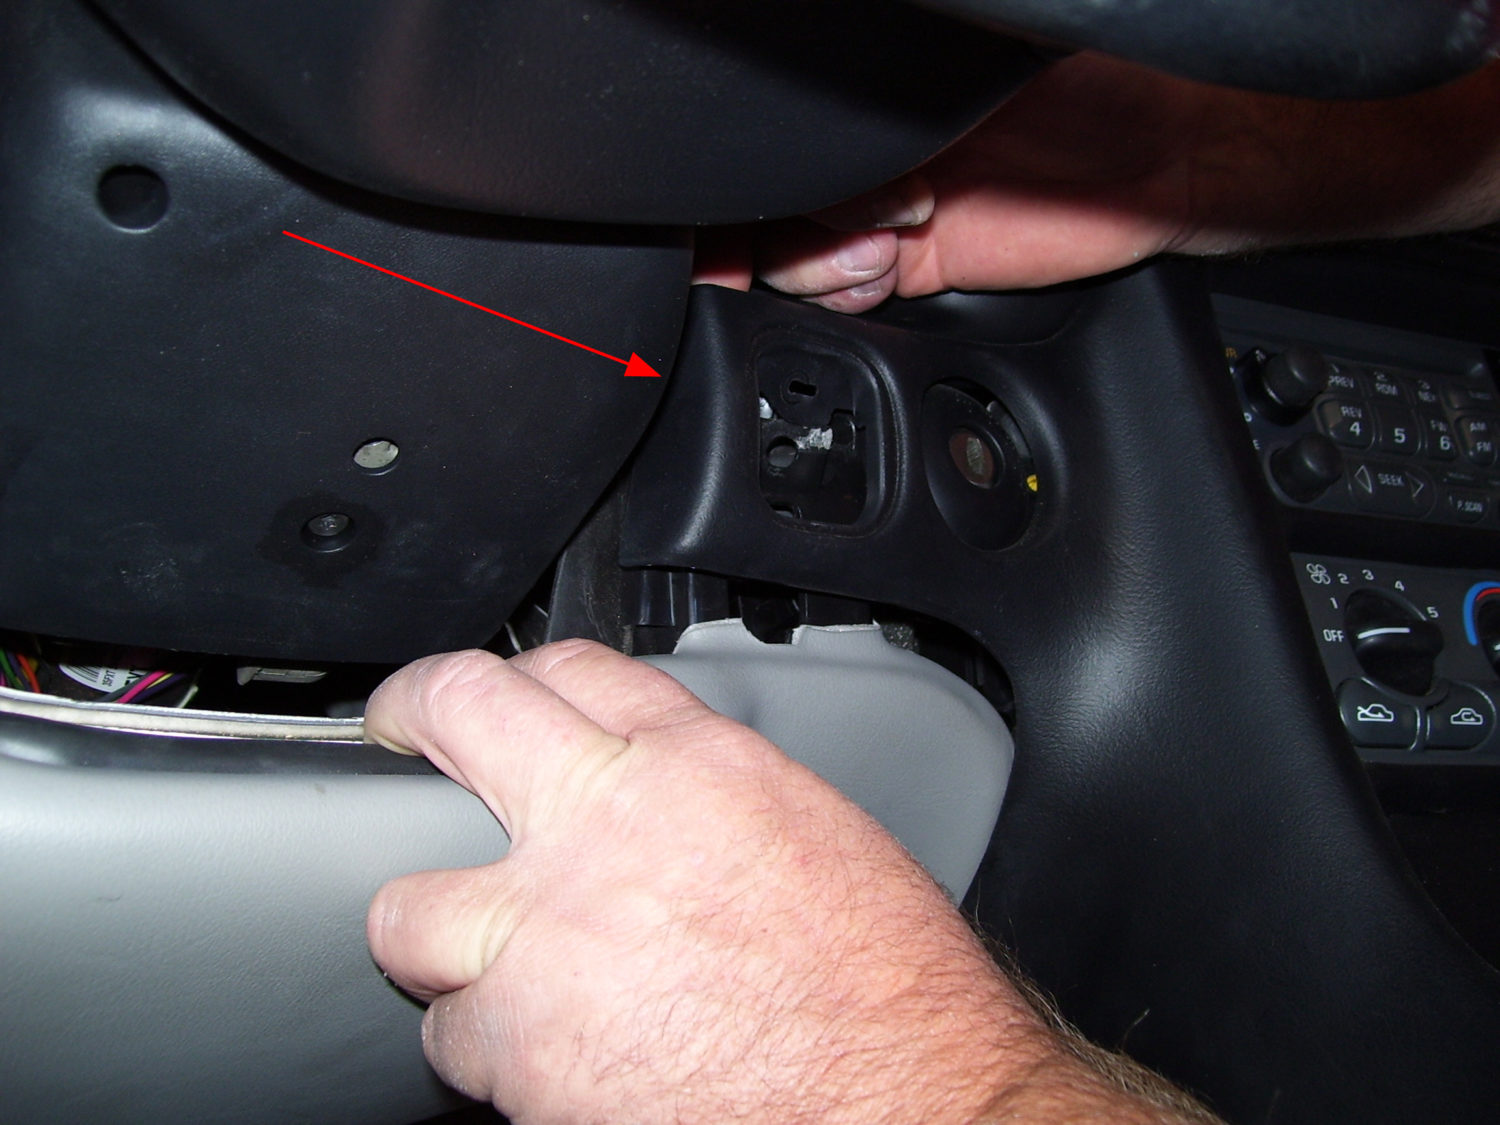
This panel is directly under the steering column and is retained by the two screws indicated by the red arrows.
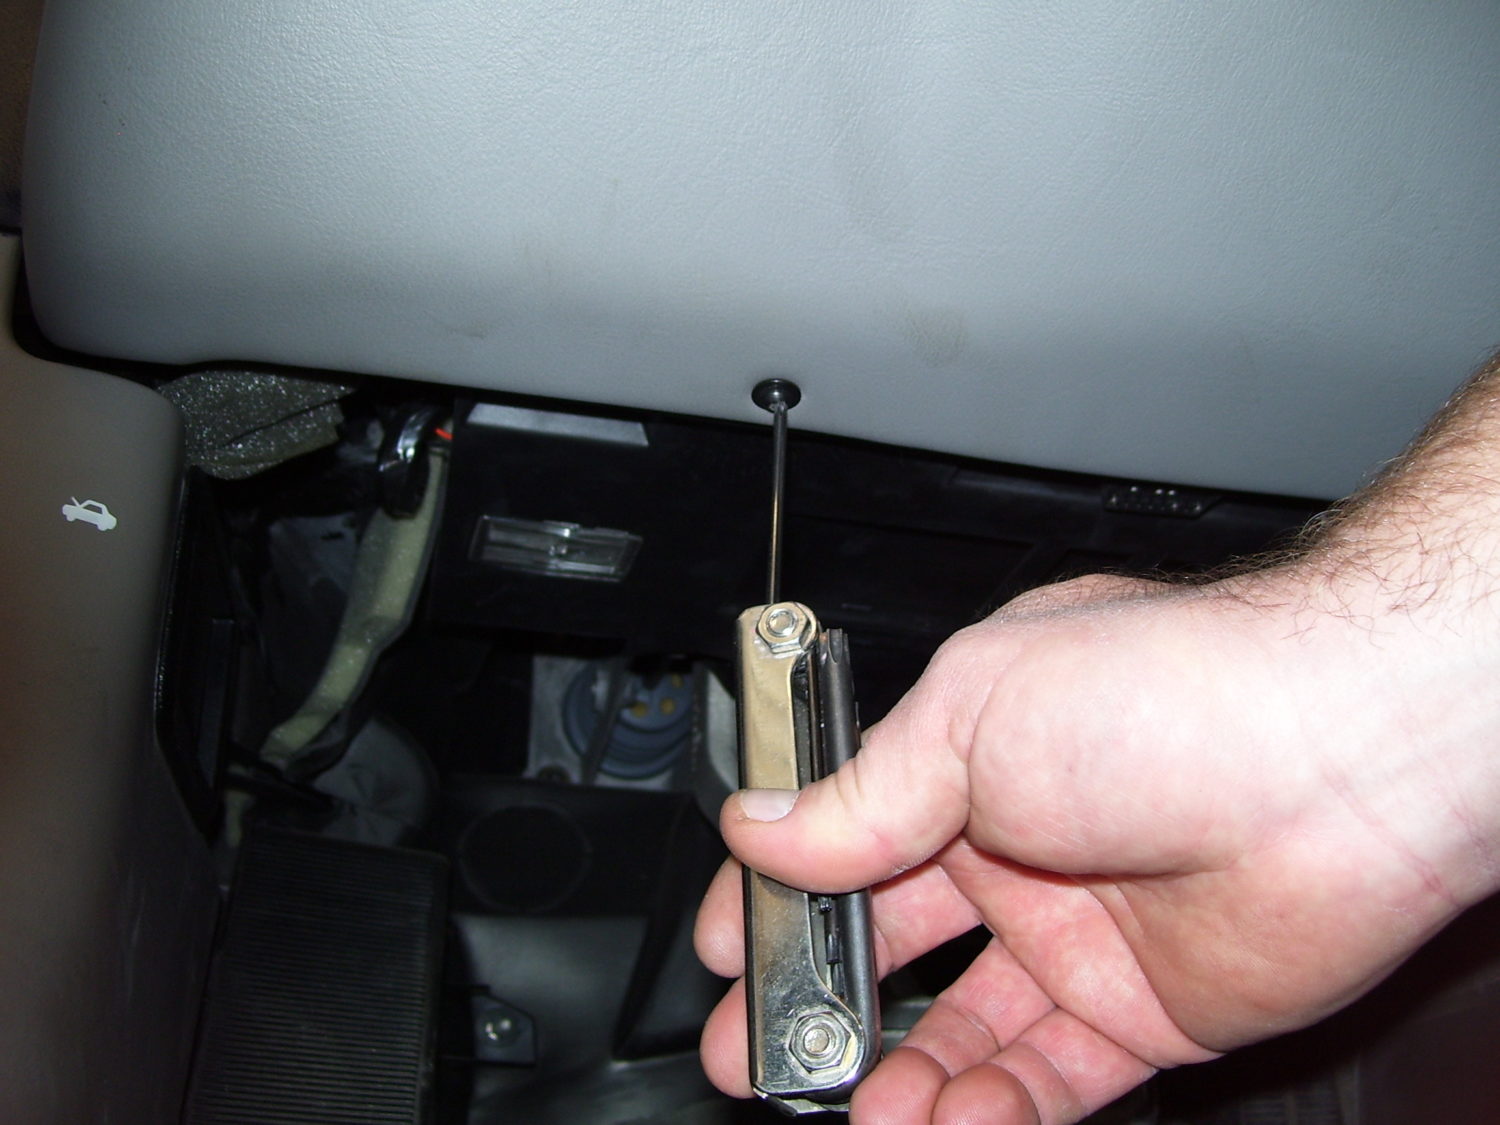
Remove both screws using a #15 Torx driver.
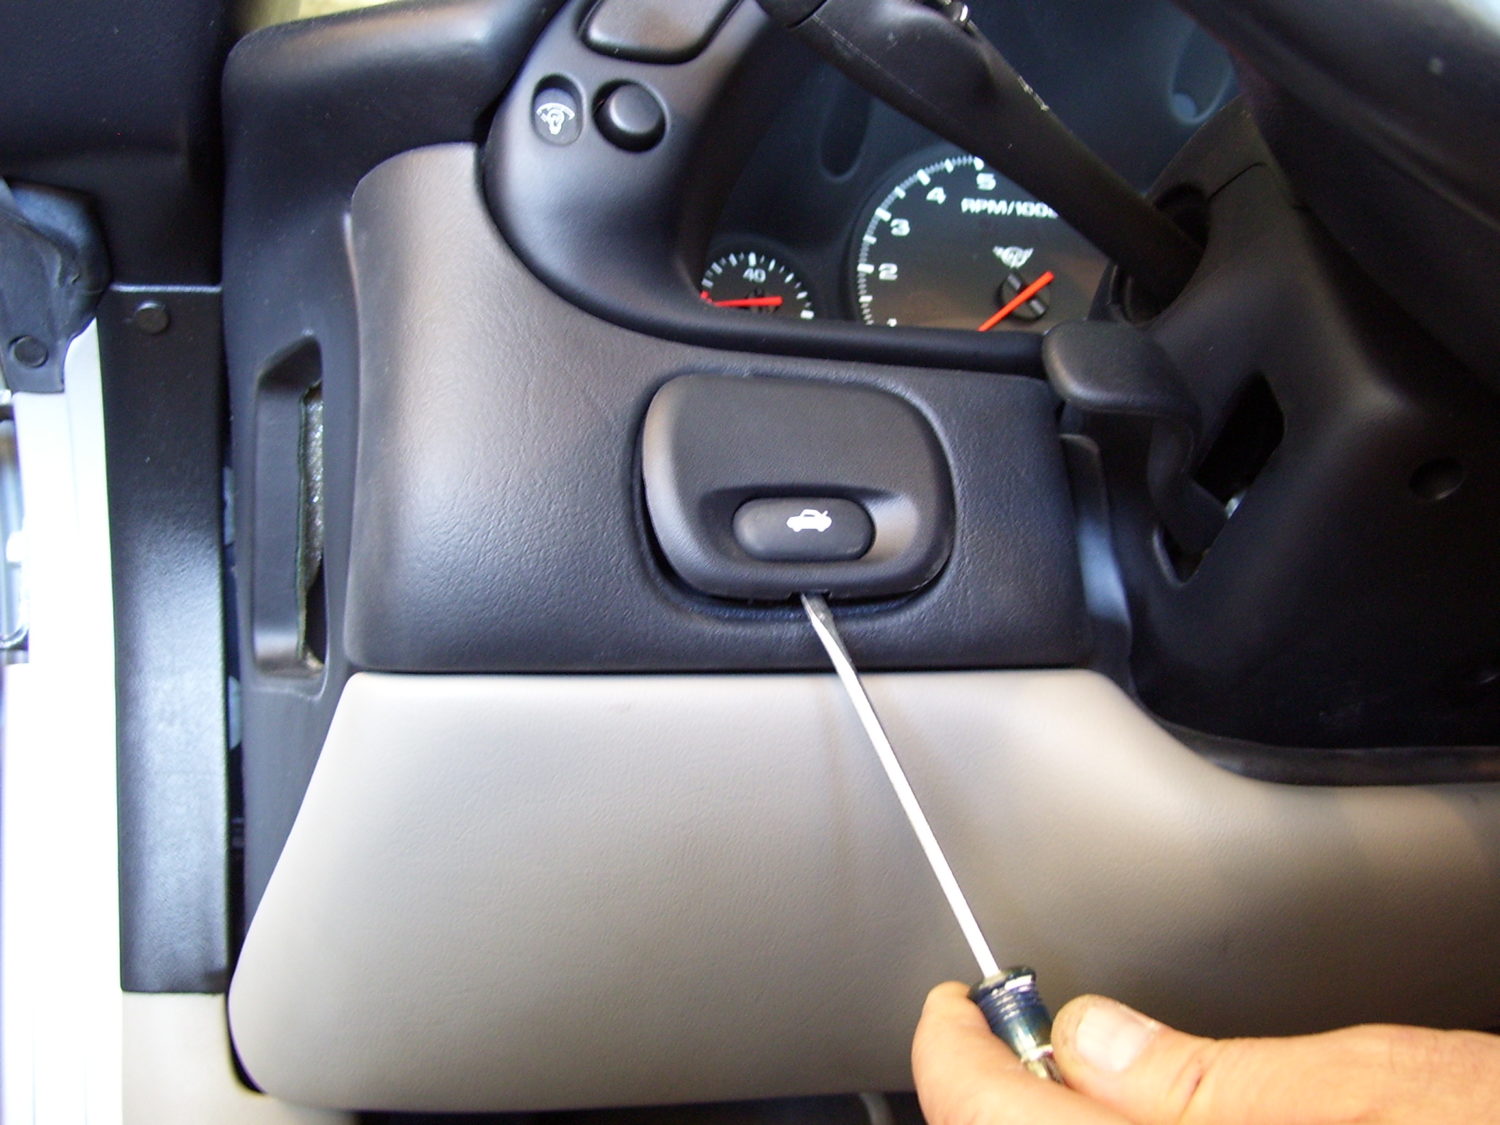
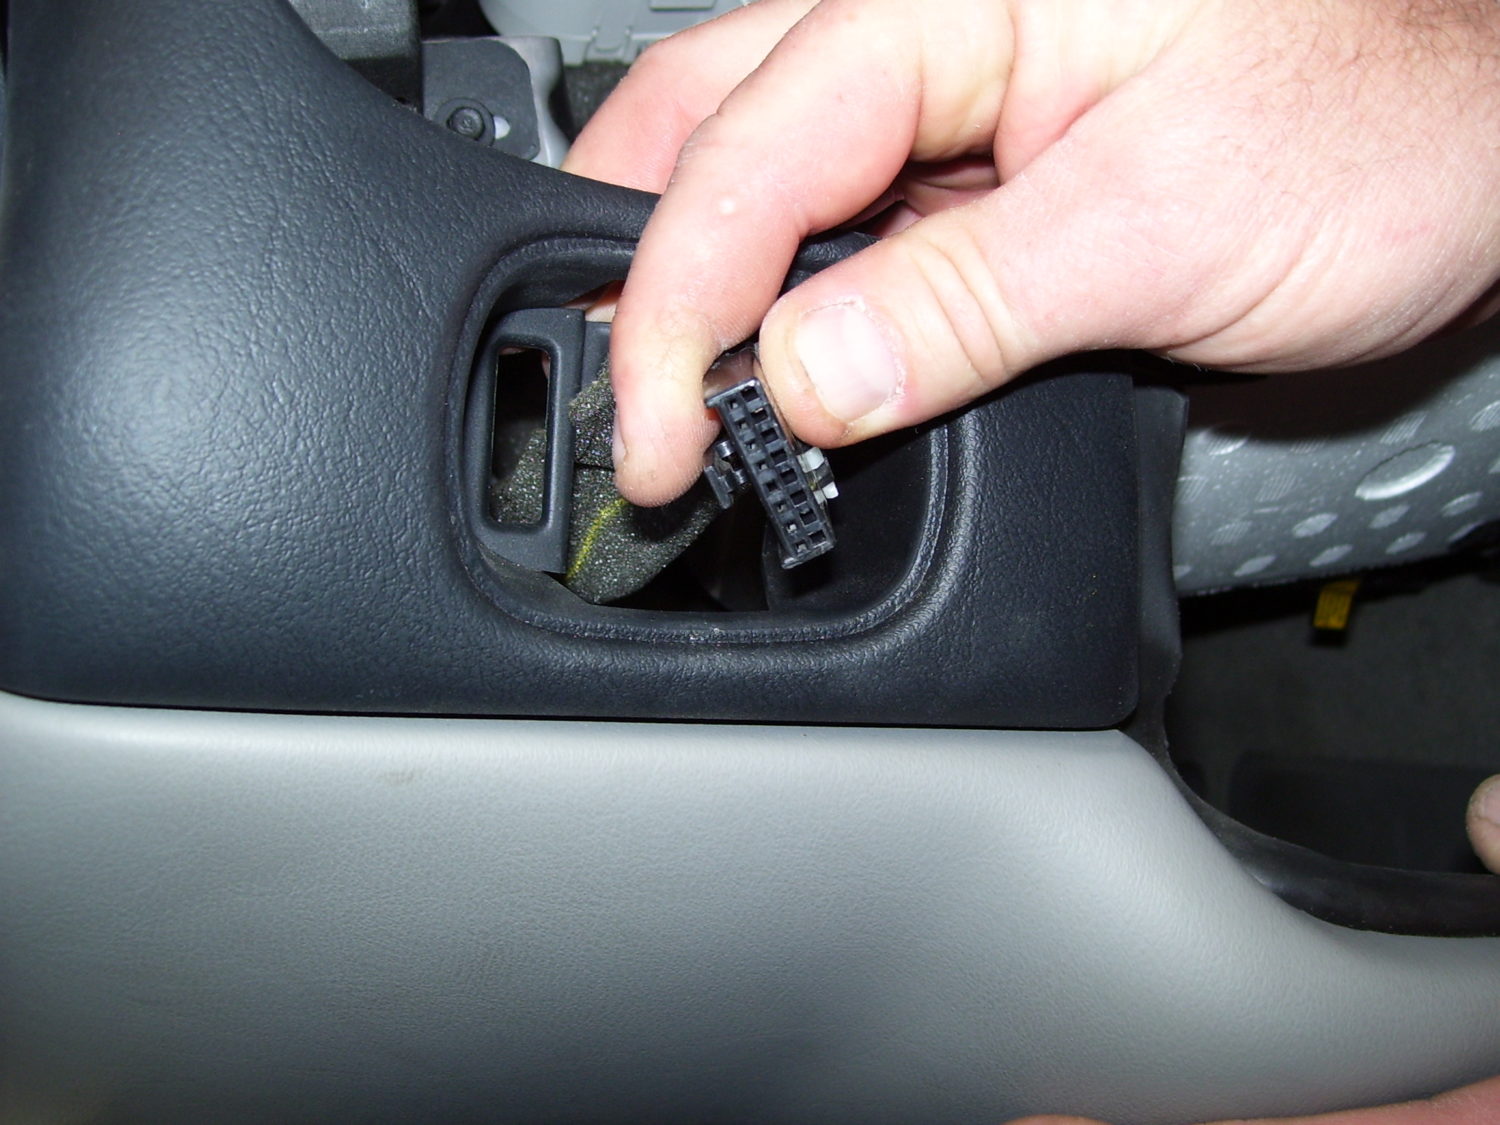
Remove the trunk/hatchback switch by prying gently at the bottom notch with a small flat-blade screwdriver.
Unsnap the connector from the switch.
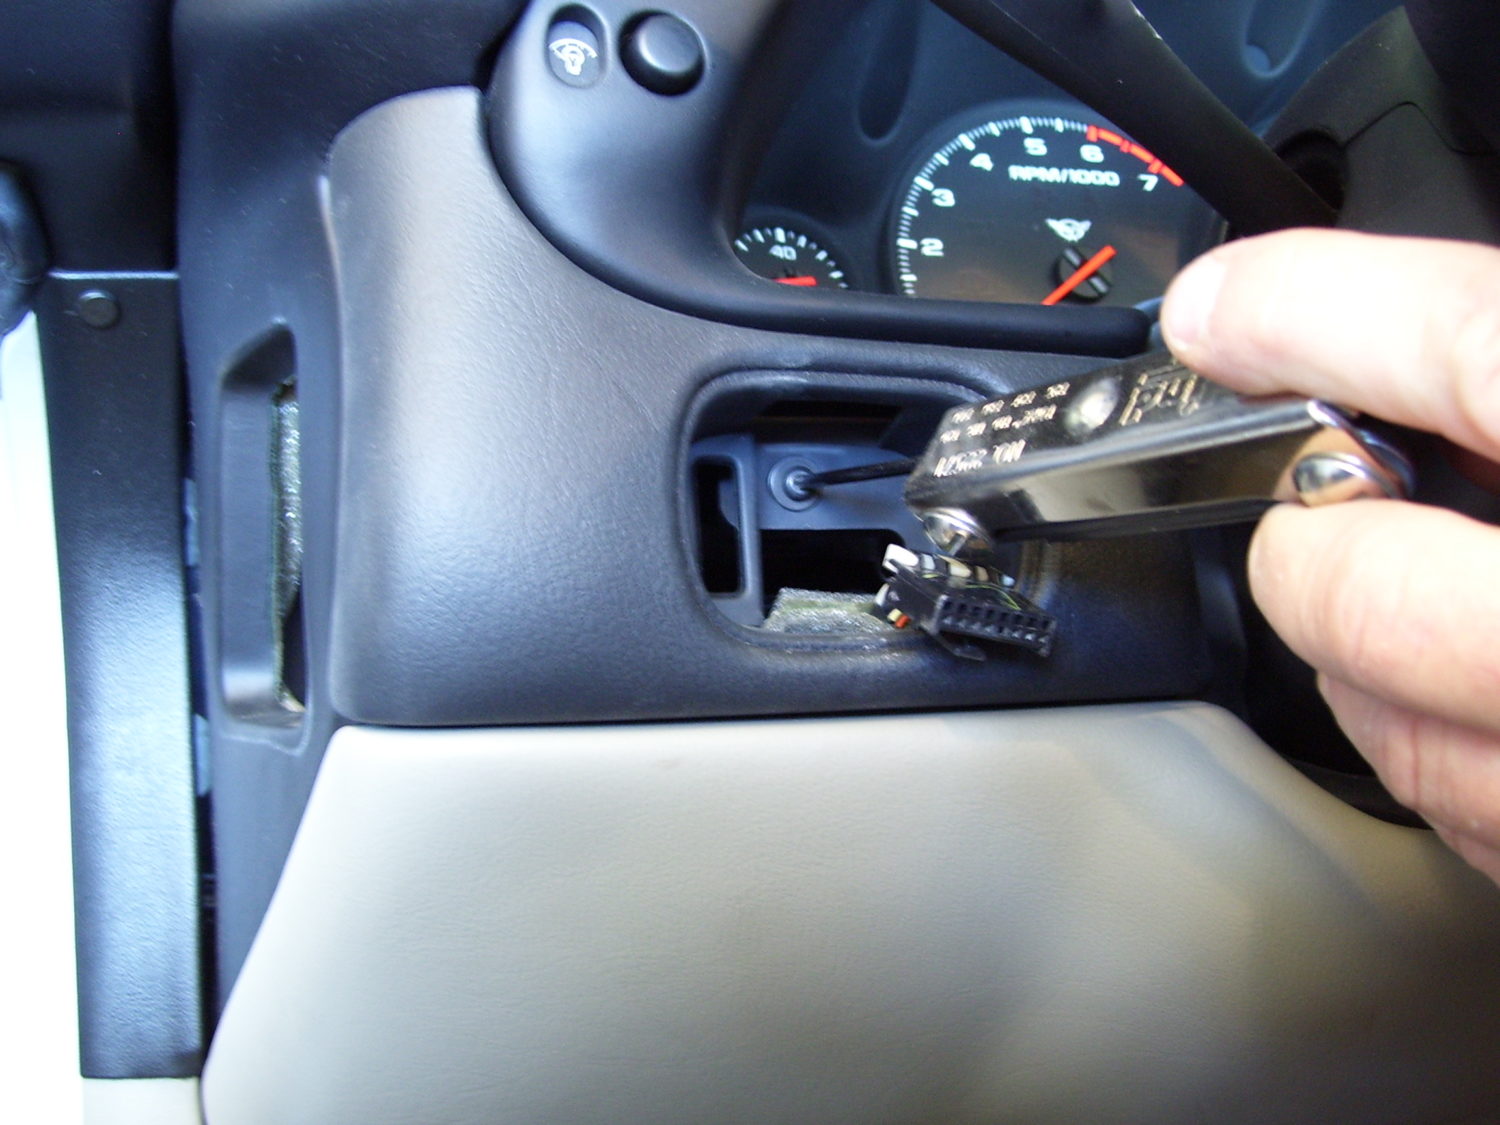
Remove the #15 Torx screw from the rear of the switch recess housing.
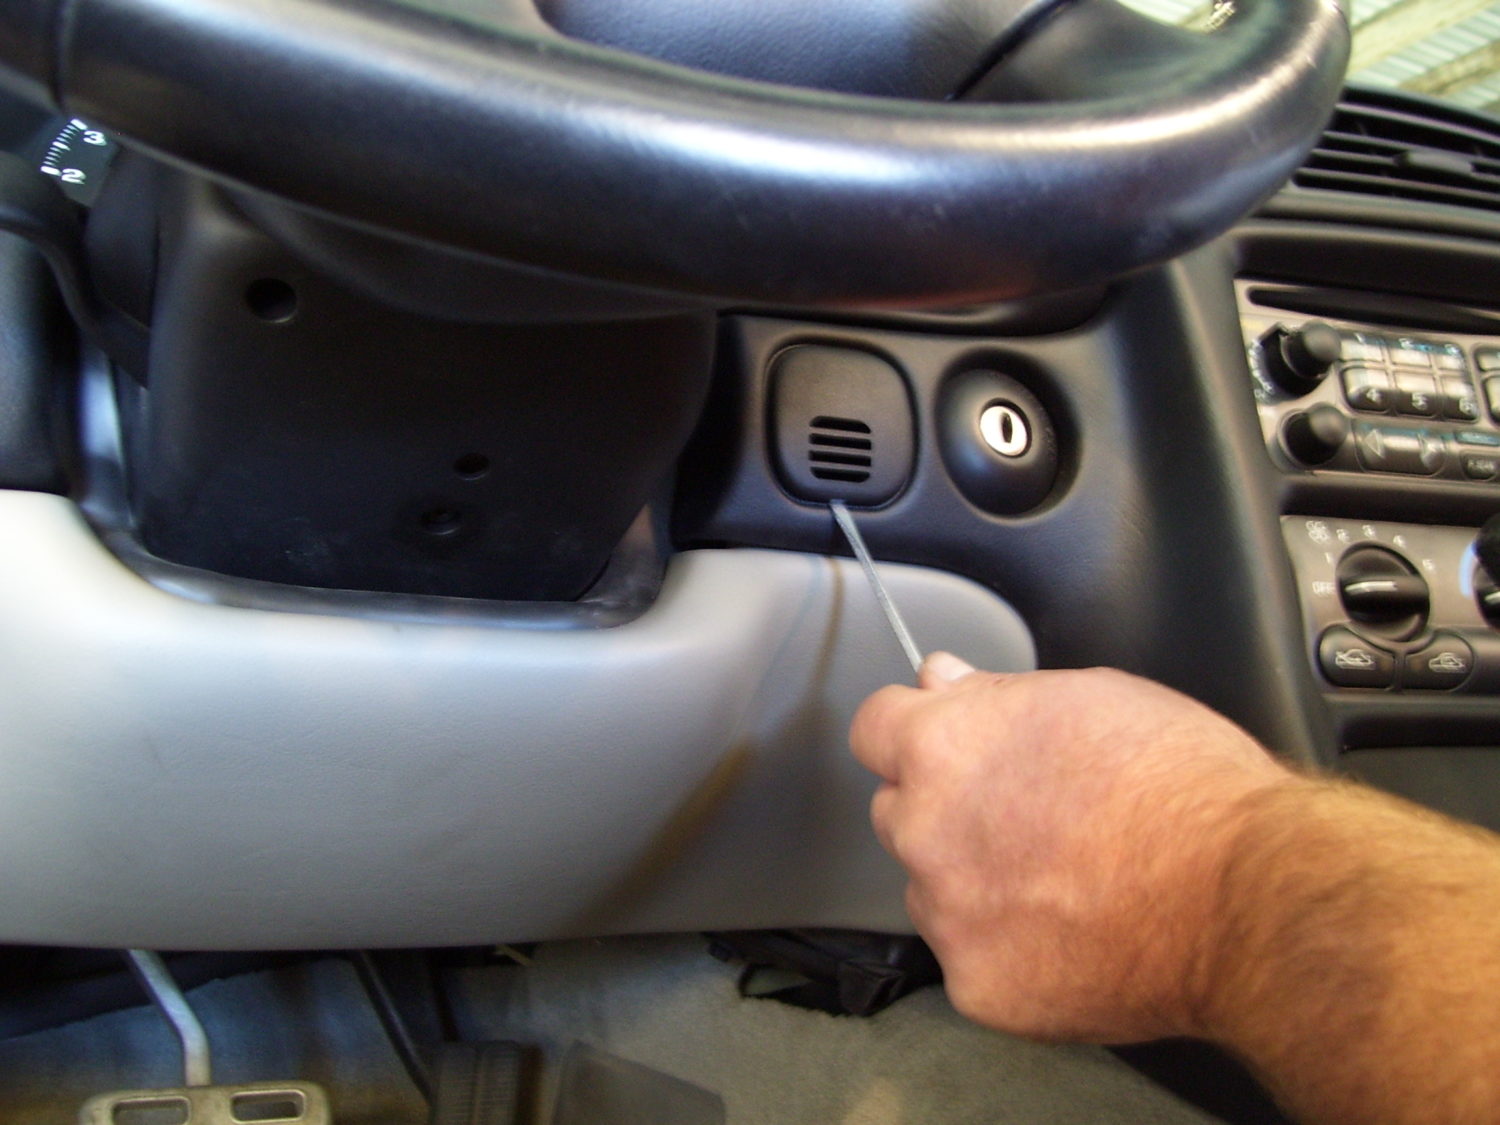
Remove the air conditioning sensor cover next to the ignition switch prying gently from the bottom with a small flat-blade screwdriver.
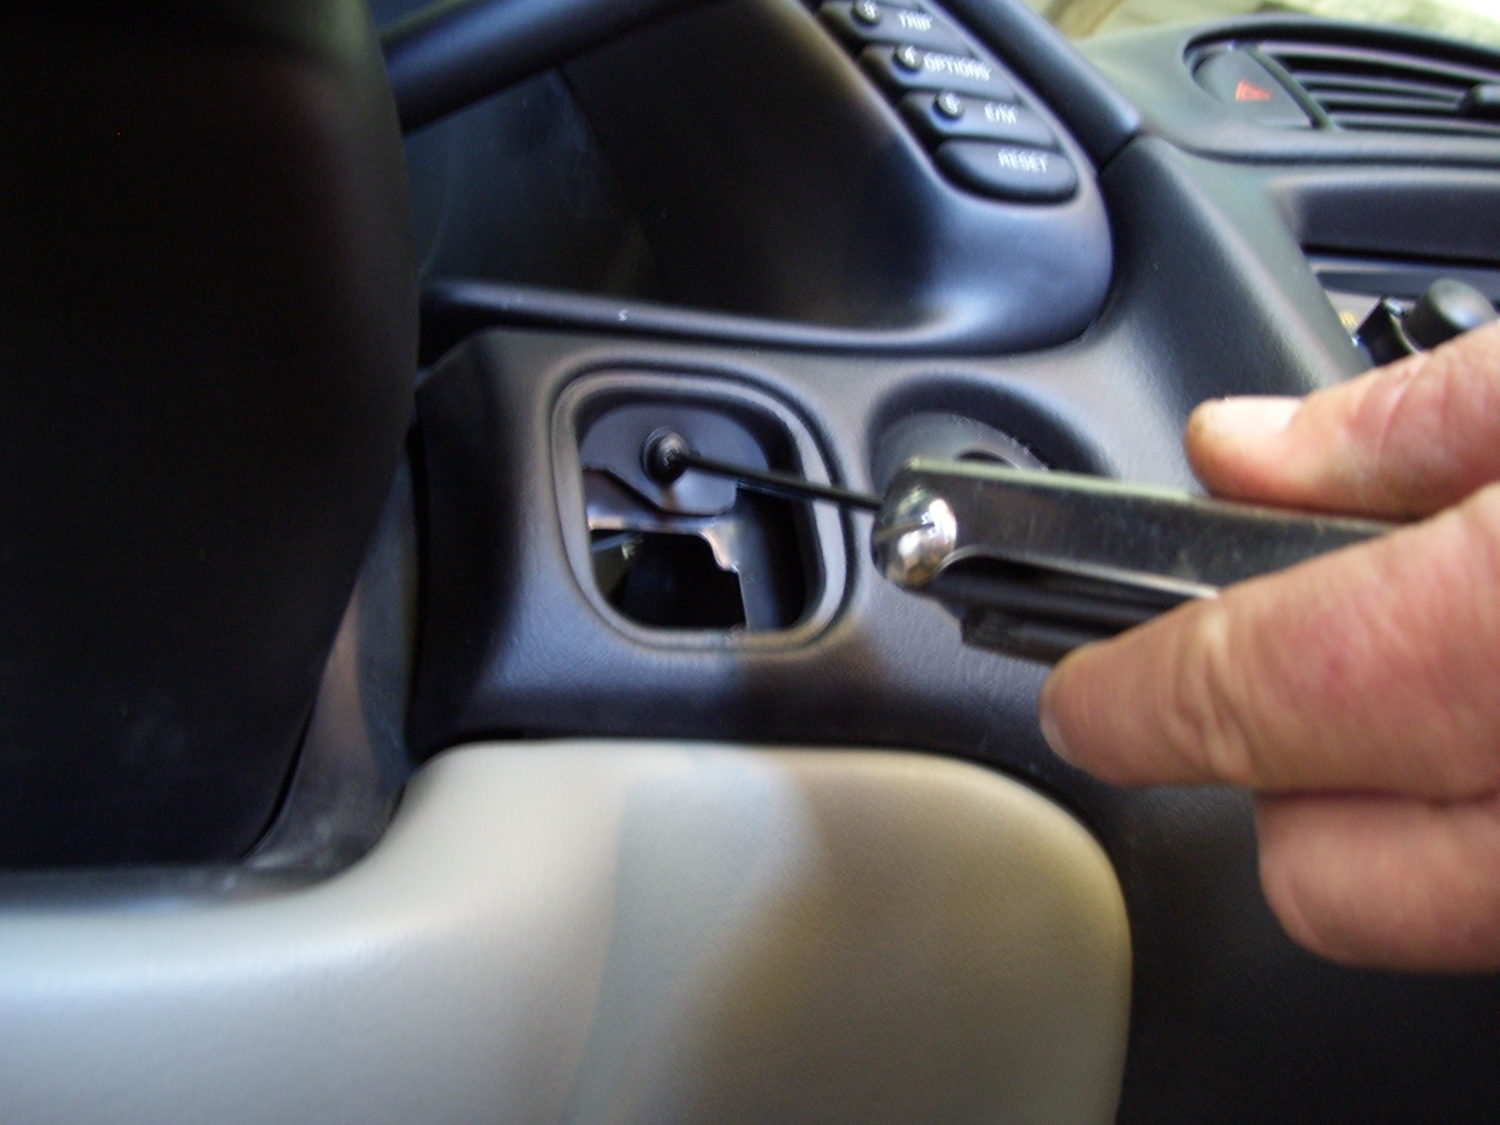
Remove the #15 Torx screw from behind the A/C sensor cover.
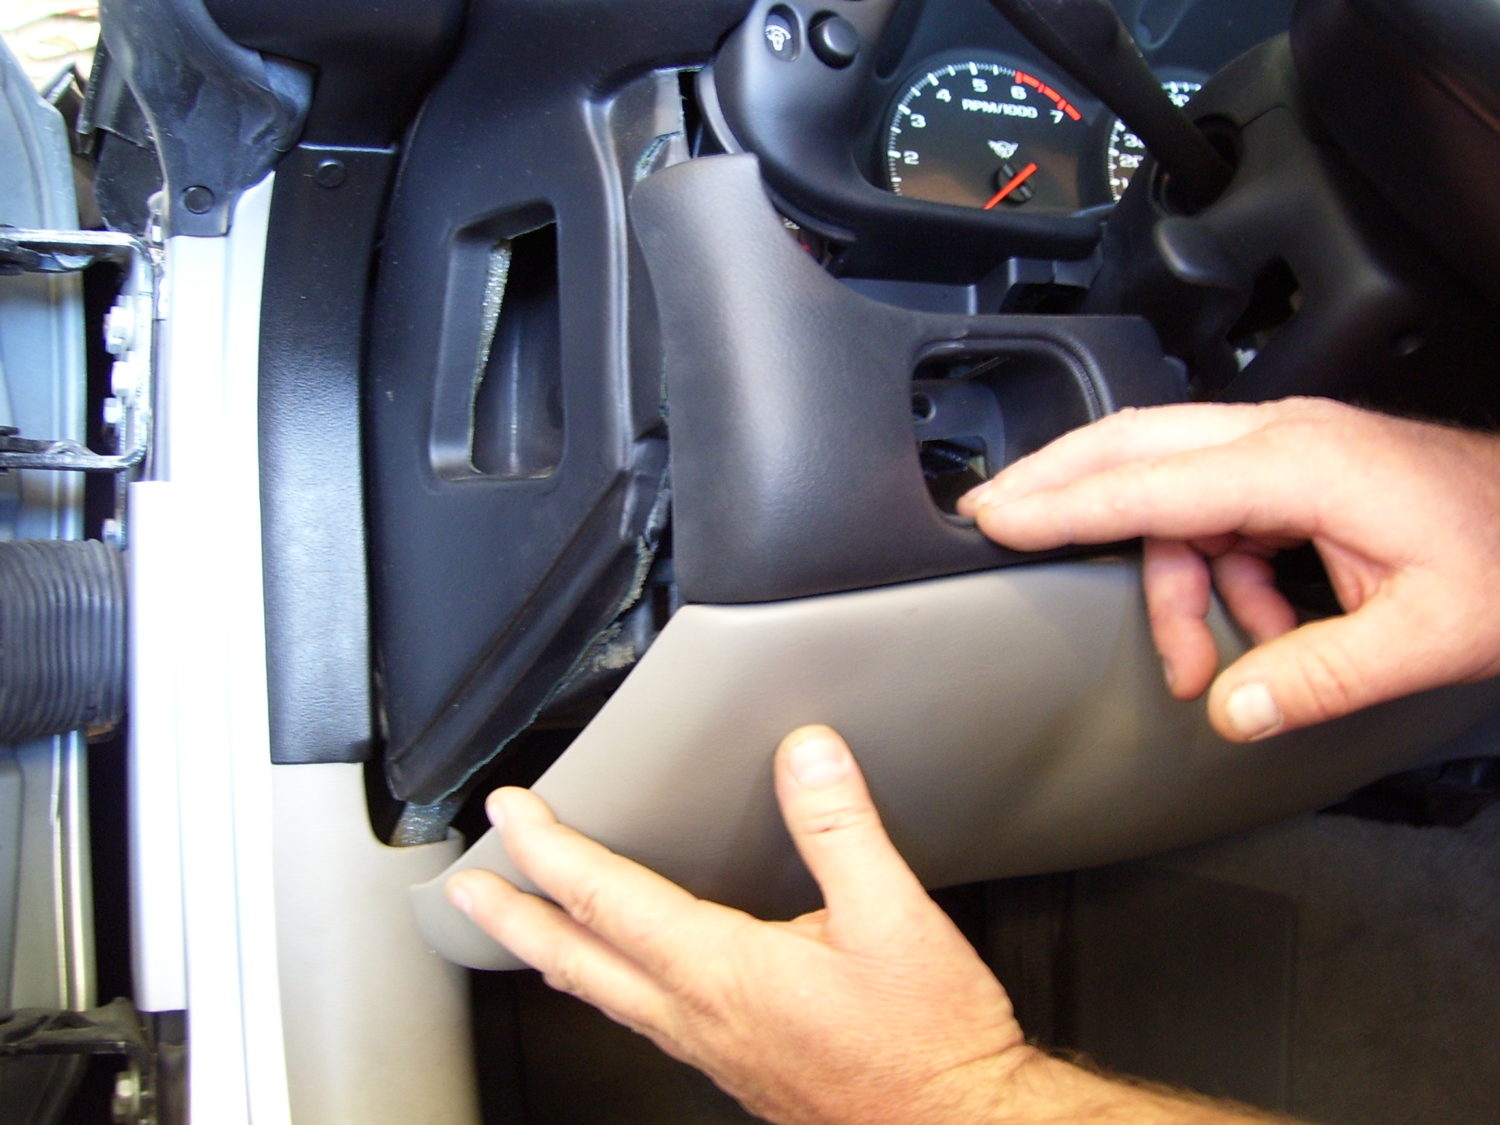
Pull the left side of the panel down and toward the driver seat to unclip it.
Push in on the A/C sensor opening toward the steering column to cause it to bow outward slightly so you can drop the panel.
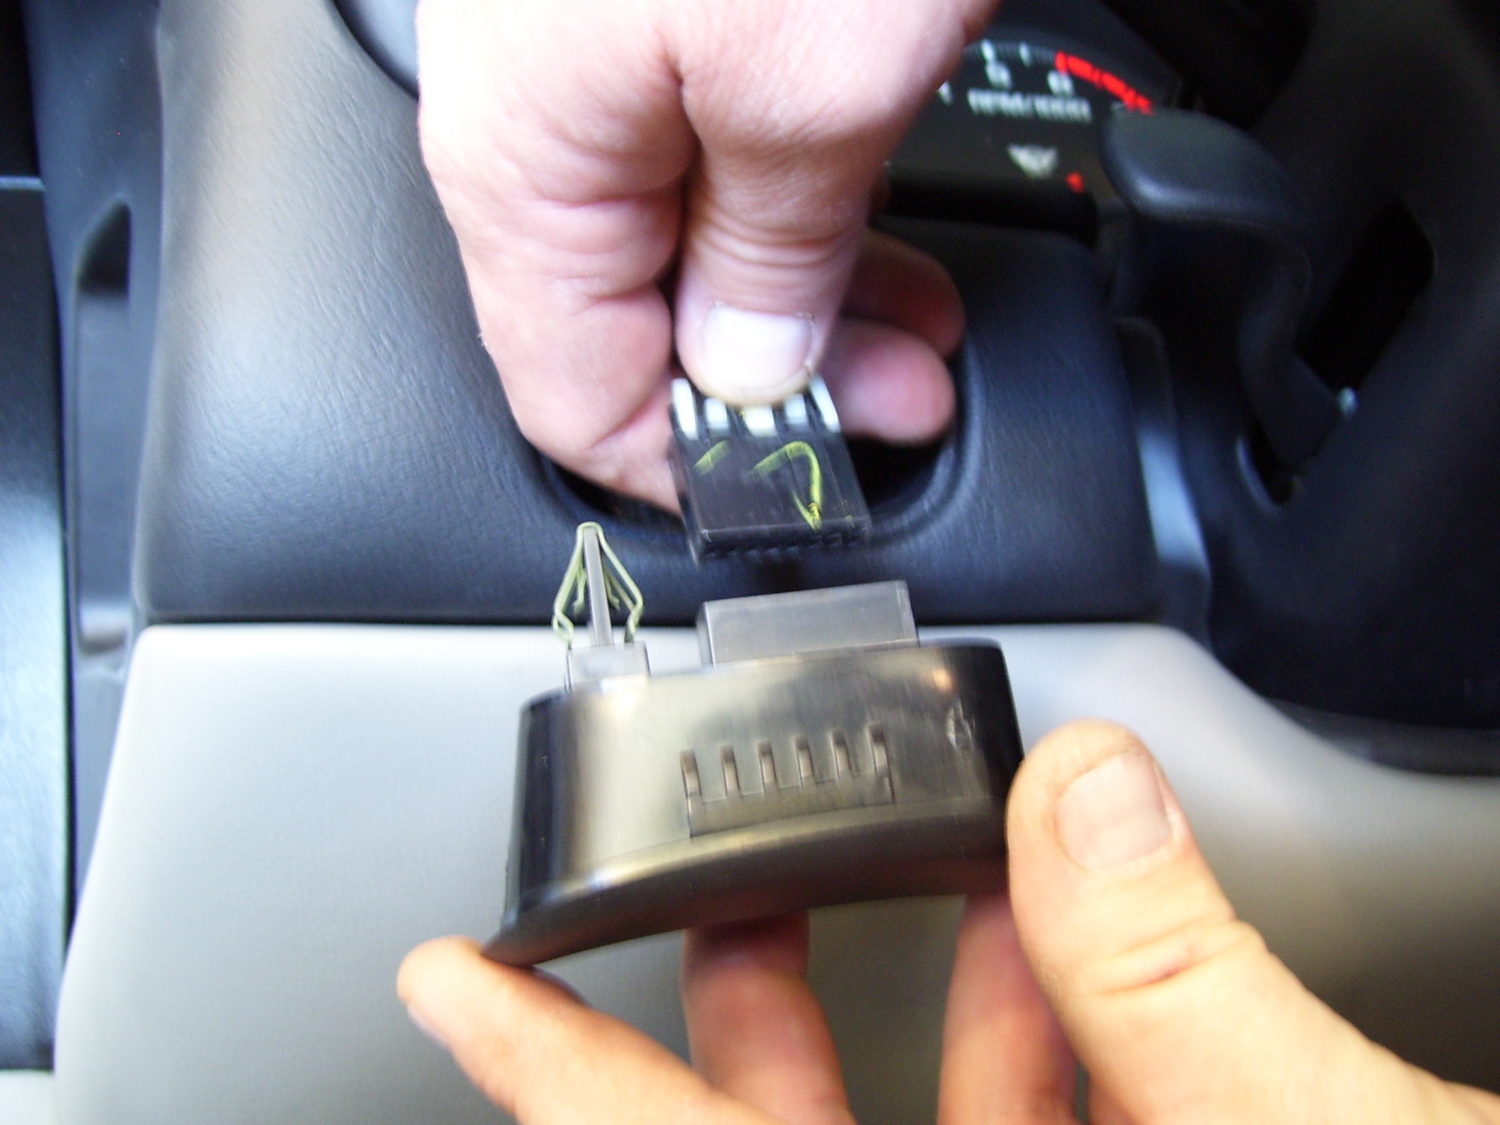
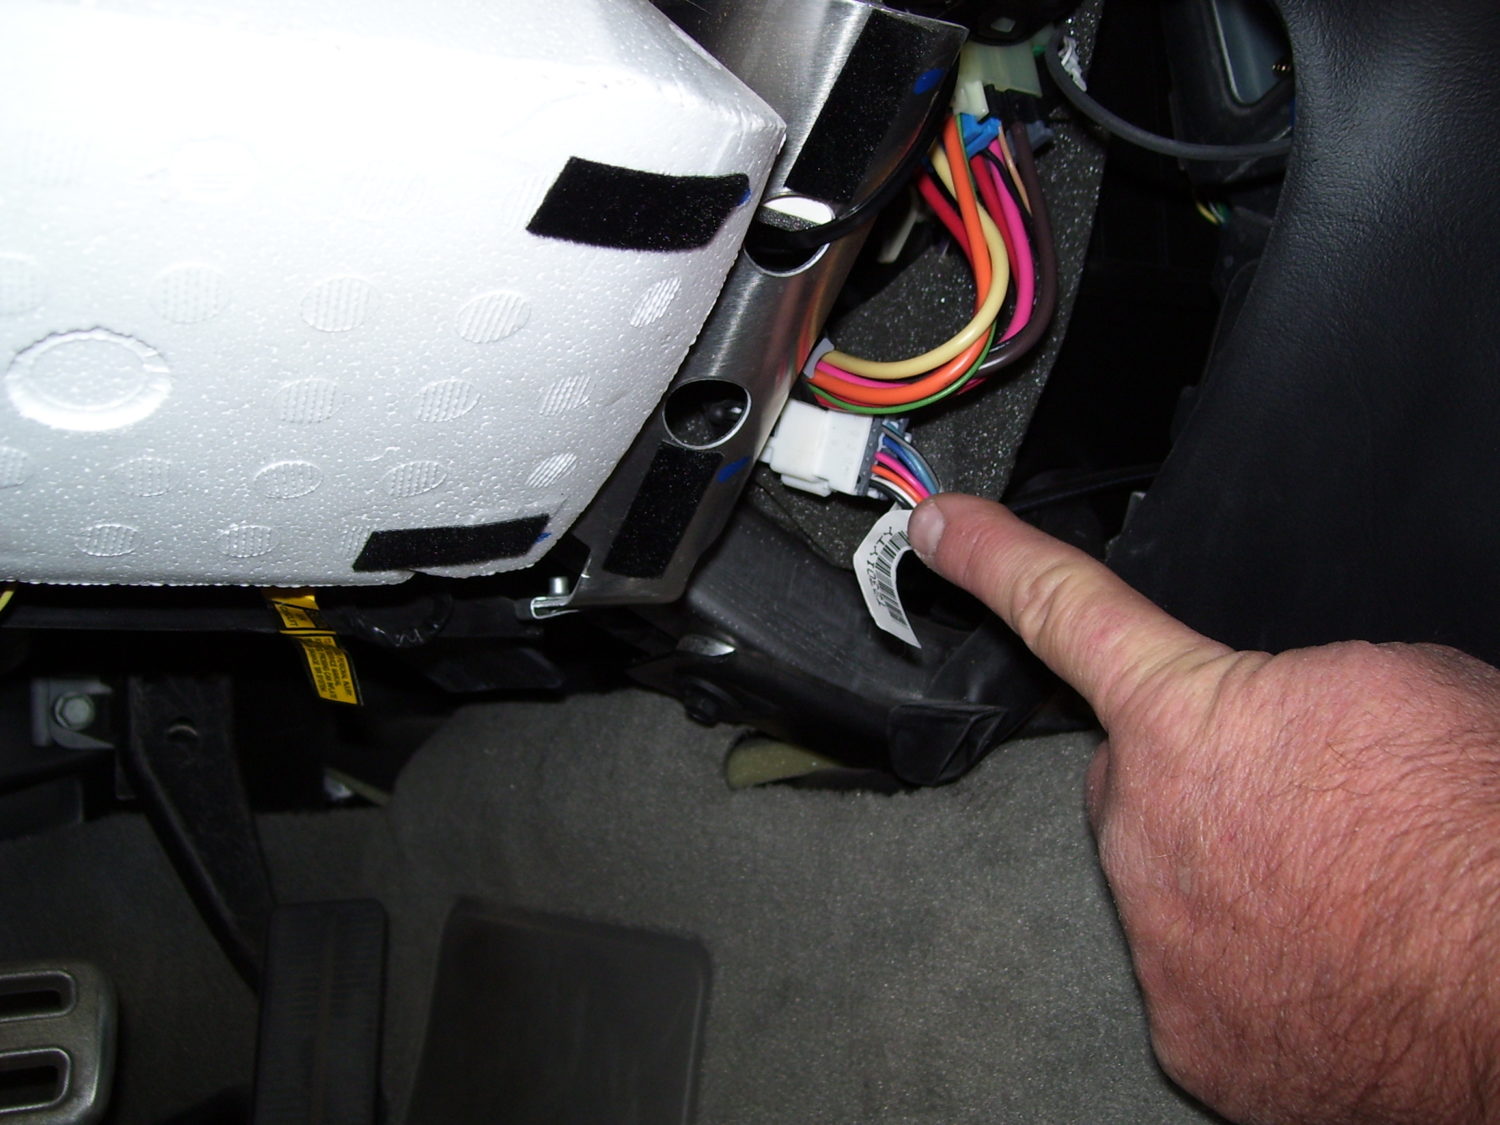
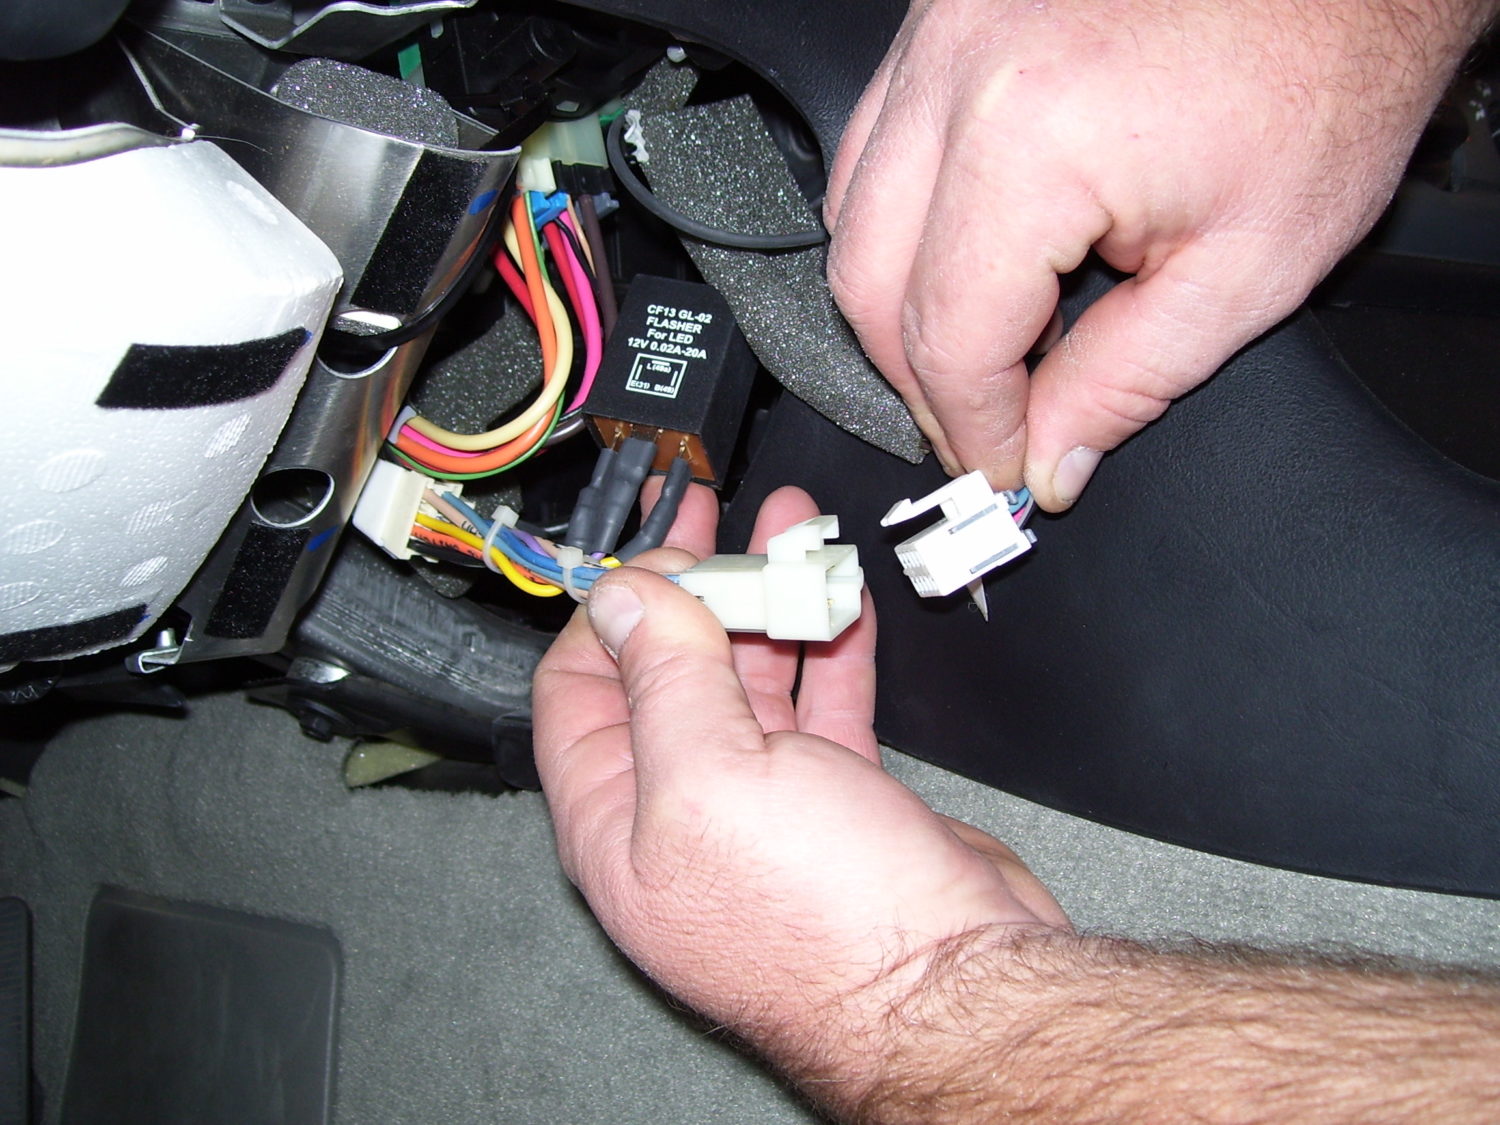
I’m pointing to the original factory flasher harness coupling, now visible and accessible with the panel out of the way.
Uncouple the connector.
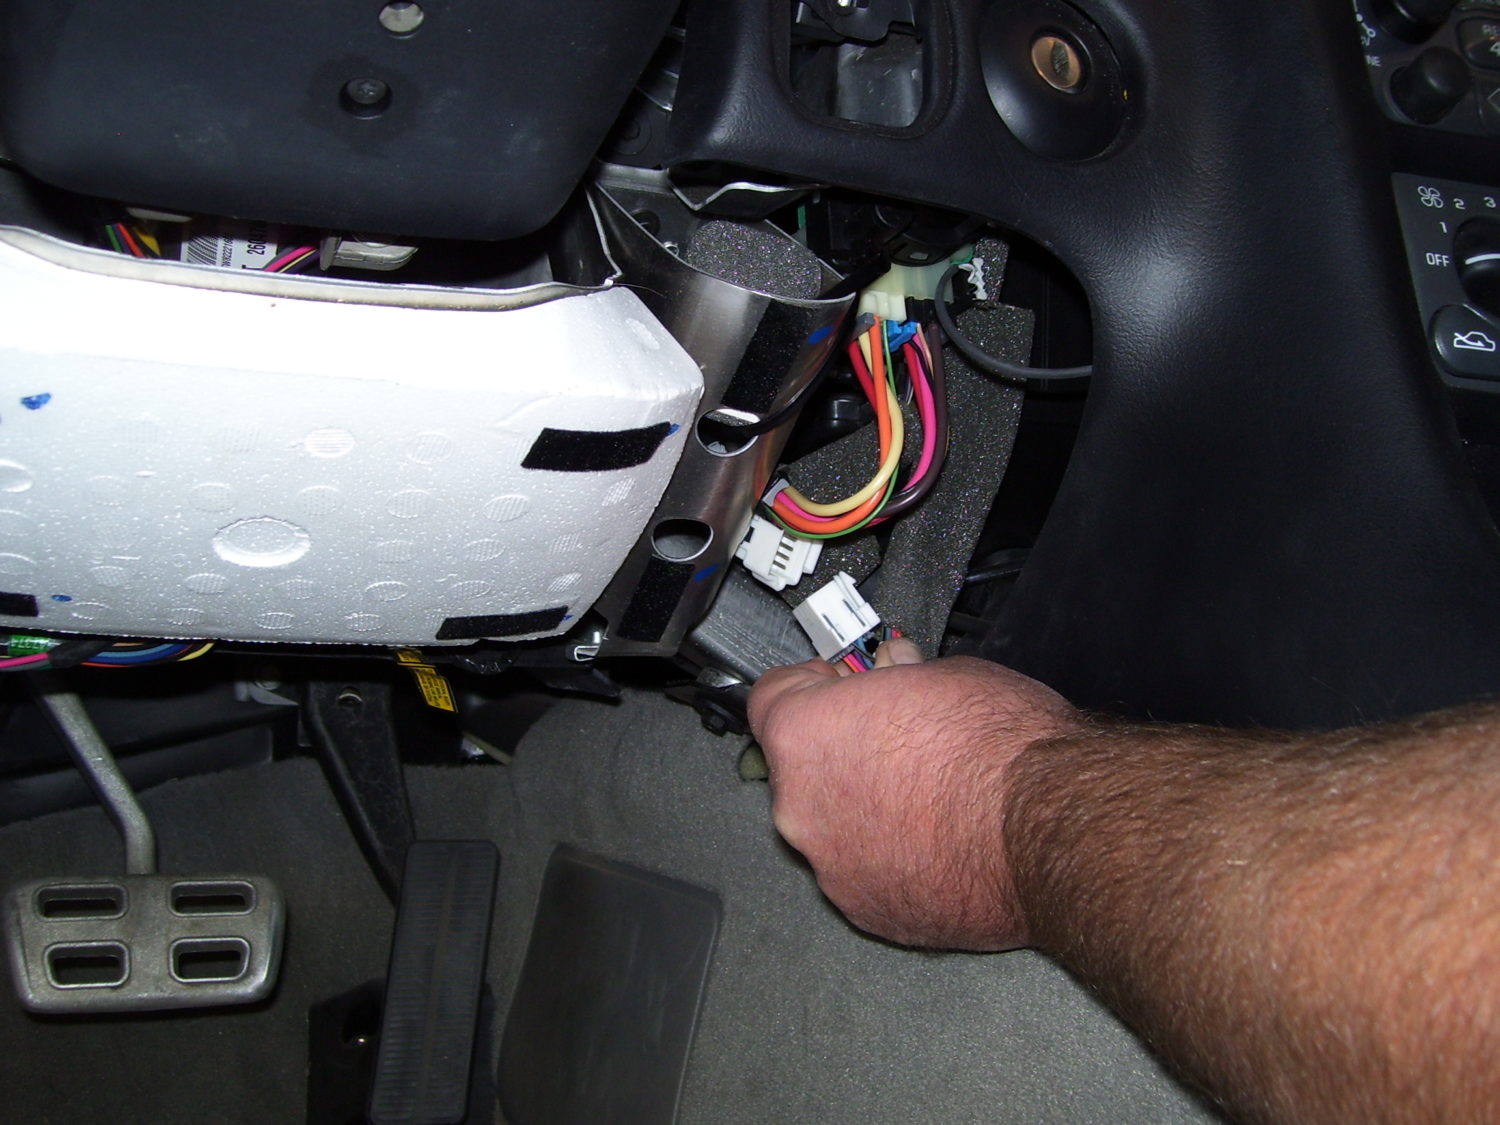
Connect the female connector of the Flasher Bypass to the existing OEM harness.
Connect the male end of the Flasher Bypass to the OEM harness.
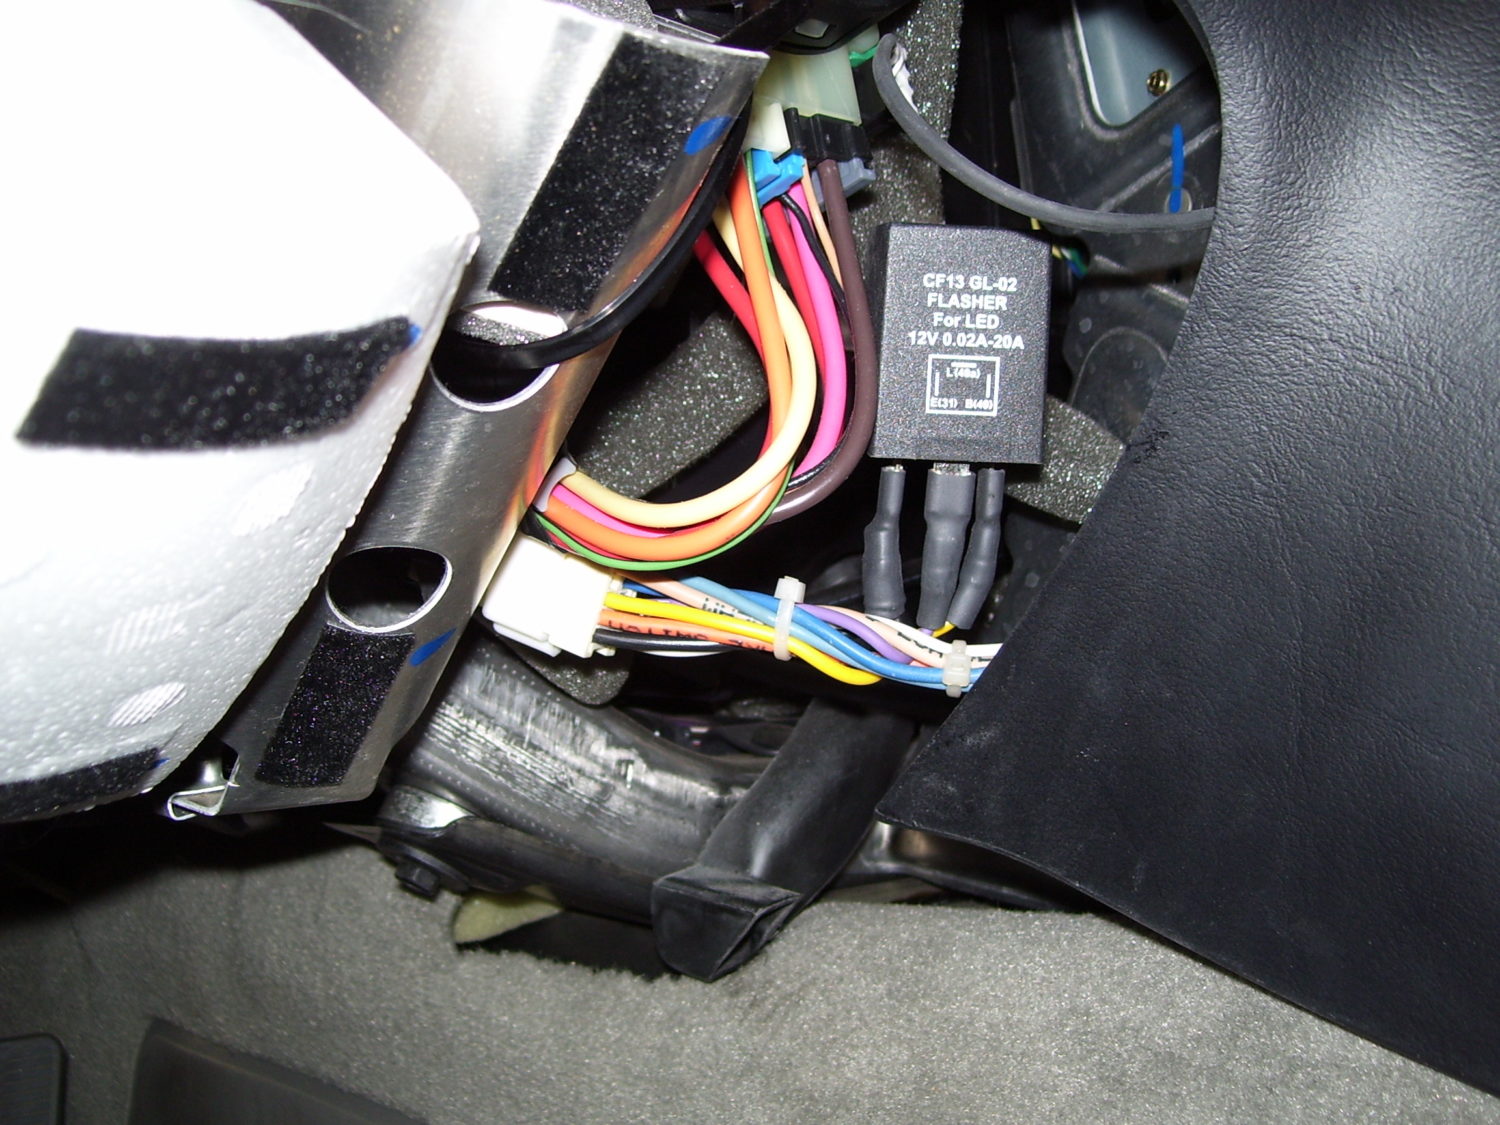
Tuck the Flasher Bypass Module into the cove along side the A/C unit to stow it safely away.
Be sure to pull the trunk/hatch switch connector through the panel opening before reassembly; this is very important!
Reassemble in reverse order, beginning from the right side of the panel. Again bow this area out just enough to slide the “ear” of the panel in place behind the A/C sensor opening. Align the left side of the pane and press against the receiving clips; reinstall all 4 Torx screws, the A/C sensor cover, re-connect the trunk/hatch switch and snap the cover back on and you’re finished. Now you can enjoy super-bright LED tail lights that blink at a ‘normal’ rate!
Story courtesy Tom Benford
One thought to “97-04 C5 Corvette LED Tail Light Flasher Bypass Module Installation”
One drawback of LEDs is the high initial cost per bulb, though over time LEDs pay for themselves through energy savings and an incredibly long lifespan. Most white LED bulbs emit a blue-tinted light rather than the warmer glow associated with incandescent bulbs.

One drawback of LEDs is the high initial cost per bulb, though over time LEDs pay for themselves through energy savings and an incredibly long lifespan. Most white LED bulbs emit a blue-tinted light rather than the warmer glow associated with incandescent bulbs.