Corvette projects are something many car guys consider doing at some point in the future. Some enjoy just being a part of any restoration project, watching the process from conception to completion. Corvette Central has been a huge part of the restoration hobby for many years and has been instrumental in manufacturing previously discontinued Corvette parts. One of their specialties is exhaust systems that they manufacture in house. The exhaust kits are ready to go with all the factory bends and original looks. With the myriad of parts available, Corvette Central wanted an opportunity to show customers what they supply in person. What better way than to have rolling live Corvette projects on display? This is where Chris Petris and the guys at Corvette Central come together.
Petris Enterprises, Inc. (formerly Corvette Clinic Inc.) has been fortunate to be part of many Corvette restoration projects over 20+ years. Our restorations have encompassed a wide range of customer ideas. We have completed everything from numbers-matching,“Top Flight” level cars to show winning modified Corvettes. One of the most radical projects was a 1968 convertible with highly modified exterior and chassis. The driveline consisted of a 510 Donovan all aluminum big block pumping out 725 hp. A Keisler supplied Tremec TKO600 coupled the high horsepower big block to a 1988 Corvette Dana 44 differential. After some fun on the streets, the ‘68 went across the block at Barrett-Jackson for $200K. The new owner, a famous Hollywood celebrity, has enjoyed the ride ever since.
We recently completed Corvette Central’s very unique 1988 Cutaway Corvette Project car. This was something we had been discussing for a while. The Corvette community needed a C4 donor for “science”. Frankly, it was fun carving up the rough 1988 Corvette, displaying all of the vulnerable underpinnings. The Corvette Central Cutaway Corvette debuted at Corvettes at Carlisle in 2010 to admiring crowds. Sure, there were C4 Corvette owners that questioned how anyone could cut up a Corvette. But the majority of C4 owners really appreciate being able to see what they are up against when it comes time to get the wrenches out. The Cutaway is presently on the show circuit for the Corvette community to see, feel and understand how the C4 was constructed.
When one project is completed, another follows. The great thing about projects is each one gets just a little better. The process is refined, whether it is parts choices or labor operations. We jumped at the chance to do the next Corvette Central project. This would be a fun project that had perfect timing with another opportunity that had recently become available. Cartech Books had contacted us about authoring a 1963-1967 Corvette restoration book. The first few questions about the book were concerning the type of restoration. It turned out that Cartech Books wanted to detail the restoration of a fun, drivable Midyear Corvette, not a numbers perfect car. That was the answer we were hoping to hear. Numbers matching early Corvettes are not our favorite type of restoration. Drivable, fun Corvettes are our specialty. Upgrading to electronic fuel injection, overdrive transmissions and adding amenities are second nature, so we felt at ease writing the Cartech book.
It would be a perfect fit. We would restore Corvette Central’s 1963 Split Window Coupe and cover the restoration in the Cartech 1963-1967 Corvette restoration book. One of the toughest things to do is come up with a plan and stick to it. The main reason is faster, stronger and longer lasting parts sometimes become available before the project is completed. Corvette owners love to have the first of any new product on their cars. We have found that if a comprehensive plan can be written up and followed, then much aggravation can be eliminated. Considerable cost can be saved on both parts and labor when duplication is avoided. Nothing is worse than being in the middle of the project with missing parts that were overlooked. The restoration is carefully planned out, taking into consideration what Corvette Central wants for the finished product.
We picked up the 1963 from Corvette Central and headed south to Petris Enterprises Inc. in Scottsboro, Alabama. Our first step would be to compile a thorough inspection and list of the car. Next would be discussing the ideas of the folks over at Corvette Central and ensuring that we are following their intentions for the car.
A quick, cursory look showed the ‘63 had no engine or transmission and a severely rotted chassis. The single overriding factor about all second generations Corvettes, however, is that they eventually will all be restored. The iconic Midyear has a loyal following that will preserve the heritage at just about any cost. A legal VIN plate is the main concern. All the other problems can be overcome.
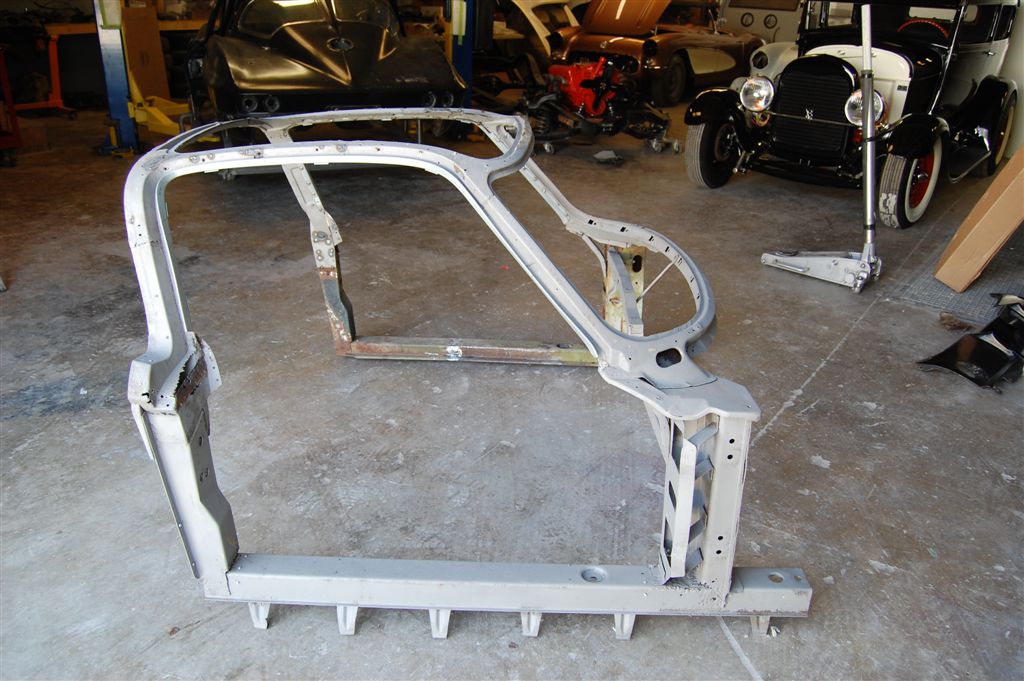
It may be easy to dismiss a car simply by inspecting the surface and underbody. All we saw was the severely rotted frame. The “birdcage”, which is the steel backbone for the fiberglass panels, was in remarkably good shape. Replacing the frame is much less work than removing major body panels for main birdcage structure repairs. Plenty of bodywork would be required, but very little rust repair.
Questions arose about a new frame. Purpose built chassis change everything from ride quality to geometry. This is a beneficial in most cases, but it would not work for the book. The typical, new to the hobby Corvette owner may get too deep into the technical side of the project in changing to a purpose built chassis. We really wanted a project that was doable by the mechanically savvy do-it-yourselfer.
The decision was made to use a bare frame from Impact Restorations in Grand Rapids, MI (www.impactrestorations.com). The Impact frame is completely redone using correct pieces welded together on their precision jig. Any uncertainty about a swap meet sourced frame (alignment, prior damage, corrosion etc.) would be eliminated. This is why we chose the Impact bare frame. We will be ready to go with confidence when we assemble the chassis.
Next up was sourcing paint and body work. As it turns out, the folks at Corvette Central had been discussing the project with Seth Wood of Lucky’s Customs in Madison, Alabama. Lucky’s Customs specializes in Corvette fiberglass repair and all paint work. Seth and I had a few discussions concerning the project, and then we visited his shop. Seth made us feel comfortable about how he would tackle the ‘63’s required bodywork and paint. It was decided that they were the right shop for the job.
Now that we have figured out two difficult issues, disassembly can begin. Knowing that the chassis and all attaching components are very corroded, we start disassembly with a good drenching of rust penetrant. The best policy is to drench the fasteners for a few weeks before any disassembly begins. We keep a pad and pencil nearby to jot down broken, damaged or missing pieces. To avoid missing pieces when we make an order, each part to be replaced is placed into a box marked “to be replaced”. When we finish disassembling each area, this same procedure of placing pieces to be replaced is used. This saves aggravation during assembly, as we did not forget pieces during the ordering process. Before the first bolts or nuts are removed, it is a good idea to have a camera ready to shoot photos of how the assembled pieces look. Take a few shots from different angles to make sure you feel comfortable with how a particular area is assembled.
We also make a habit of removing sub-assemblies (e.g. transmission, clutch components and differential) and placing all attaching hardware with them. Sub-assemblies will be brought over to the work bench for disassembly and inspection later. They have casting and date codes that should be recorded and photographed before disassembly. This holds true especially if you do not feel comfortable restoring a major sub-assembly. When the component is sent for restoration, you will have record of what was sent in. Do not throw away any piece until the job is complete, just in case there are parts that are not currently available.
That brings us up to speed. We are now ready for body removal and placement on a dolly for the body shop. Follow along as we show you how the body removal progresses.
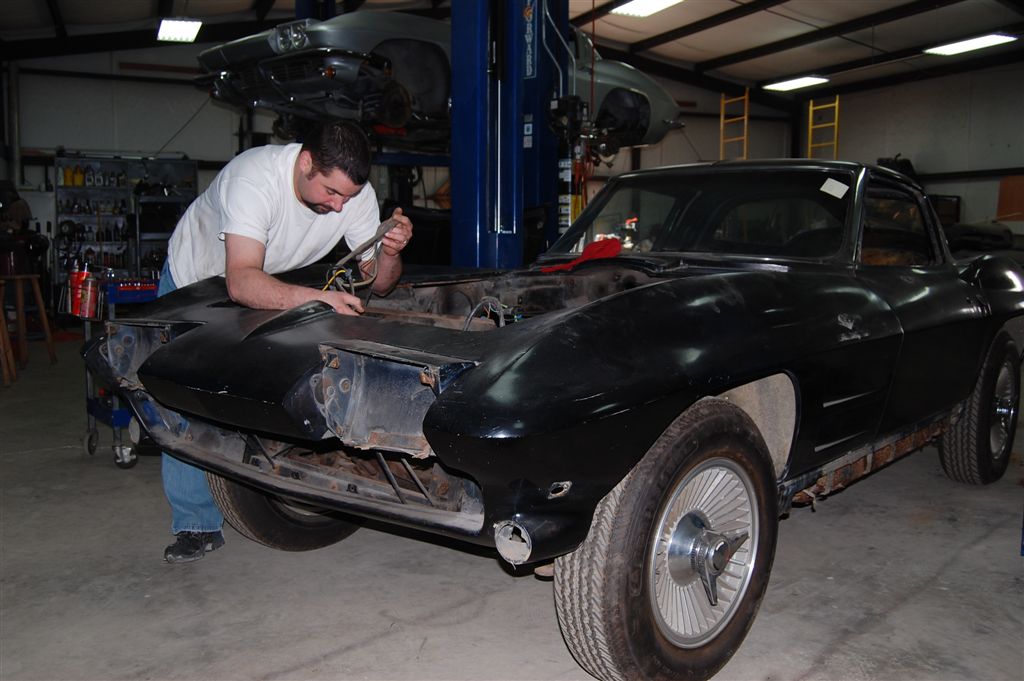
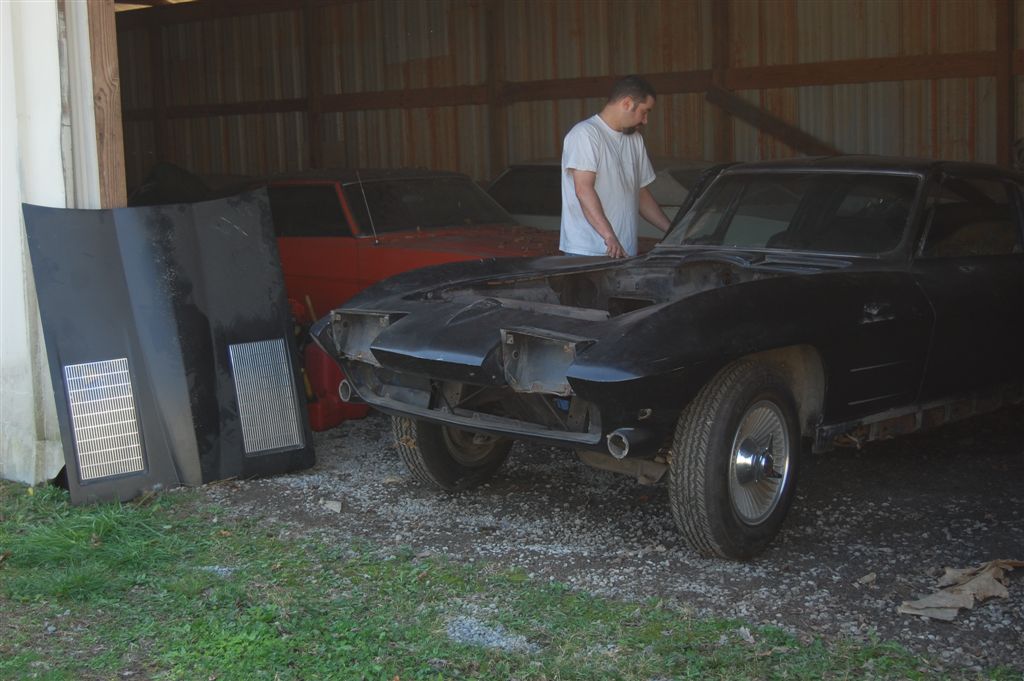
Pondering what this 1963 Split Window has in store for it. Plenty of thought will be required to plan this project properly.
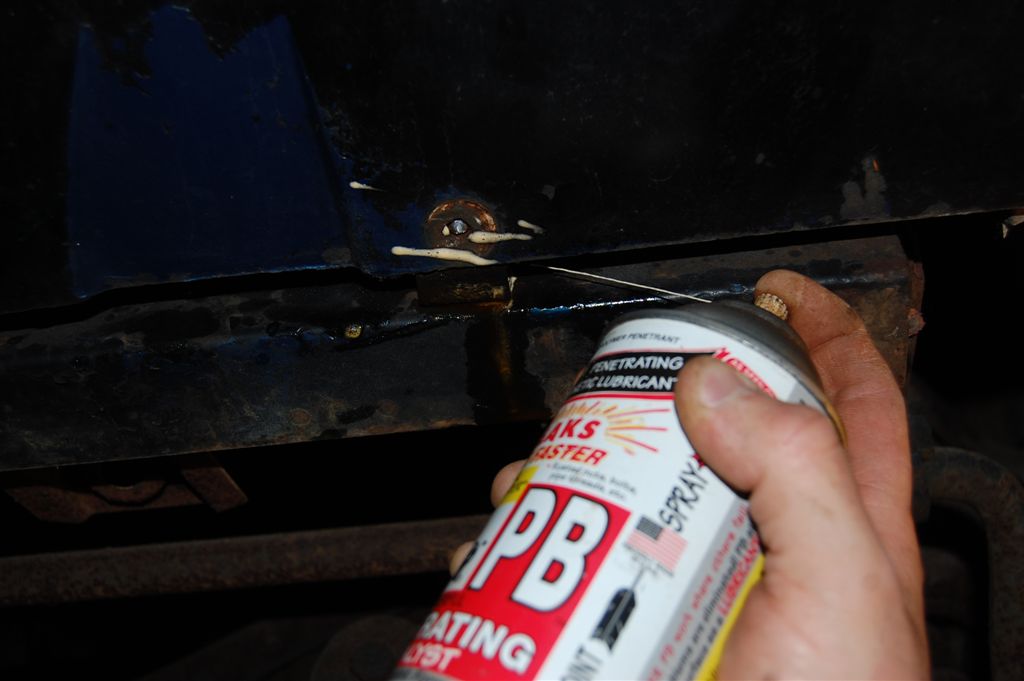
Remember we said plenty of rust penetrant? There is no way that you can spray too much on any of the bolts or nuts. Keep it handy and douse the components as they are removed to ease removal of fasteners.
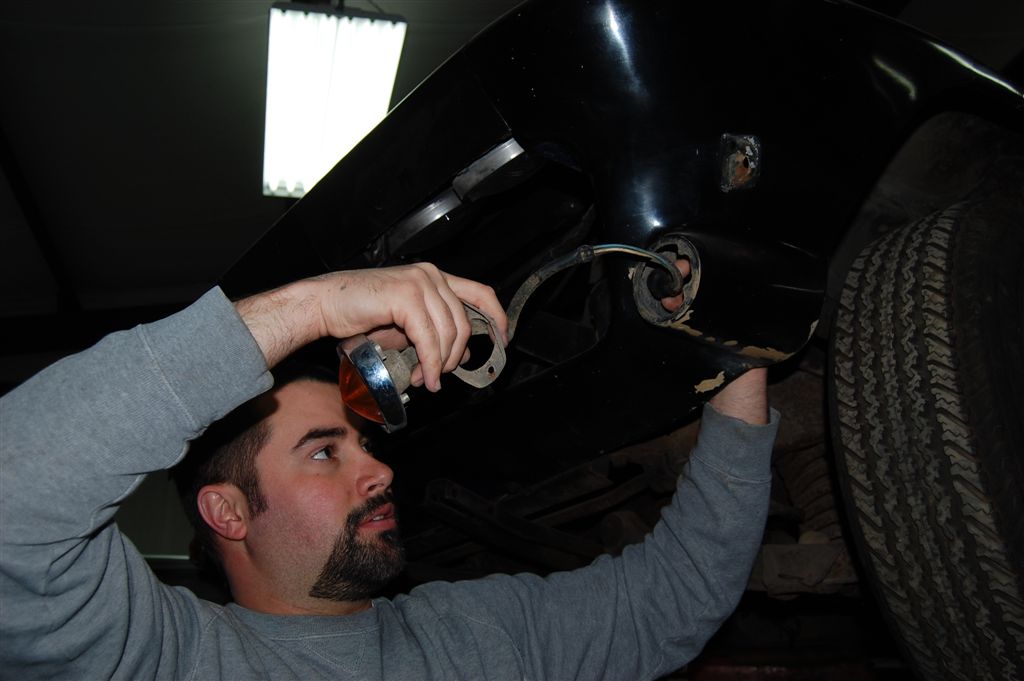
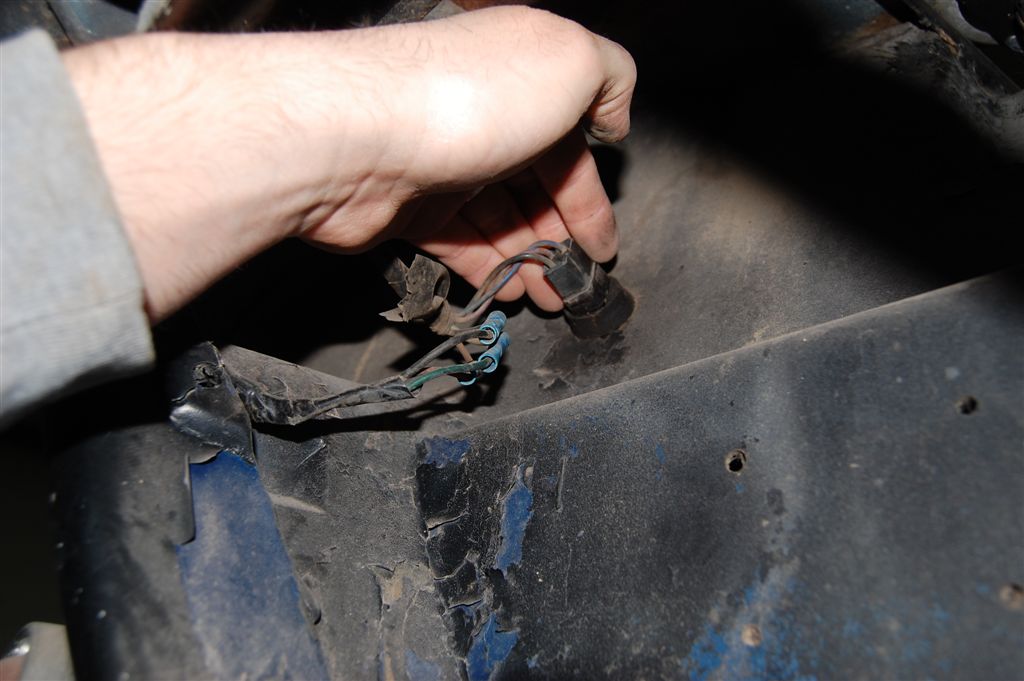
We are lucky enough to have a lift available for disassembly. We like to take out the lower components, like this turn signal assembly, at eye level. We can get a good look at the condition of the underside of the fiberglass panels.
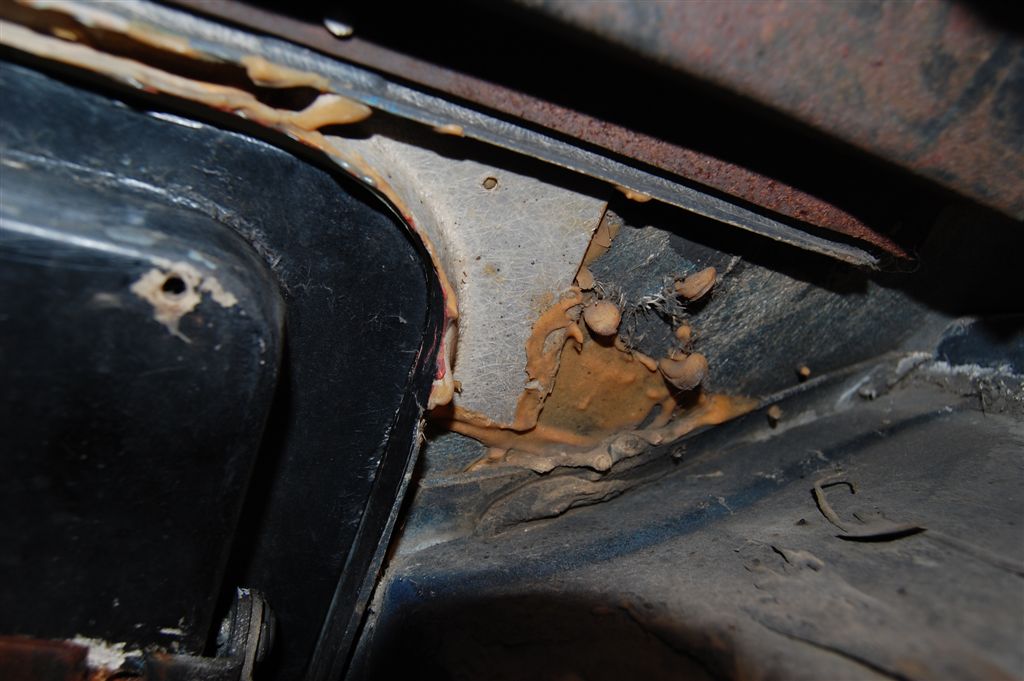
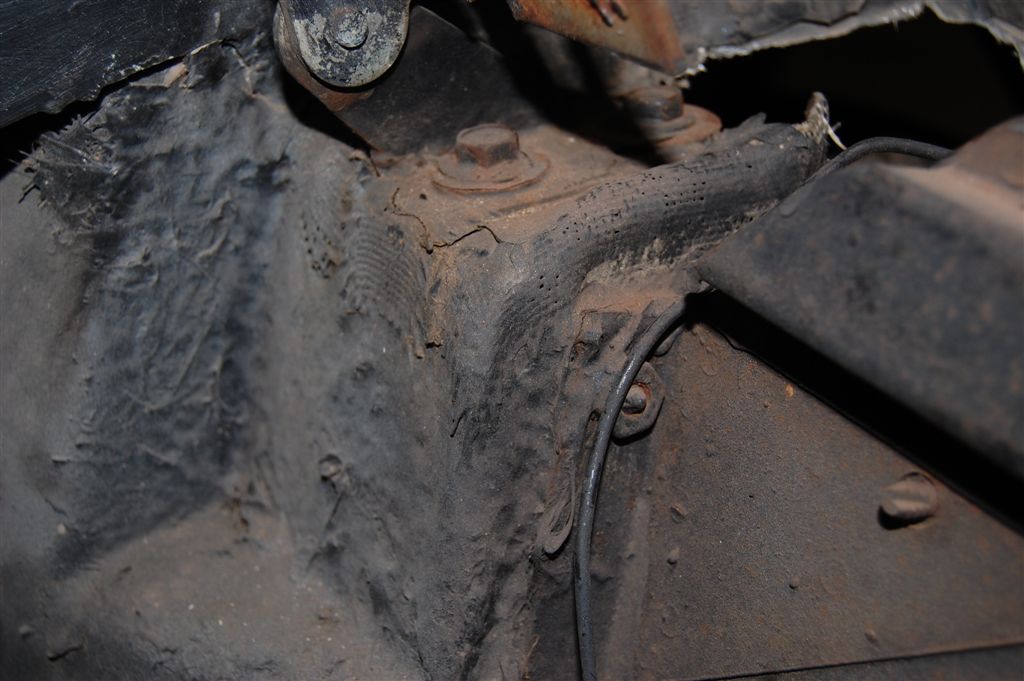
Plenty of paint had been sprayed into the radiator core support area and inner fenders. All of this overspray must be removed for a complete restoration. We know that we need new turn signal lamp assemblies or at least wiring repairs. The blue butt connectors work but leave room for corrosion to attack the wiring.
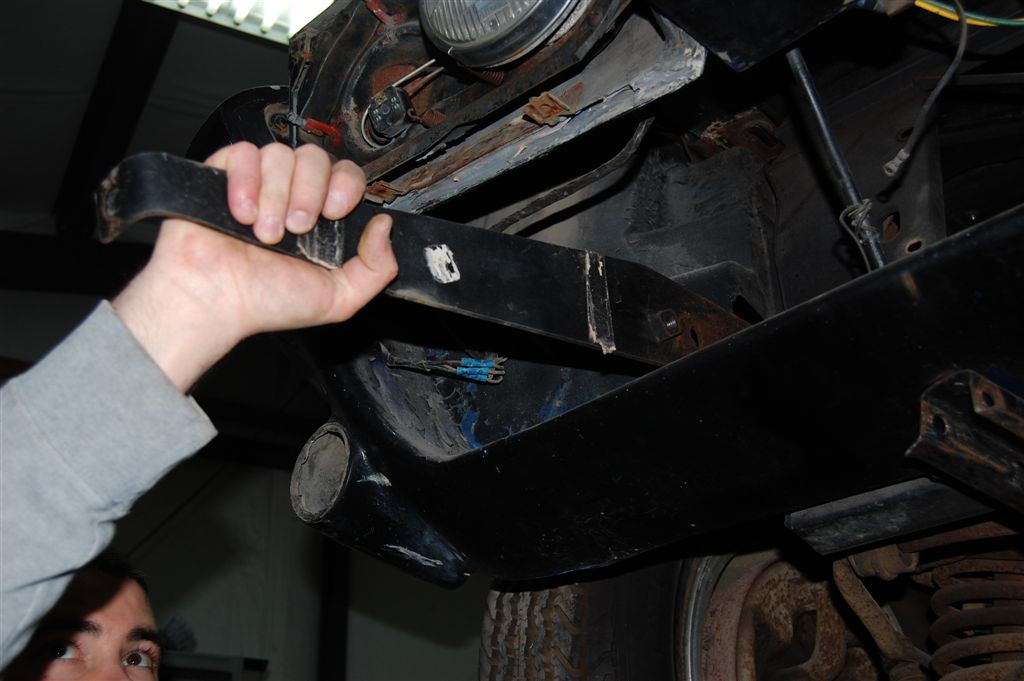
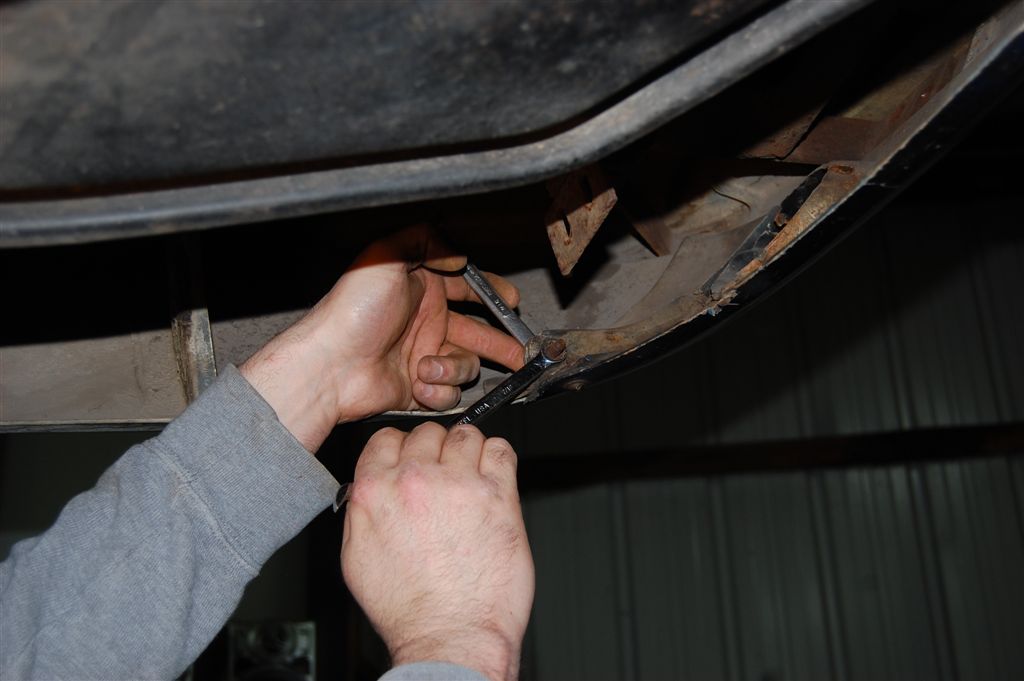
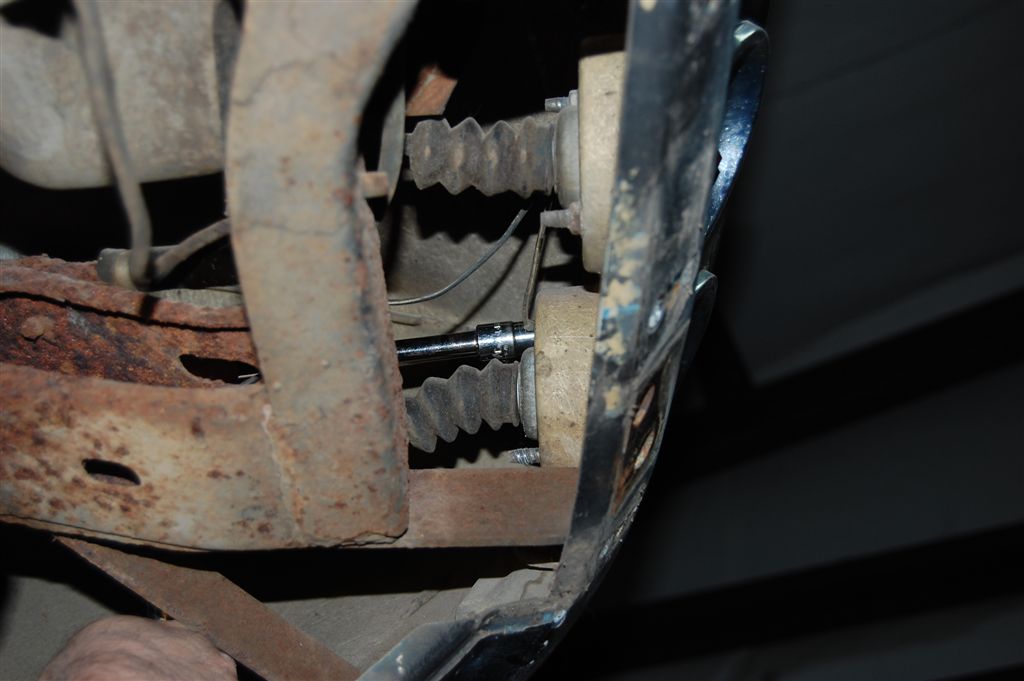
This is one way to attempt bumper bracket support removal. This ½” ratchet will be straining to remove the crusty bolts and nuts.
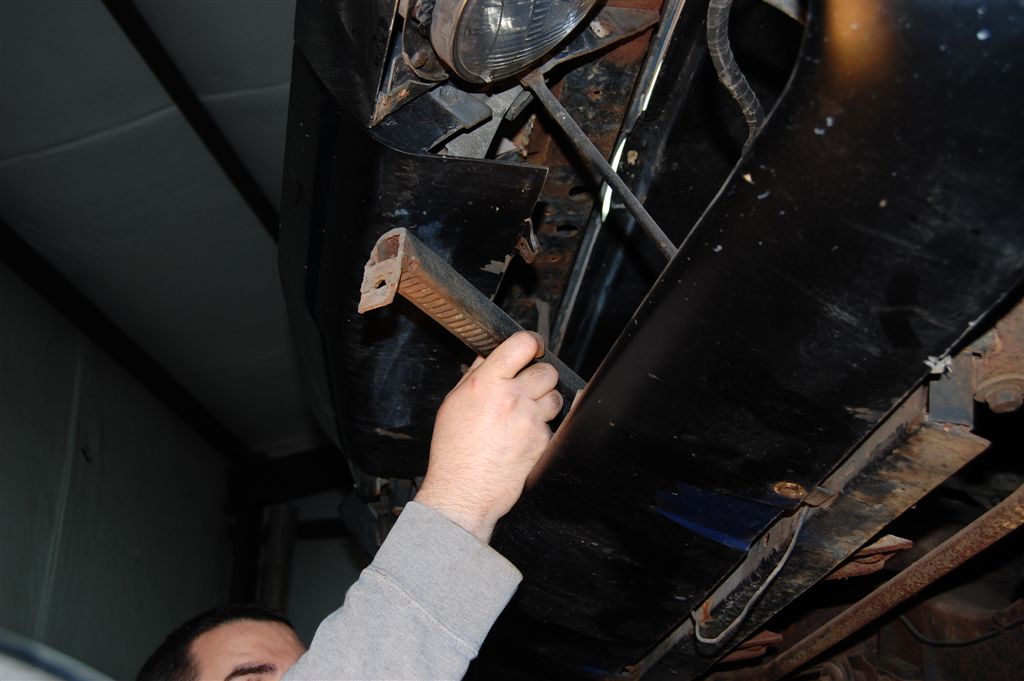
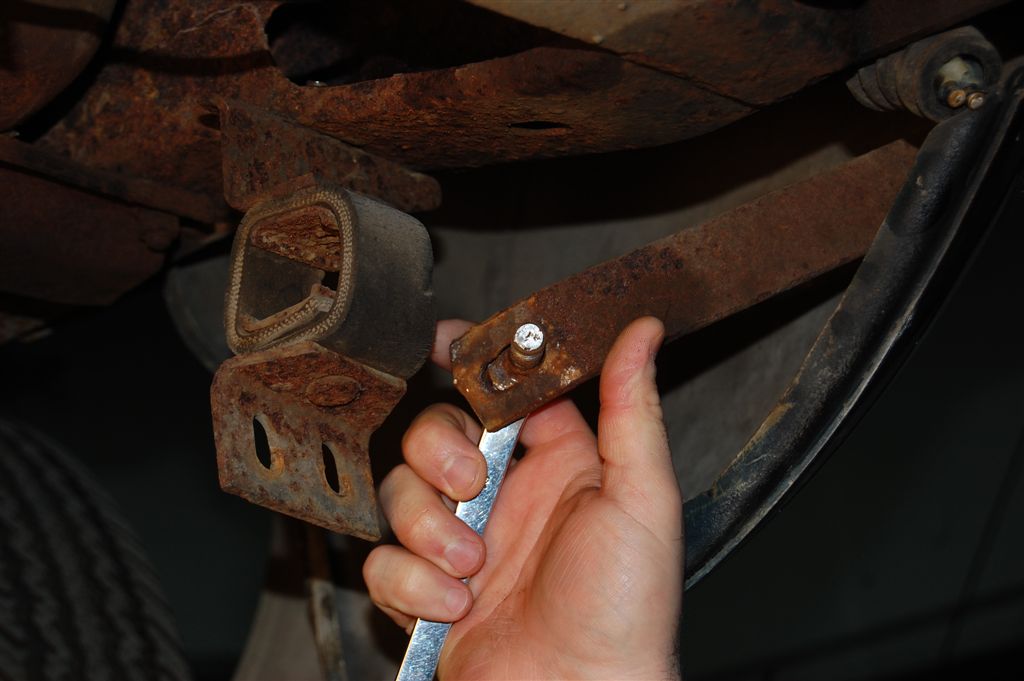
You never know what you may find. At some point the bumper brackets were replaced. Leaving the stickers on the new bumper bracket pieces screams “just get the car going”. We know we had an owner that drove this mid-year often.
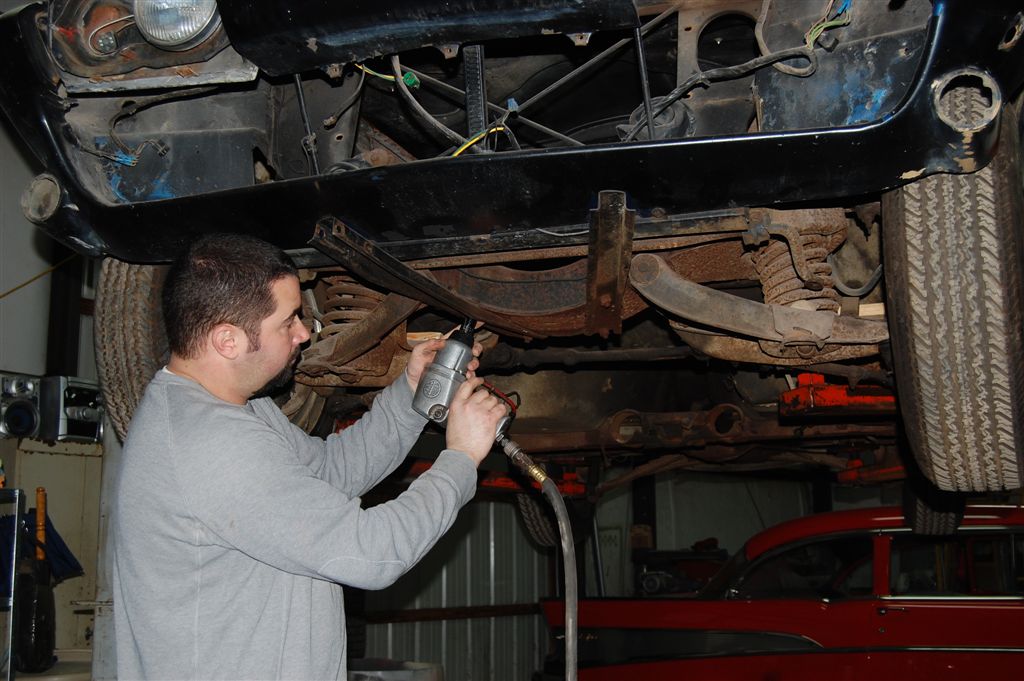
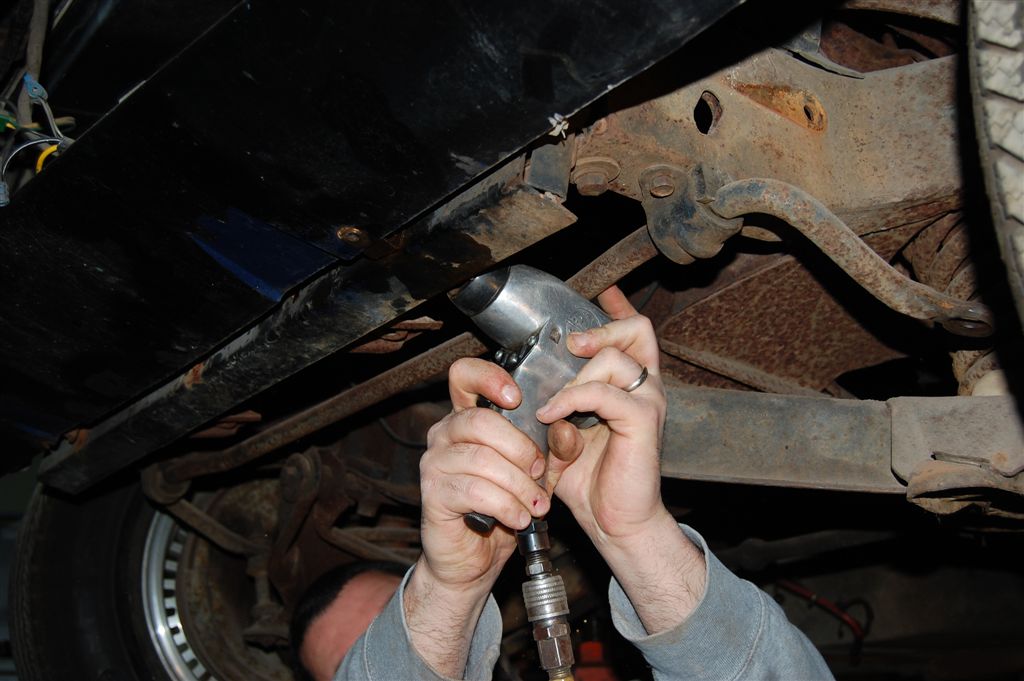
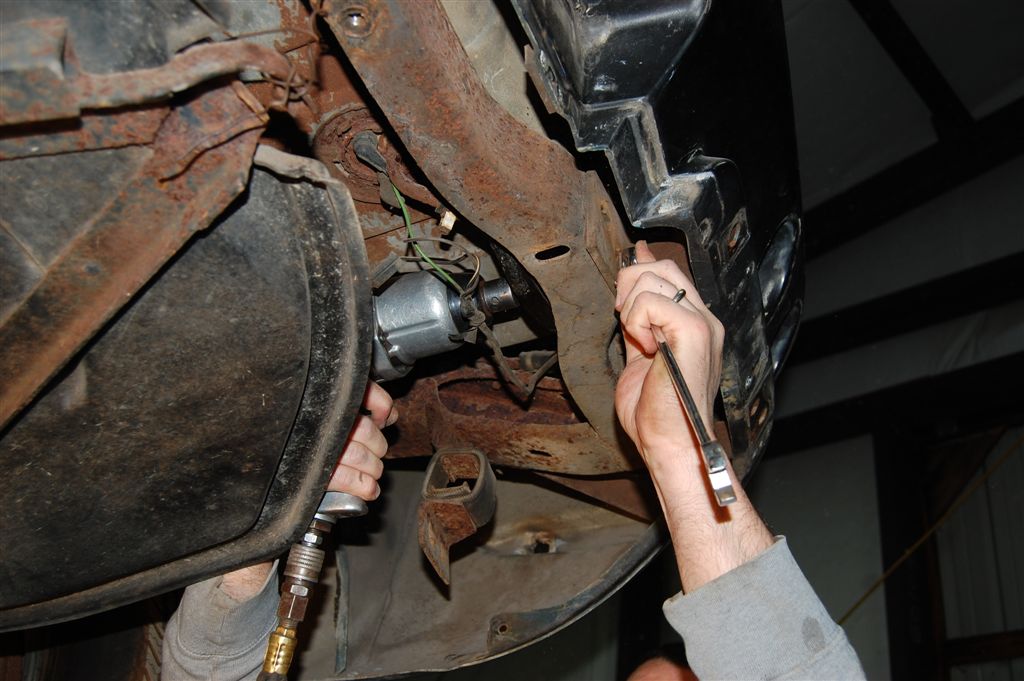
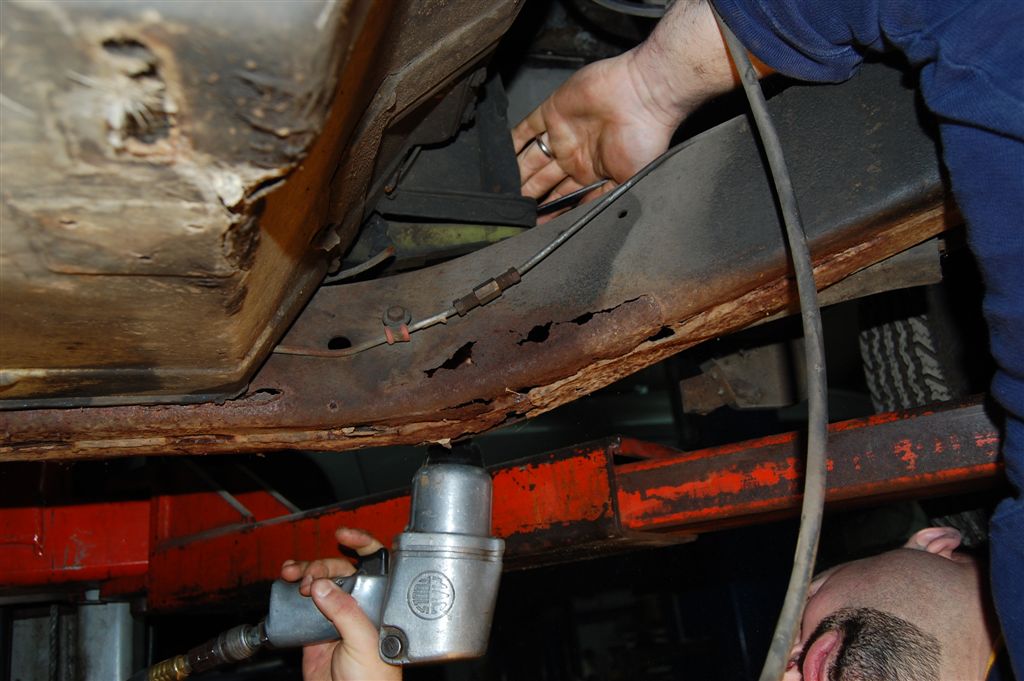
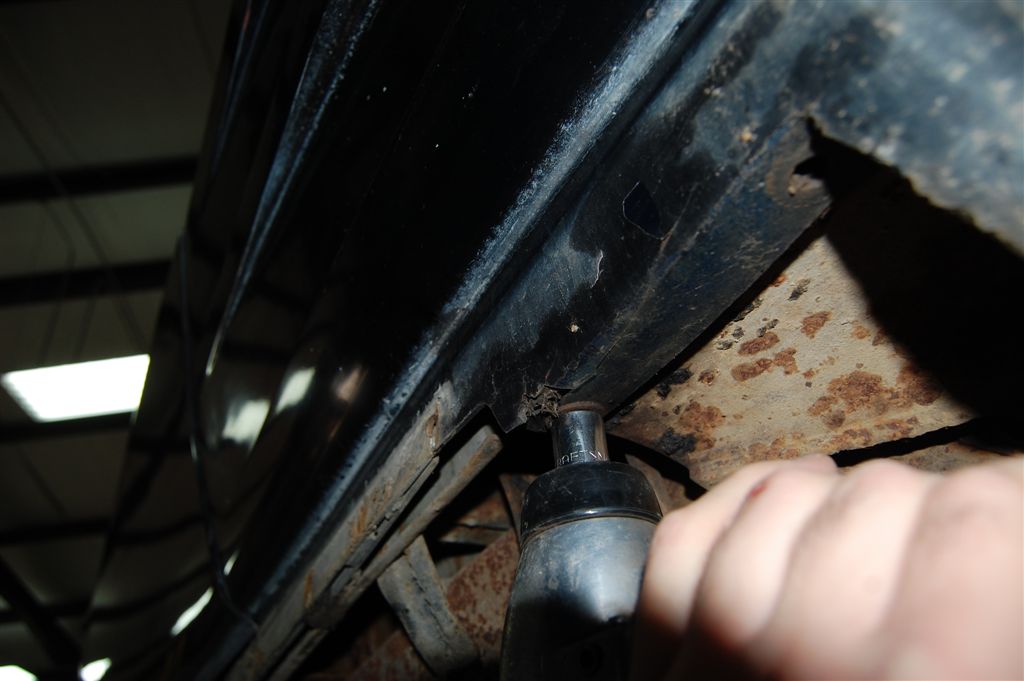
Austin is using a ½” air impact wrench to remove the lower bumper supports. Impact wrenches can save you aggravation because they slug the bolts during the removal process. The internal air impact hammers the bolts loose.
Nifty impromptu headlight support was crafted from someone’s bumper jack. At some point in this mid-year’s life, frugality was the main focus. An NCRS judge would have plenty to say about all the quick fixes.
1/2″ impact wrenches were very popular, but now the 3/8“ air impact wrench is the one to have. Many 3/8“” impacts have 100ft/lb torque capabilities, making them very useful and lighter than the ½” models. Investing in good tools pays off in parts saved.
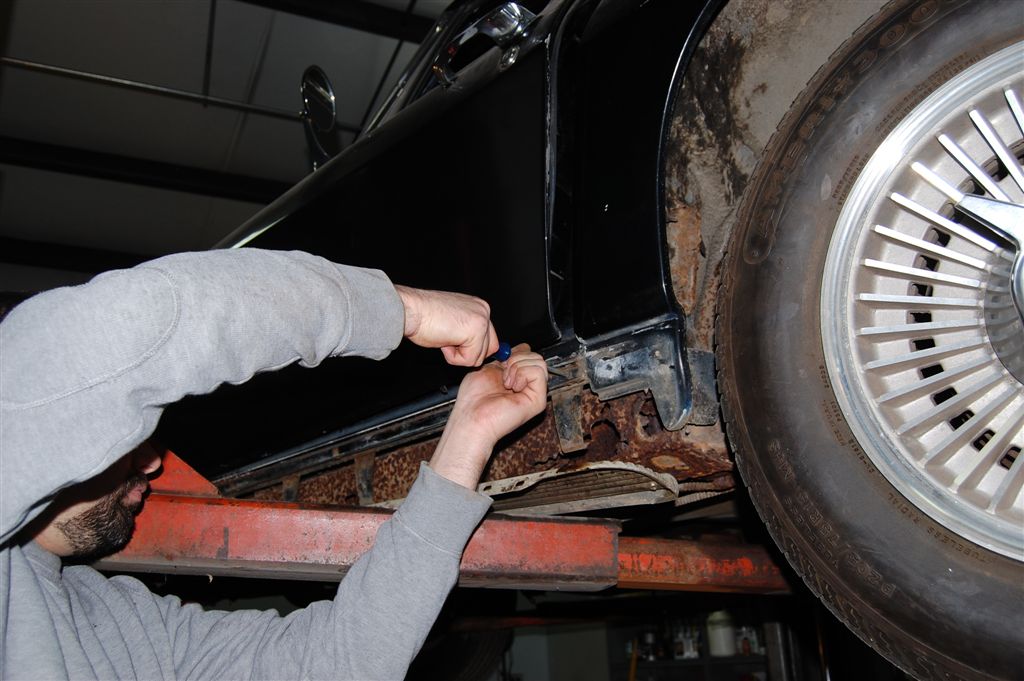
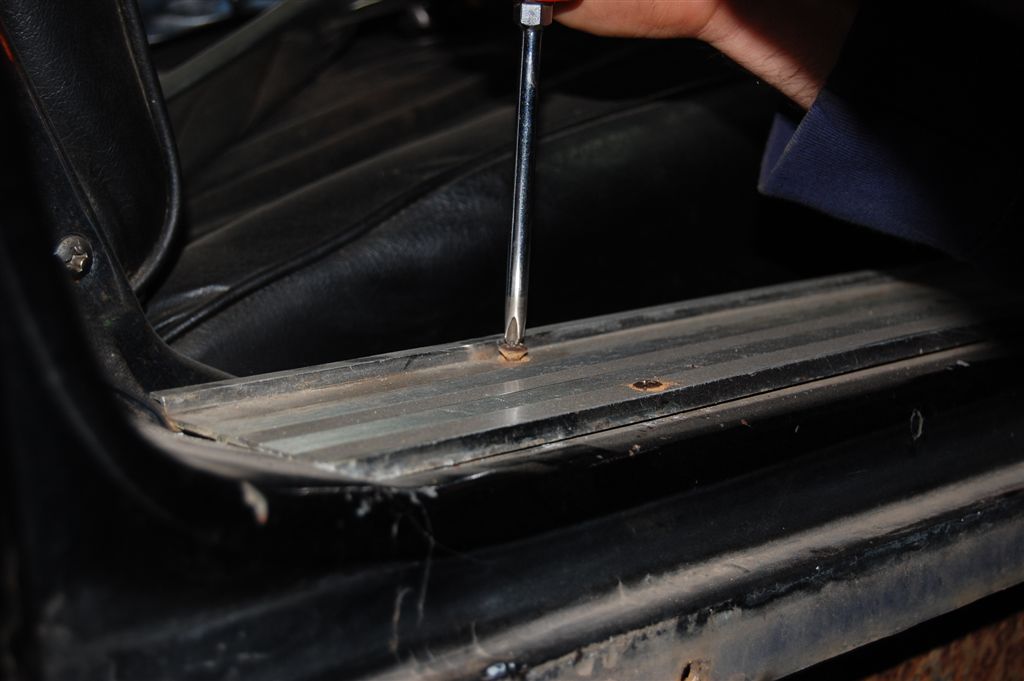
The lower rocker molding’s phillips head screws are behaving well. We were able to remove all of them without any problems. Corvette Central has a very nice reproduction rocker molding, part number 332005, presently available when we get ready for assembly.
You just never know. As bad as the frame is, the rocker panel retaining strips were in decent shape. For that matter, the C-channels that comprise the birdcage are in really nice condition too.
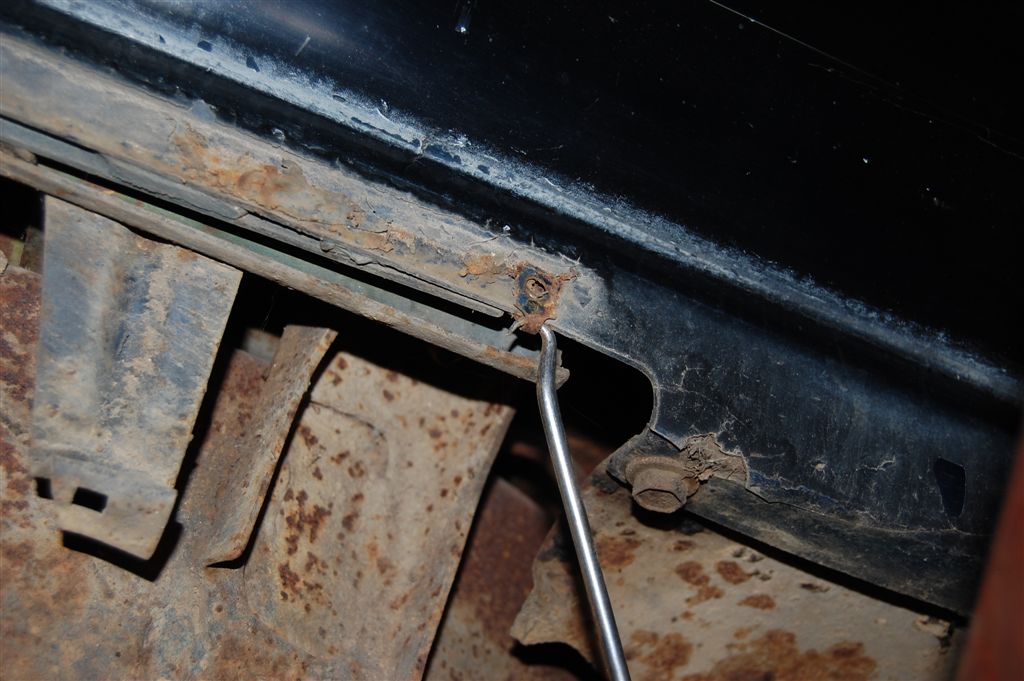
The easy way to pull the J-clips is to use a curved pick. Some of these J-clips have an inner ring that slips into the drilled hole to keep them in place. The inner ring must be bent away from the drilled hole or the clip will damage the fiberglass during removal.
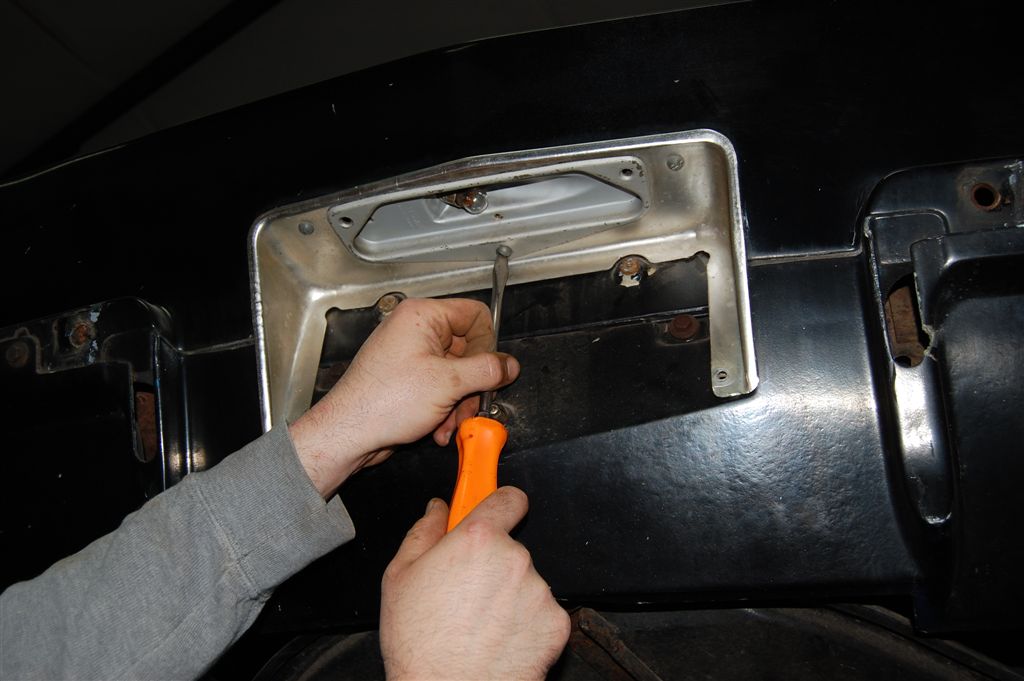
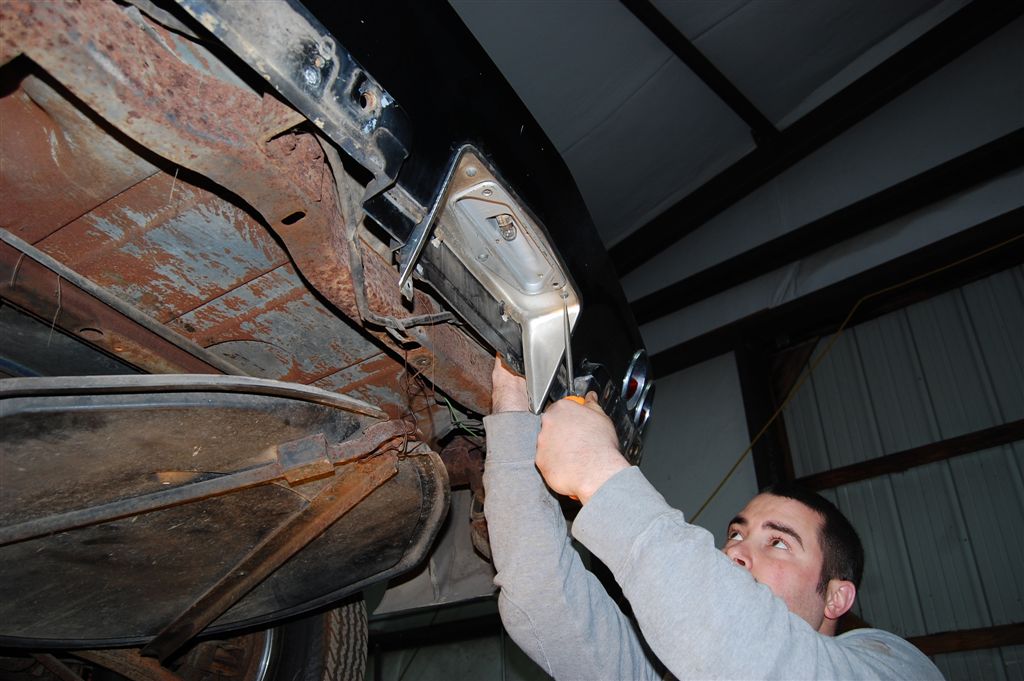
We played a trick on Austin when it came time to remove the rear license plate bezel. The innermost upper and outer screws have nuts on the backside of the fiberglass that always spin. We remove the lower valance panel first to gain easier access to the nuts.
The lower valance panel screws are removed to get the panel out of the way.
The lower valance panels screws are tough to remove. It is easy to damage the fiberglass panels with the corroded fasteners. Take your time and keep the strain off the fiberglass pieces.
With the lower valance panel out of the way, Austin can now get at the bezel nuts much easier.
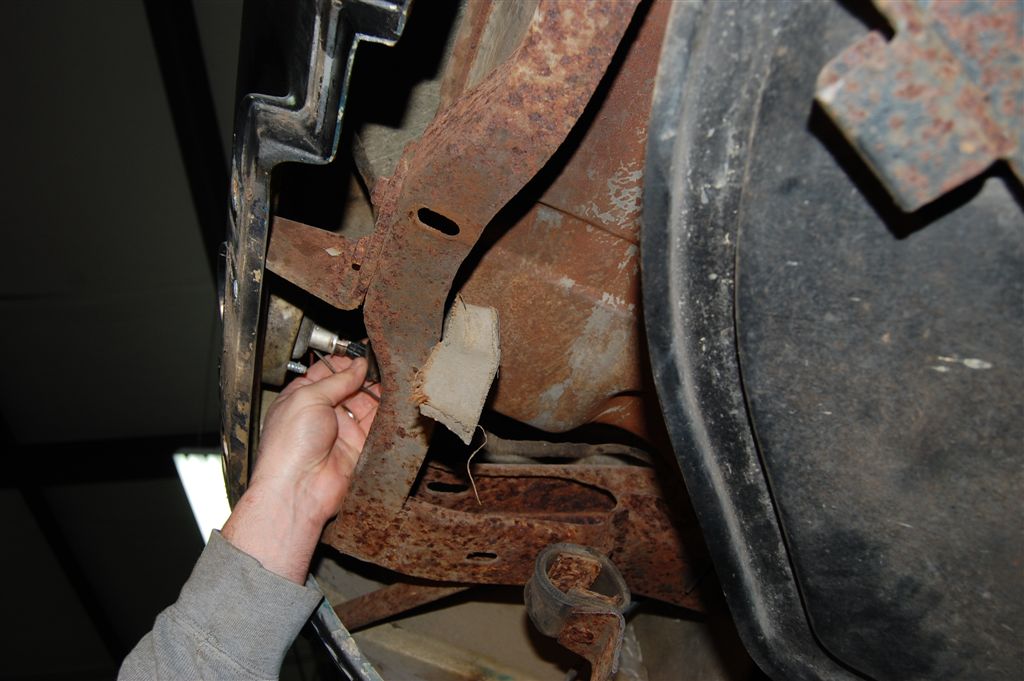
The rear bumper brackets were in rough shape, requiring plenty of penetrant and air power for removal.
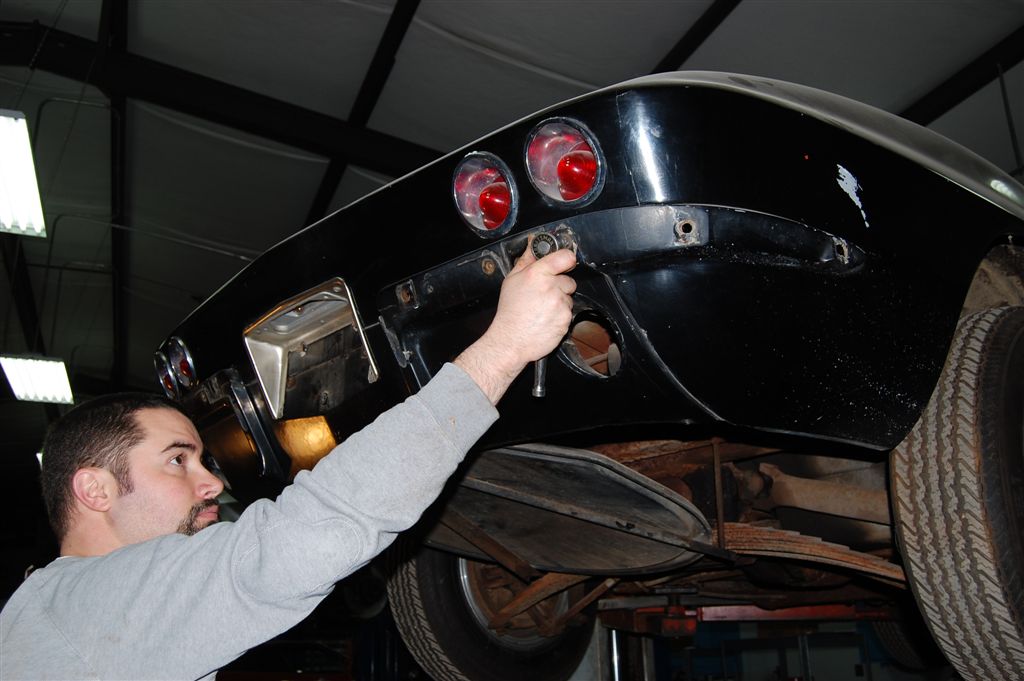
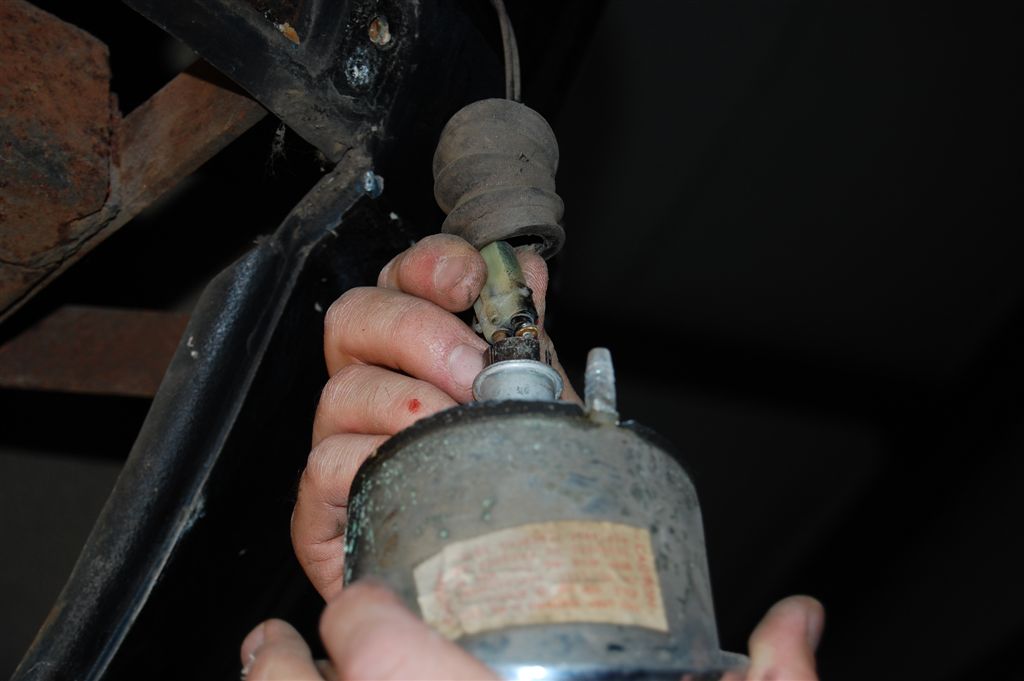
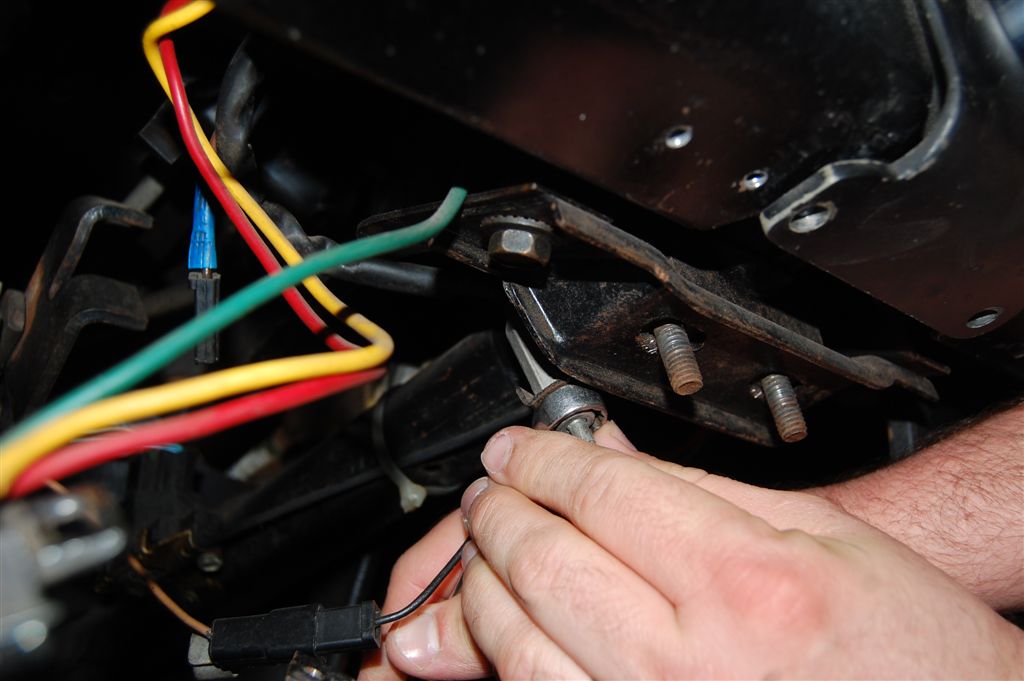
This is one way to remove the taillight connector from the underside. The connectors push in and twist like the bulbs would.
The 7/16“ nuts that retain the taillight housing have special thread cutting capabilities. The downside is the nut cuts into the taillight housing stud, allowing corrosion to form.
You can also disconnect the taillight assembly once they are removed from the rear fiberglass panel. The process is simple and can be understood more easily when you can see how the connector works.
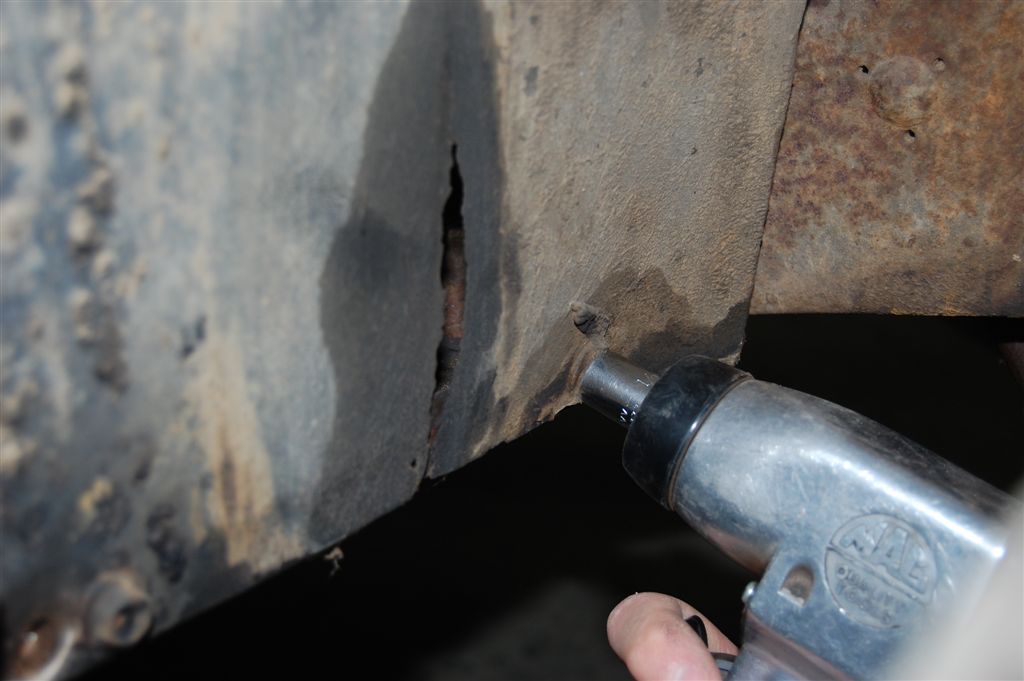
Time to break out the big gun! We had to use the ½” air impact wrench to get the stubborn bolts and nuts loose.
No surprise here. The bolts were snapping like candy canes, which is a good thing. Better to replace a broken bumper bracket bolt than deal with a rounded hex head. In other words, make sure the socket you are using is a six point and fits tight before putting a heavy load on the nut.
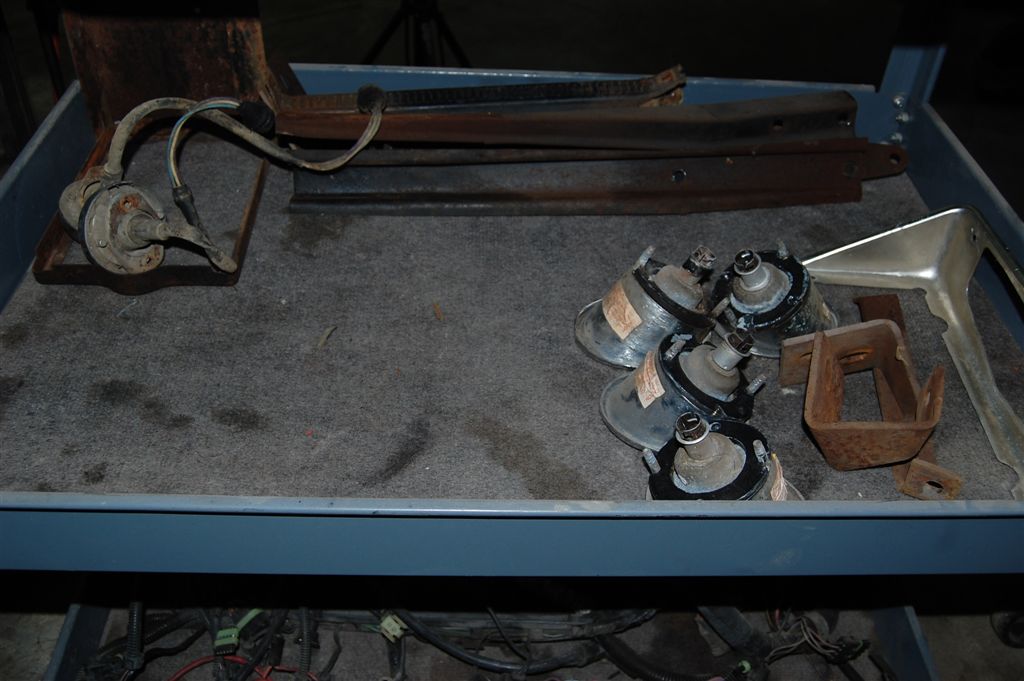
As we remove parts from the rear section of the ’63, we place them on this four shelf cart. Each section has a designated shelf to keep things in order.
The antenna ground strap retaining screw is just about impossible to see as it has become part of the frame. This antenna strap at the driver side rear body mount must be removed for body removal.
We must remember to remove the emergency brake cable from the lever before body removal.
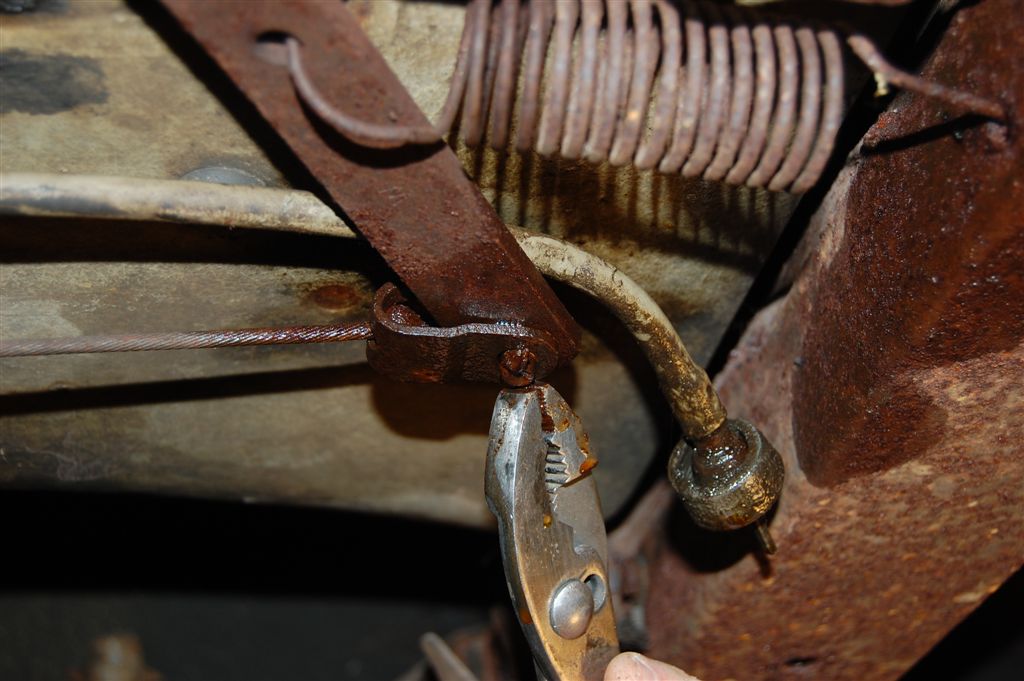
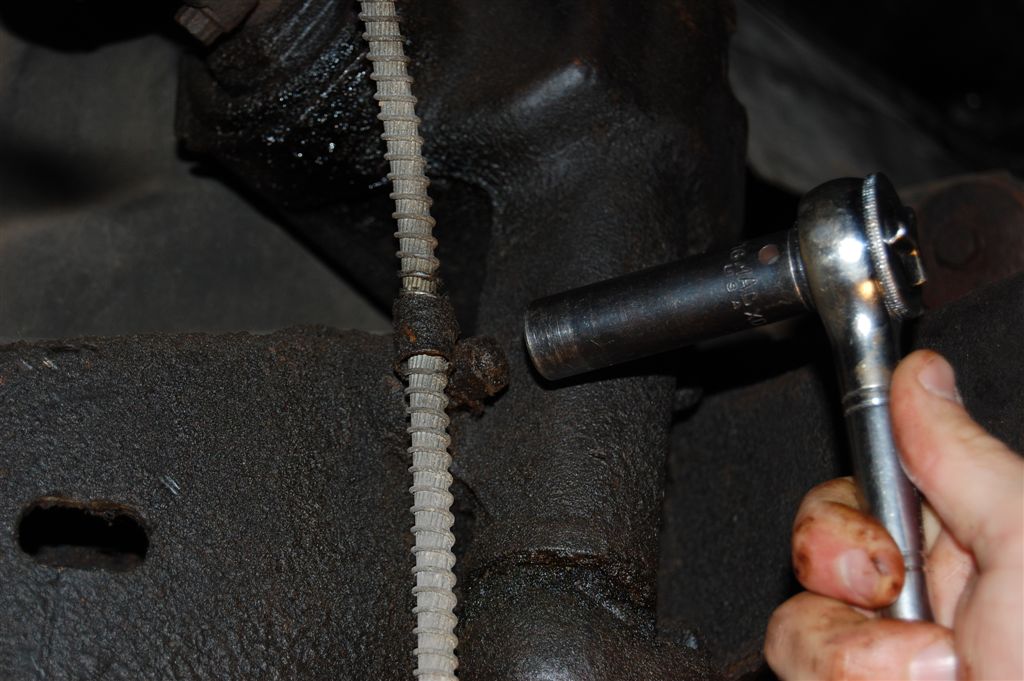
Often forgotten, this clamp holding the emergency brake cable to the steering box bolt must be removed before body removal. Nothing is worse than having the body tip to one side during removal or worse yet, rip out a chunk of the fiberglass.
Time to remove the front body bolts or “#1” as they are called in the assembly manual. What a life this ’63 has had, every brake line replaced and frame rot everywhere.
Same body mount bolt view from the bottom side drenched with rust penetrant. This is where a six point socket is the most important during bolt removal.
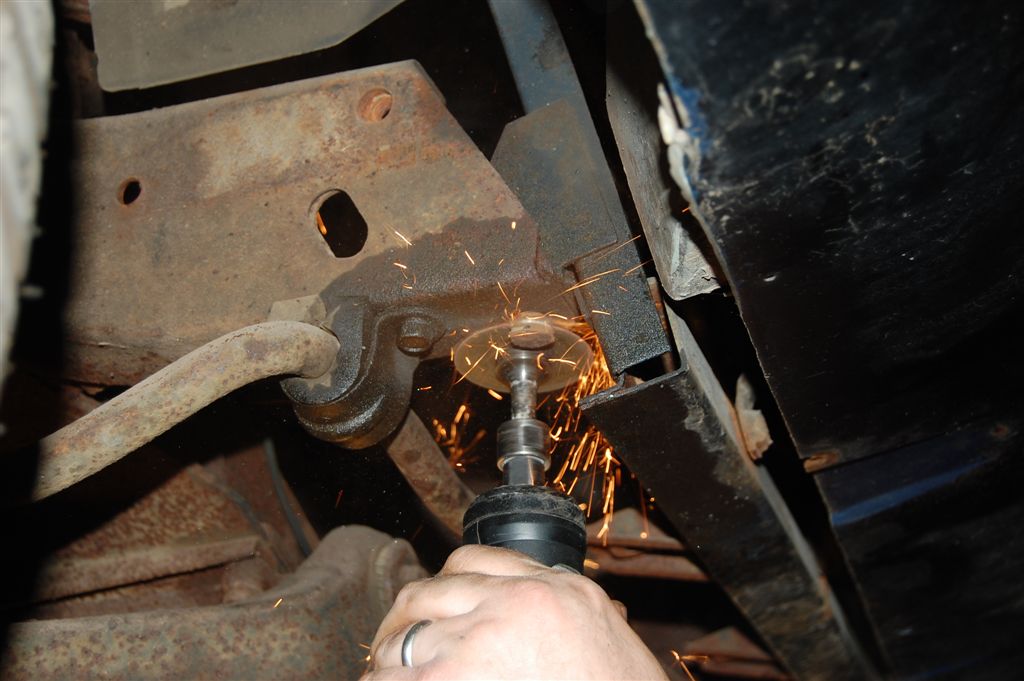
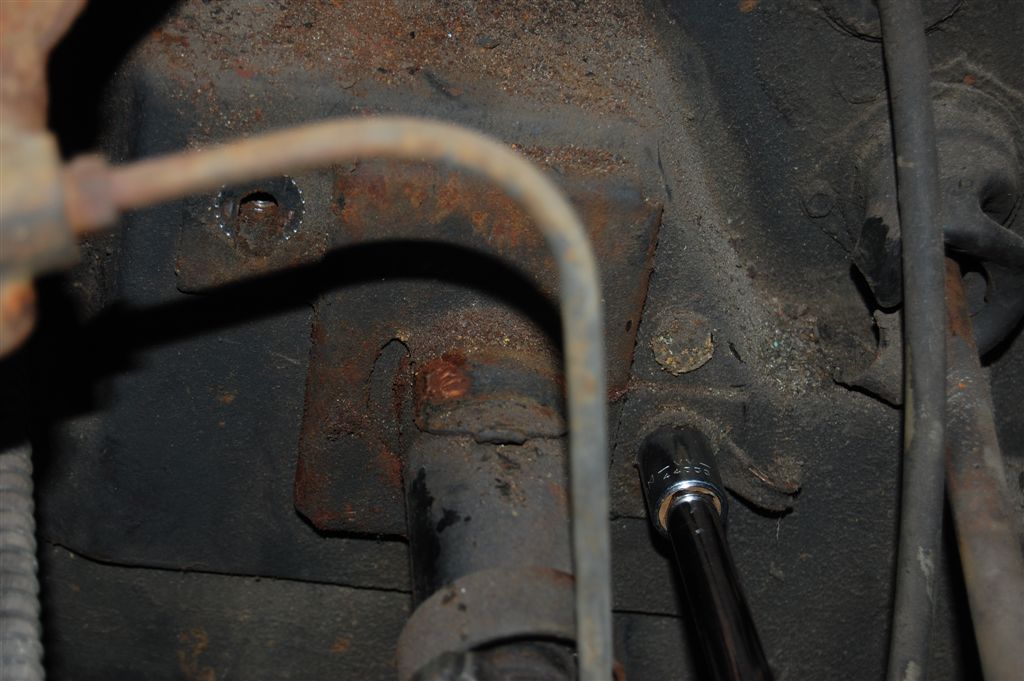
Sometimes there is no alternative but to cut off the head of the bolt. This core support bolt would not budge so we used our high speed cut-off tool to take care of the problem.
The fiberglass panels on the front end were suspect. When we looked up during body removal prep, we spied this old repair near the headlight support. This damage pointed to a frontal crash (at low speed, thankfully).
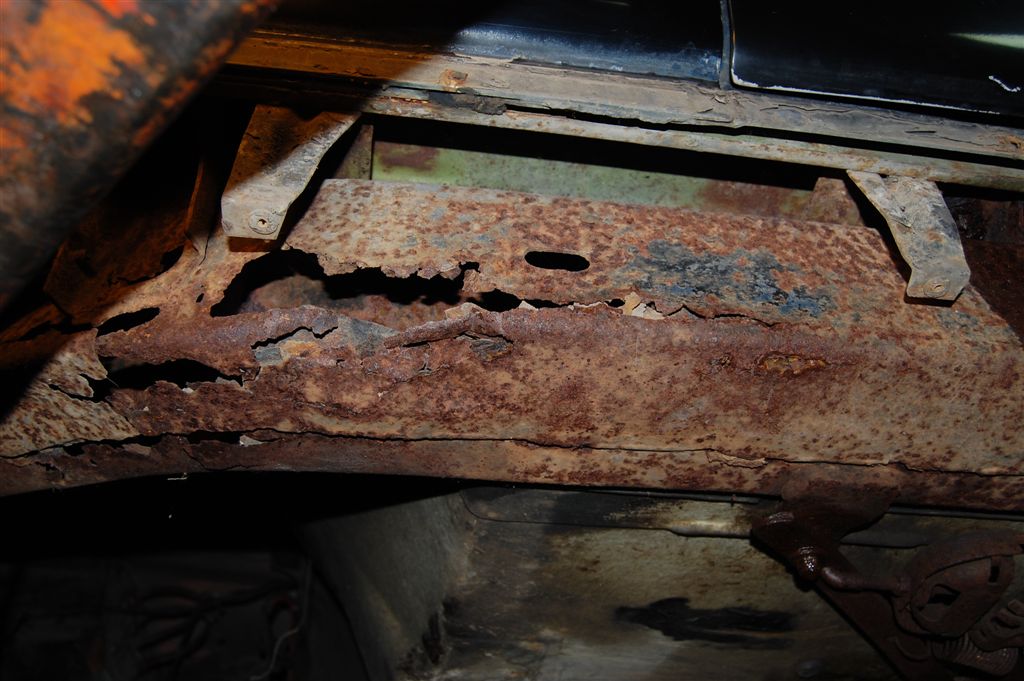
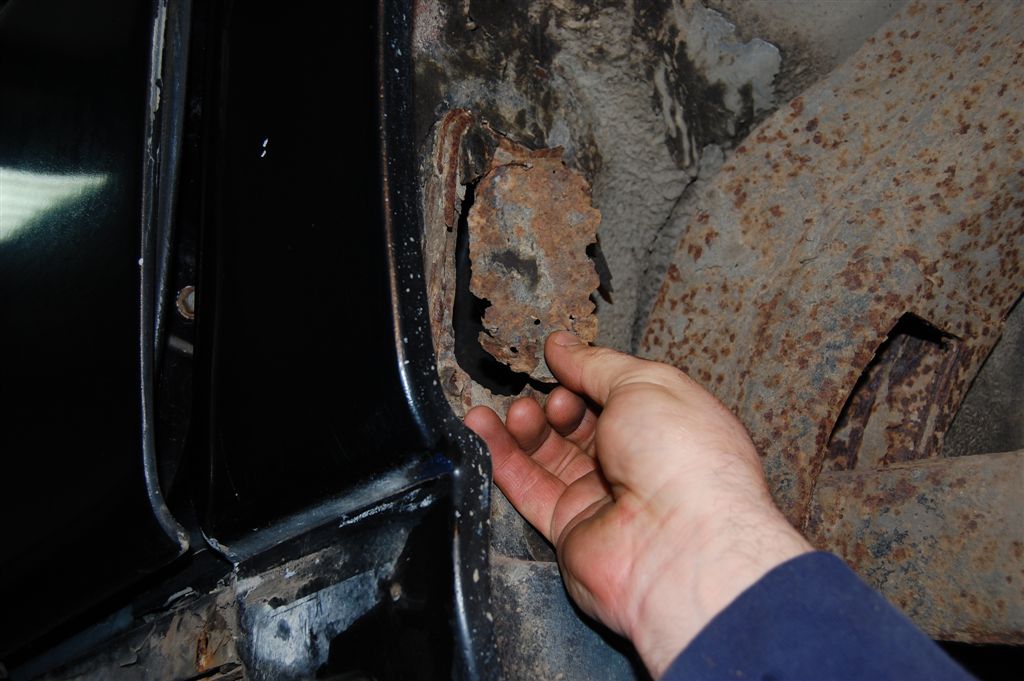
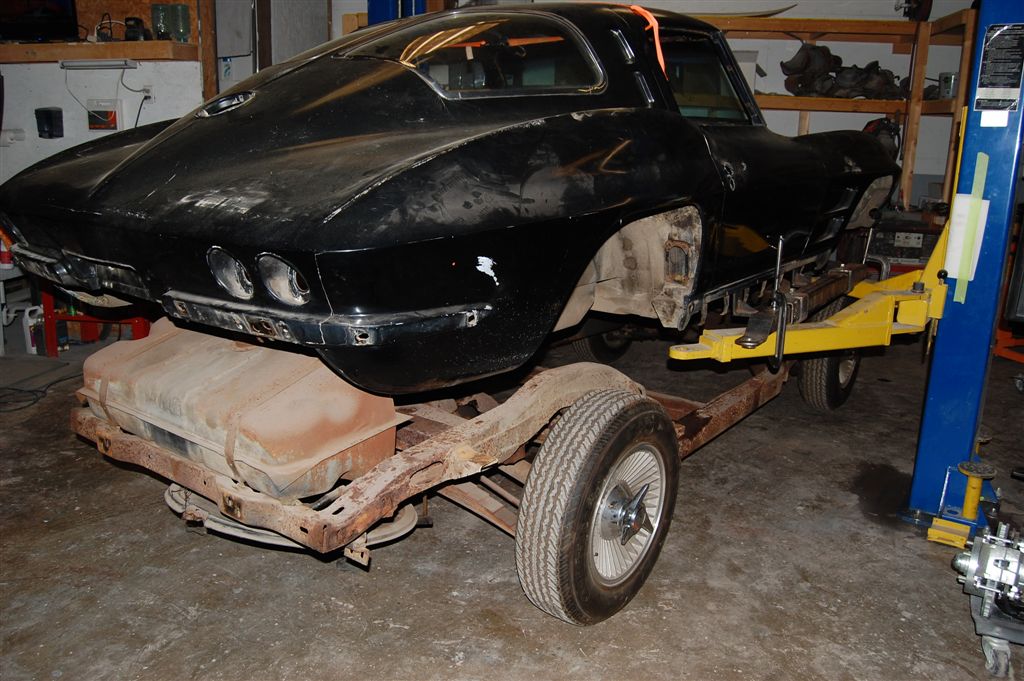
Yes sir, that is one of the worst frame rails we have seen in some time. Corrosion has eaten up the frame at all four corners.
No screws to remove on the #3 body mount access plate. Just a touch and the plate came apart.
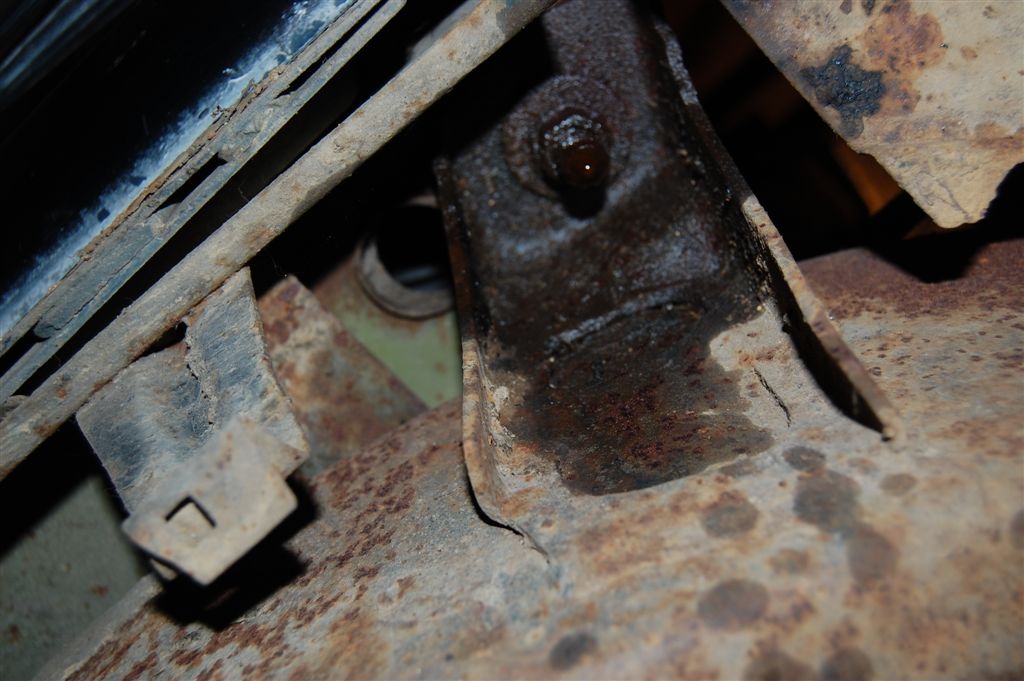
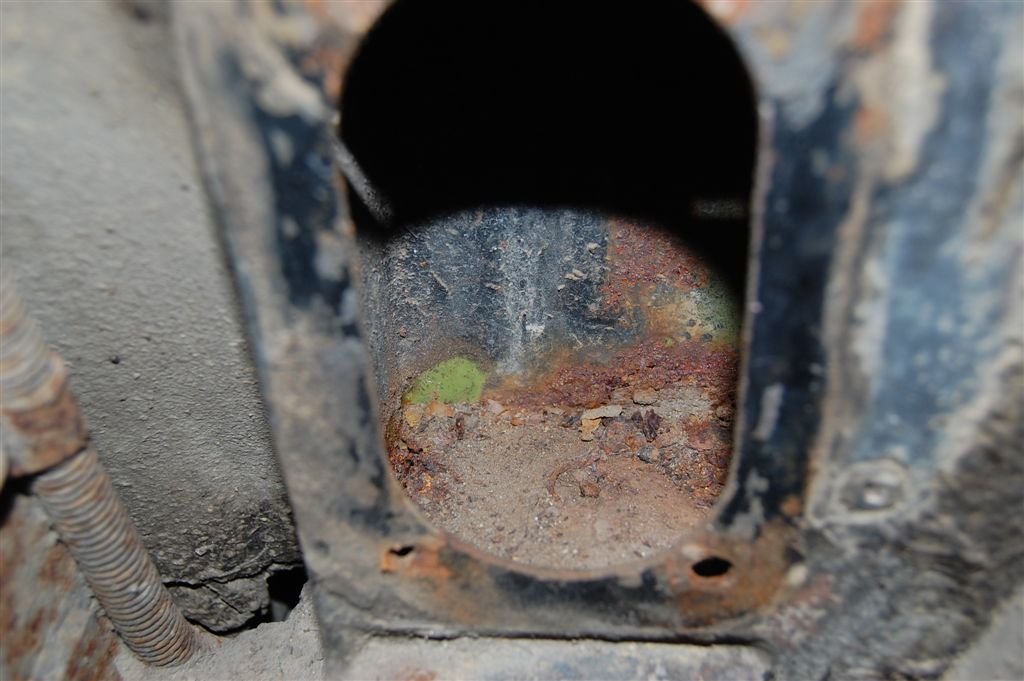
We know that a #3 body mount bolt should be in the pocket. Sand and debris have piled up, completely covering the bolt’s hex head. Chances are if we still have a hex head that a socket will grab, it will not move…
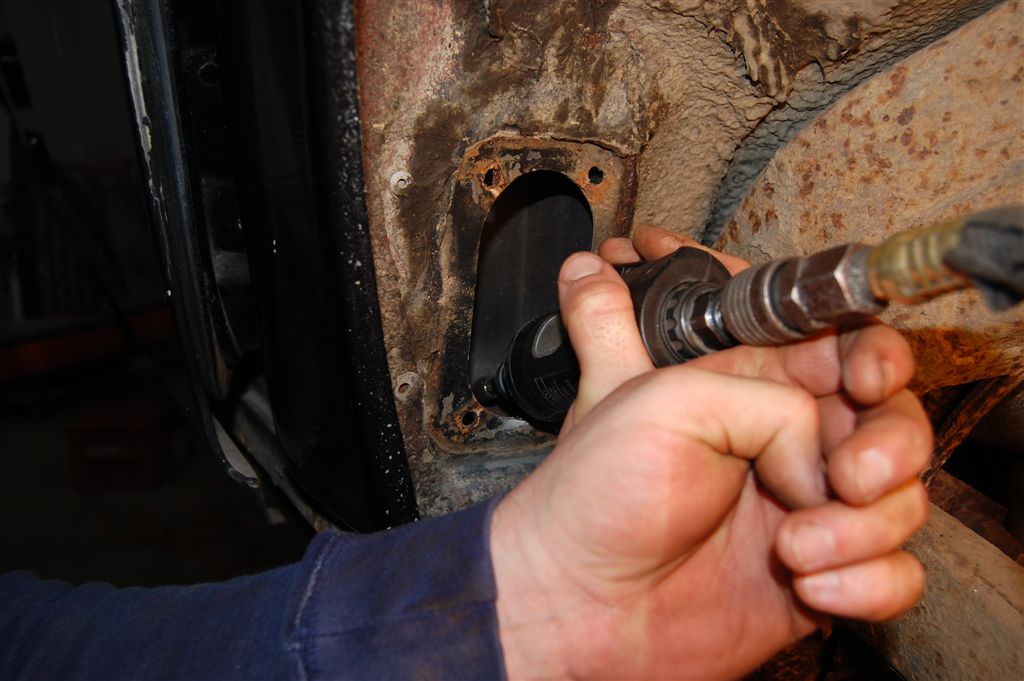
No surprise here, the little nub of the body mount bolt would not allow us to grab it for removal. Our high speed grinder chews away at the remaining bolt head. Once the body is out of the way, we can remove the bolt easily.
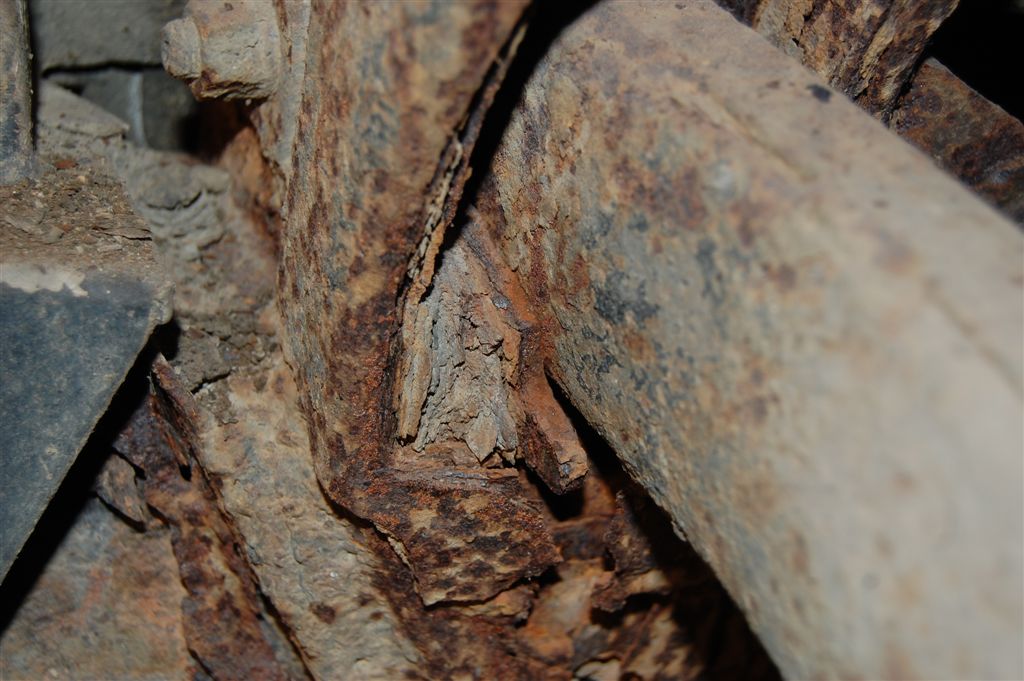
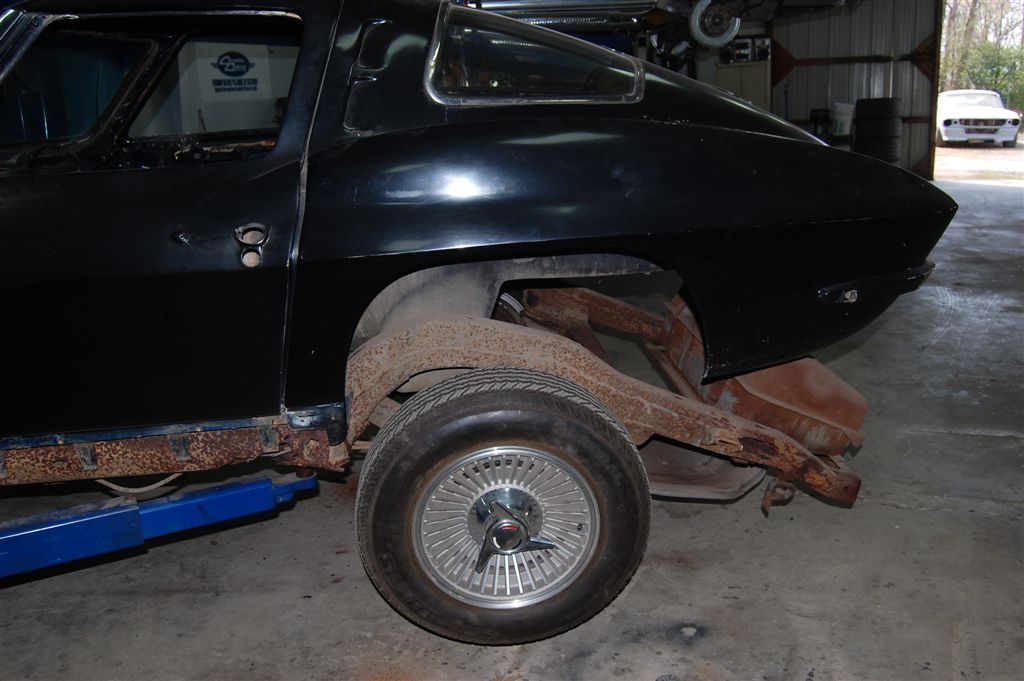
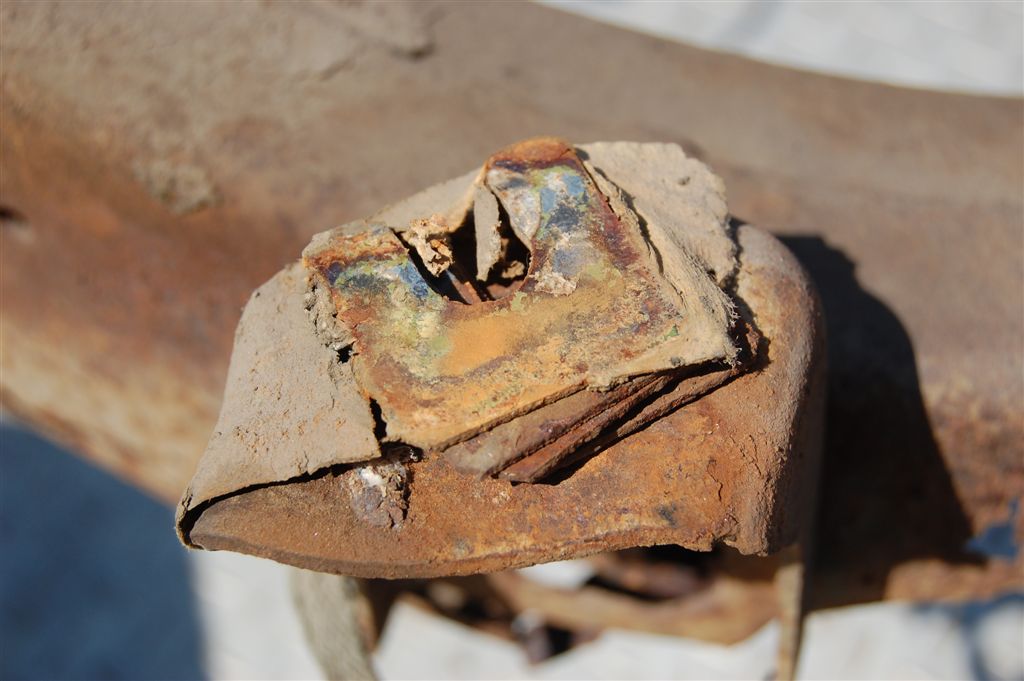
Did we mention there was some frame rot? How would you like to try and remove those trailing arm shims to align the rear end? Midyears required the trailing arm bolt to be removed for shim changes, an alignment shop’s nightmare.
This makes you wonder. How could a mid-year with a severely rotted chassis have good birdcage C-channels? All of the sill plate screws that go into the C-channels were corroded but were able to be removed without much trouble. We even tried new screws to see if the holes were stripped out and they held tight. Go figure…
Once the sill plates are off, we can zip the #2 body mount bolts out. Even these bolts came out quite easily without damaging the frame’s caged nut that the bolts screw into.
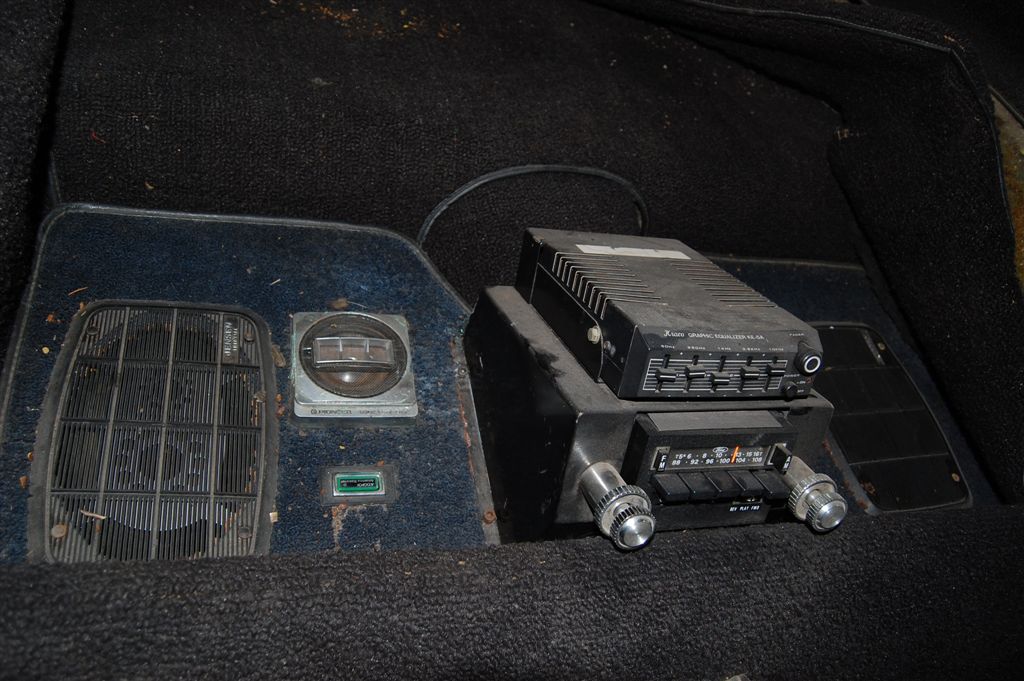
We had to show this 80’s high tech sound system someone installed into the rear compartment cover. The Ford radio and graphic equalizer made those long trips enjoyable years ago.
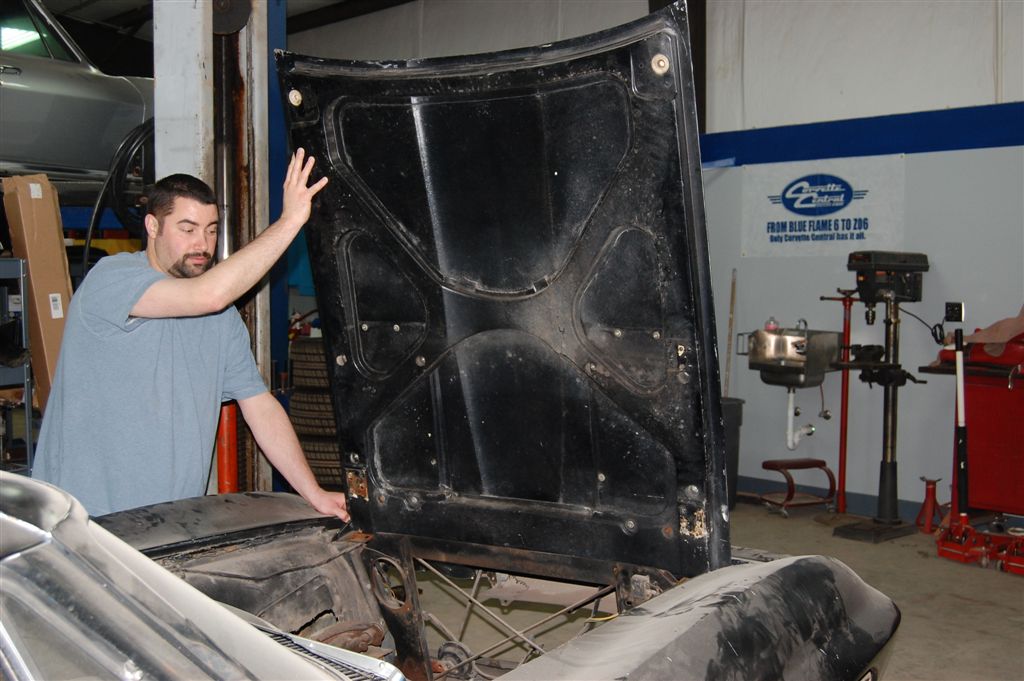
Time for hood removal. What are we in for under here?
It appears that it is time for inner fenders to go along with a complete front end. The hood prop area fiberglass could not take it anymore, and finally broke out completely. Note the hogged out hood hinges, another indicator of some front end fiberglass alignment issues.
More inner fender damage that was poorly repaired. The fiberglass cloth was hastily laid onto a improperly prepped broken panel. There is no saving these inner fenders, too much work involved.
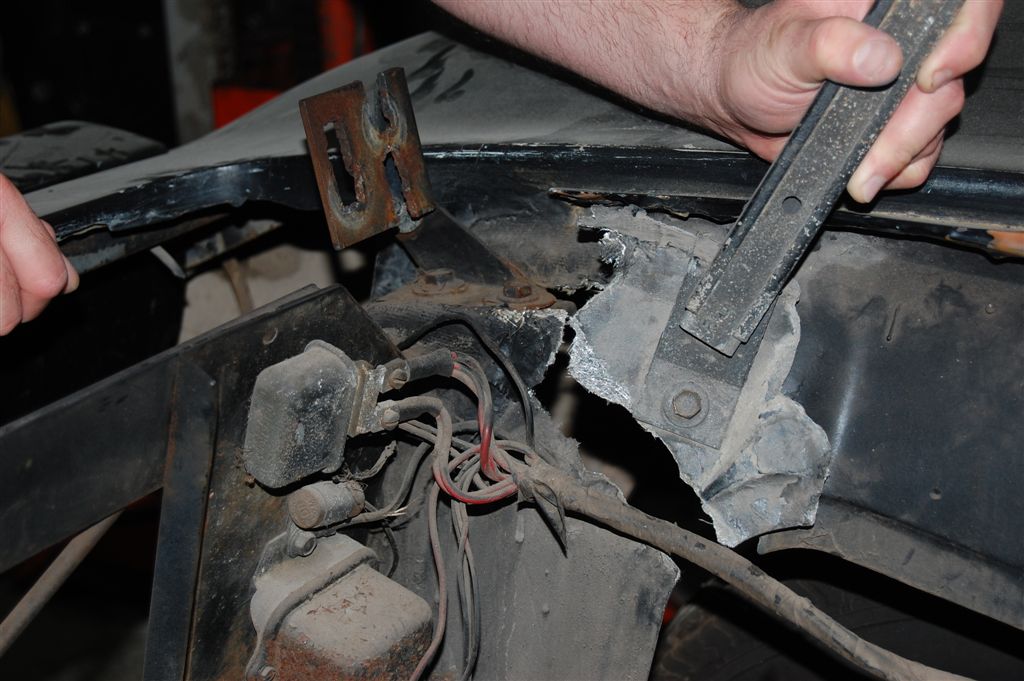
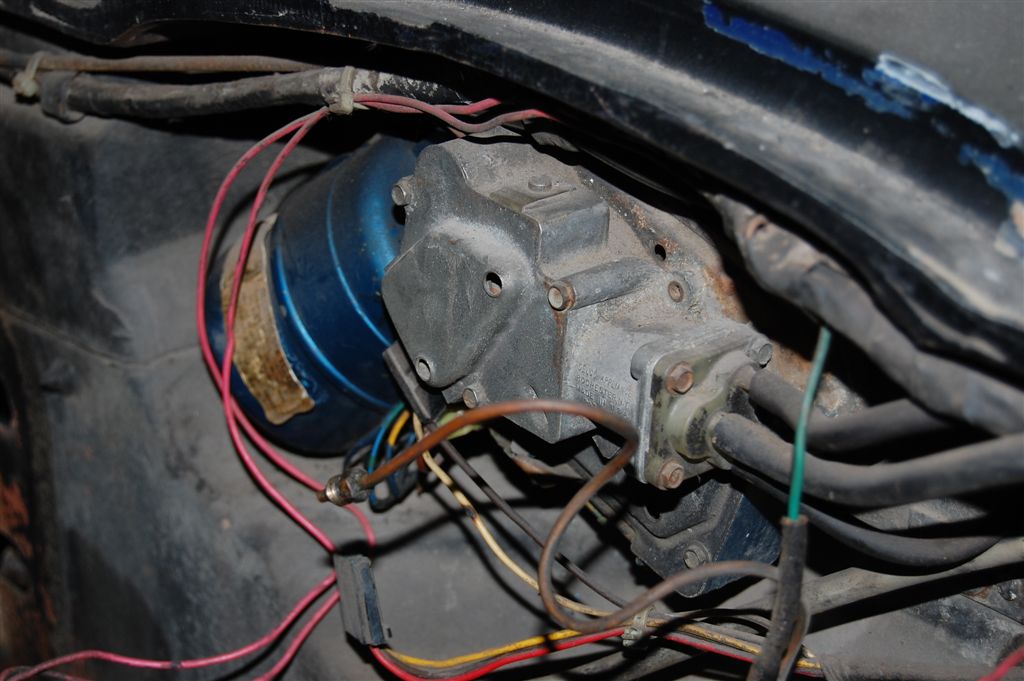
Driven is the word. The remanufactured wiper motor and extra wires had been installed years ago. You will not see the dark blue wiper motor housing on an NCRS or Bloomington Gold restoration.
The rubber suspension components were also in rough shape. We knew this restoration would require many new suspension components.
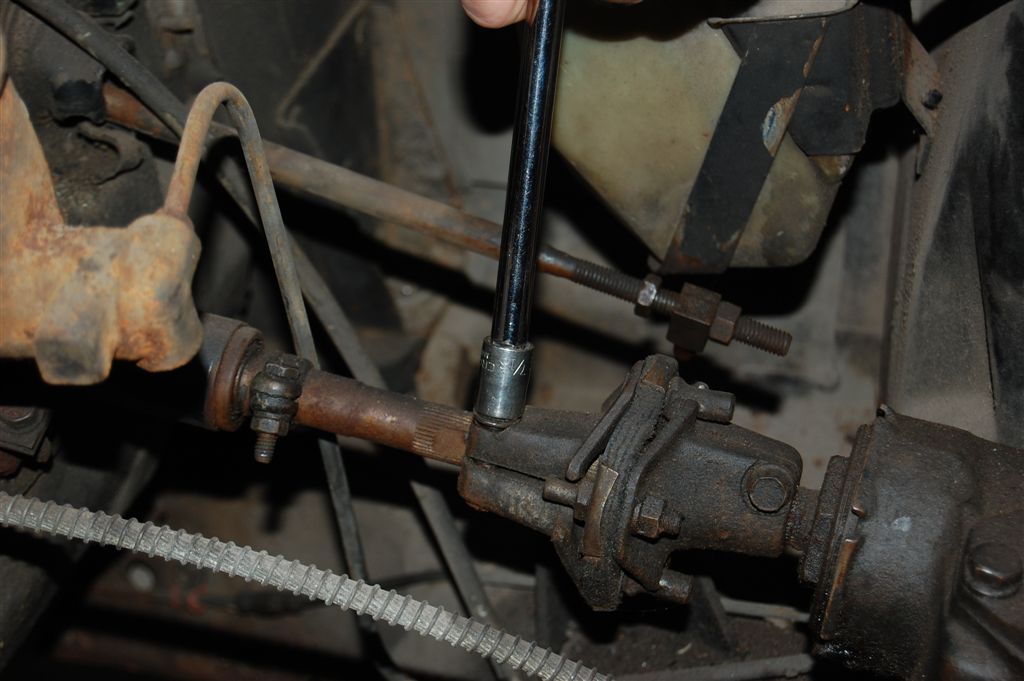
The steering column must be disconnected from the steering box for body removal. This is one place a 12 point 7/16“ socket is required for the specialized flange bolt.
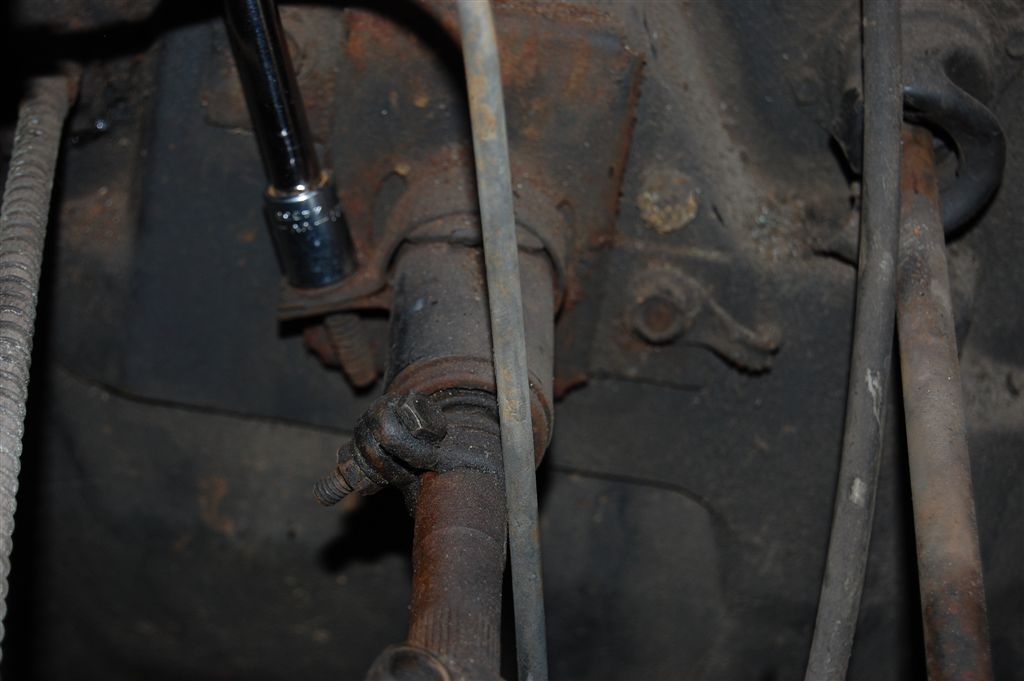
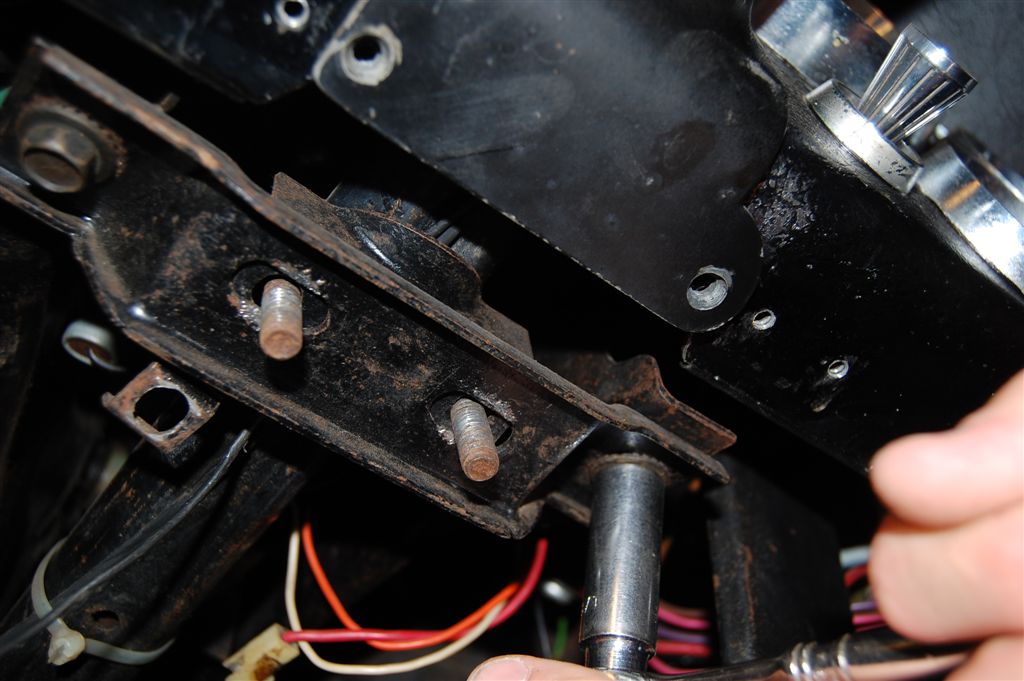
We remove the column completely to eliminate the possibility of damage during the restoration. This ½” hex head bolt removes the well worn clamp that keeps the column secure on the firewall.
It is best to remove the firewall plate while we are taking the column loose. The tab under the bolt we are removing is for the clutch return spring. After restoration, we find these clutch return spring tabs placed just about anywhere you can imagine.
Copper brake lines are not DOT approved. Copper has a tendency to crack and is easily crushed and broken. We also want to keep copper out of the system to prevent acidic reactions from occurring with the brake fluid. Brake fluid quality test strips test for copper content. Most likely this fluid would not pass.
A few more incidentals to remove. The splash shields need to be removed before the body is lifted, for more clearance.
There are a few bolts to remove for the splash shield in the inner fender. Do we have a frame that was tweaked? The worn inner fender gash occurred when the tire rubbed it repeatedly. This is something to record and check out. You do not want to find out later that the tire is rubbing the inner fender.
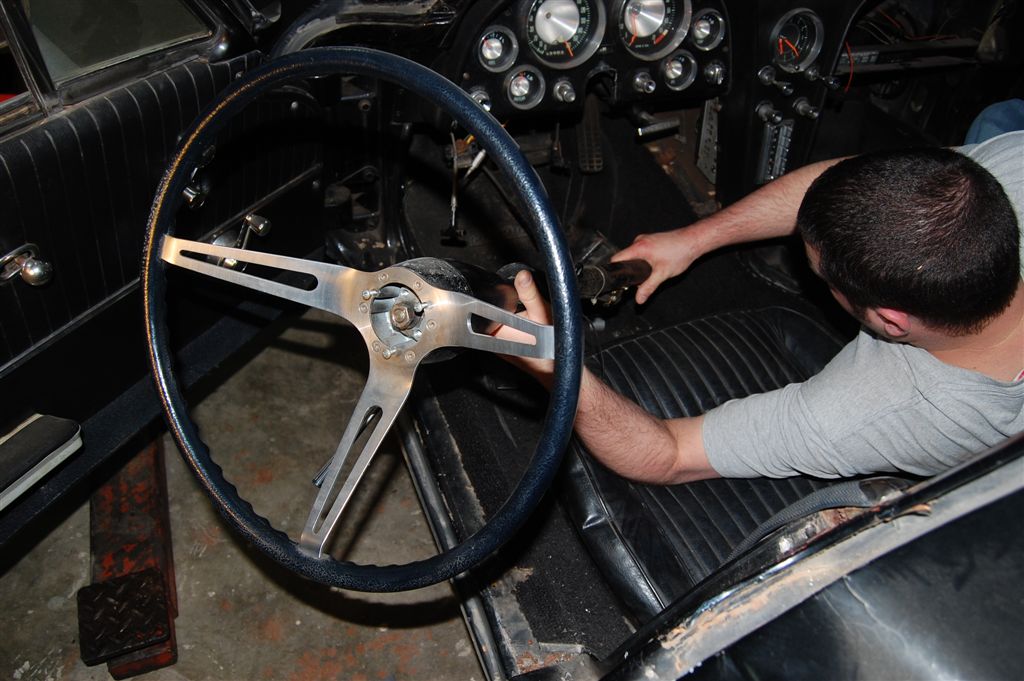
We move inside the Midyear for steering column removal. The trip odometer cable is mounted into the steering column support bracket. We are removing the ½” aluminum cap that keeps the trip odometer cable in place.
Keep the ½” wrench handy. The bolts have nuts behind them that usually require holding during removal.
Out comes the column for safe keeping until we get ready to restore it. This is where a buddy can be very helpful.
When it came time to lift the body we got a surprise… We knew the frame was questionable at the back end. We were going to lift the body up just enough to get the wheels off the ground for a final check when this happened.
So as it turns out, the body was holding the frame together. That’s right, the rear body mount bolts were keeping the frame from coming apart. Glad we didn’t try to get the car running and do the frame later.
The body and frame in preparation for placing on the trailer for the trip to the body shop.
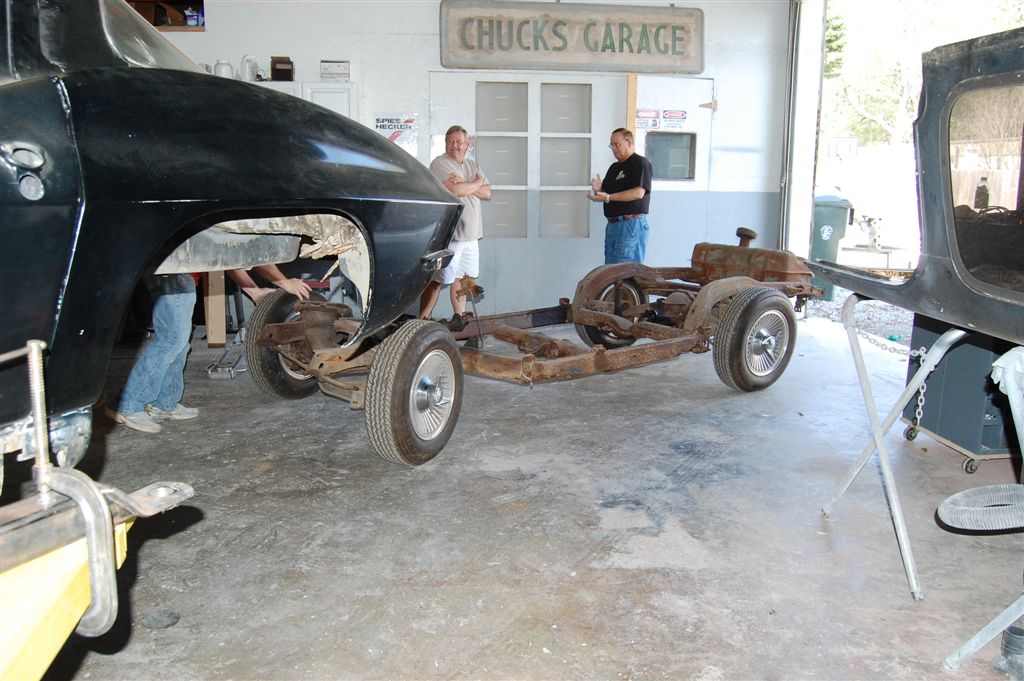
The body gets a lift! We finally have the body separated from the chassis. These twin post lifts make the task easy. The lift can be eased up while carefully checking for any missed fasteners, cables or wires.
The tired old chassis is rolled out, ready for disassembly. Even though the frame is junk, the suspension, steering and driveline have plenty of good parts to salvage.
Whether your frame is in good condition or not, you should record the shim pack and the location. This will ease the body to frame shimming process somewhat when installing the body.
Believe it or not, this mid-year “birdcage” will be a Corvette again someday. This shows the extent that Corvette fanatics will go to for their own mid-year.
Story and photos courtesy Chris Petris








2 thoughts to “Corvette Central Project Split Mod: Part I”