The fifth and sixth generation Corvettes are engineering masterpieces. As the first Corvette built for comfortable extended highway travel, the C5 Corvette has plenty of power and torque with excellent fuel economy, and the C6 continues to improve the breed. Accolades aside, the stock exhaust systems leave a lot to be desired. For one, the puny bell-shaped outlets do not fill out the valence. And the sound? Just a low hum at road speed and non existent at idle. Whether satisfying federal regulations or NVH objectives, engineering an OEM exhaust system is quite a feat. The result? Mundane exhaust systems on factory built performance cars.
Typically, the C5 and C6 exhaust systems are the first of the factory installed components to go. Audibly or aesthetically, everyone wants to make a statement. So begins the pursuit of just the right exhaust sound and look. There are many exhaust systems and beauty filler plates to choose from.
Choosing the right exhaust system can be a challenge. The most common concern is “drone” during highway cruising speeds. Low engine RPM and high torque demands create resonance in the exhaust system. These days, no one wants to drop the transmission down a gear to raise RPM and kill fuel mileage. Coupes are more susceptible to the “drone” than convertibles or fixed roof coupes (including the Z06), most likely due to the large rear window acting as an amplifier.
The best policy is to get on Corvette Central Exhaust and peruse the offerings from the many available systems. Belong to a Corvette club with several C5 and C6 owners? Pay close attention to how their exhaust sounds cruising and then when on the throttle hard. Some owners may have a tolerance for resonance. What may be considered white noise to one Corvette owner may be irritating to the next. Likewise, some may want to draw attention to themselves, while others may want to “fly under the radar”. To avoid disappointment, do your homework before buying. Chances are you will be very pleased with your “new sound”.
Looking for significant horsepower gains? Your application may vary, but a ten horsepower increase on average can be expected. Removing the complete exhaust system and replacing it with headers and an X-pipe will make a more significant difference. These changes may add up to 25-30 horsepower.
Installing an exhaust system is not difficult, especially with a lift to raise the car. If not, the original exhaust system pipes can be cut to ease disassembly. GM made a connection for the muffler at the transmission, making it tough to get over the axles in one piece. Raising the car up and removing the sway bar from its mounting points allows the complete muffler and pipe assembly to be removed. It all depends on whether or not you plan to keep your OEM system for reinstallation.
The Installation Begins
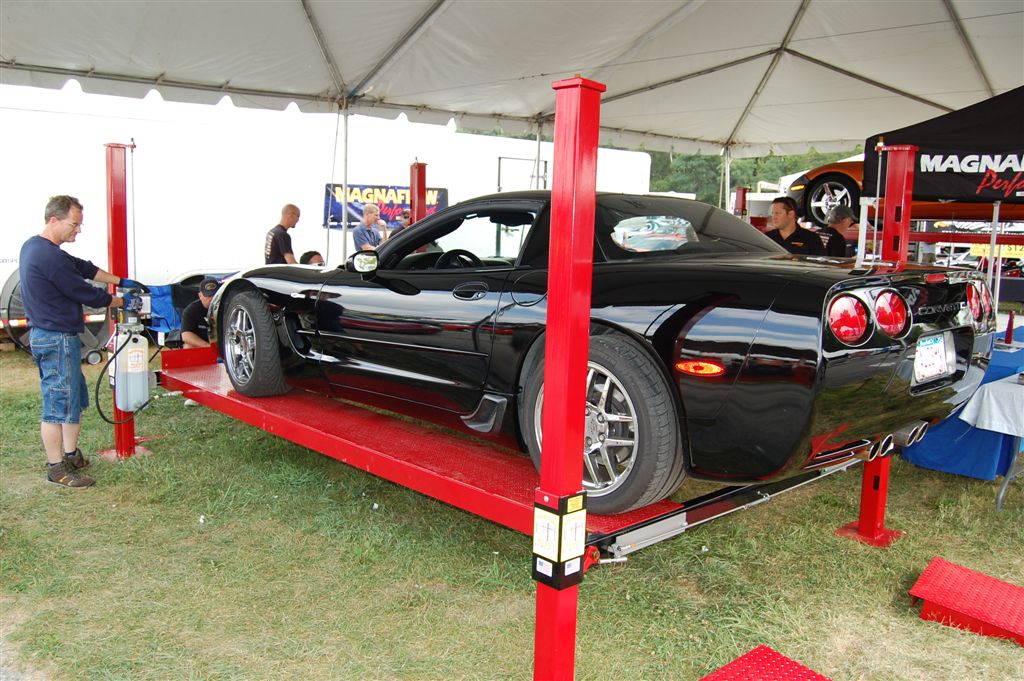
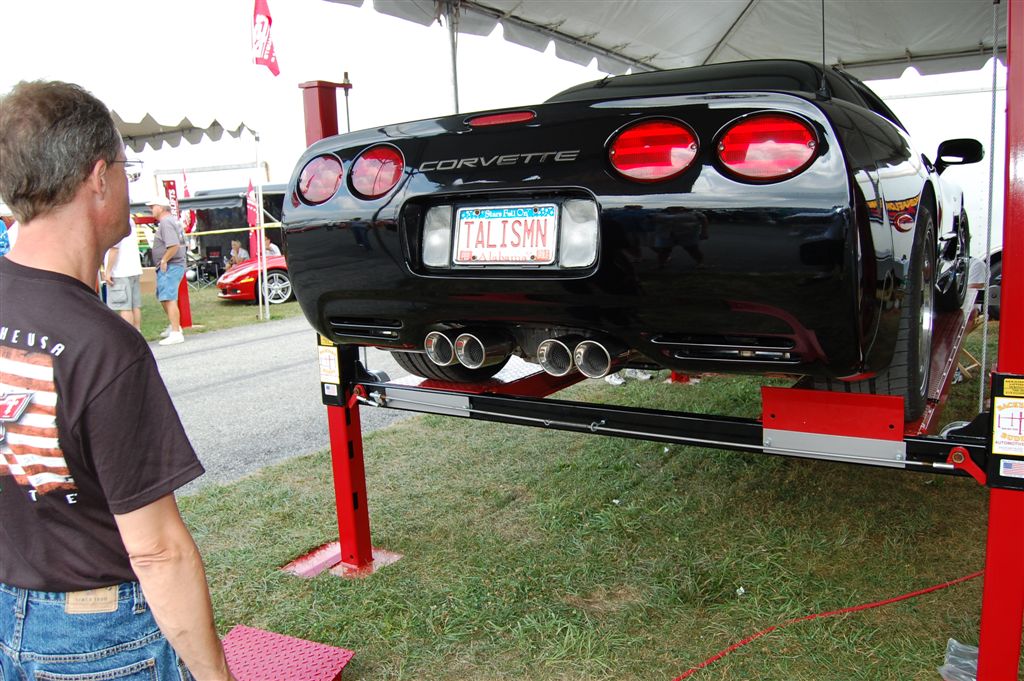
This Z06 is getting a new Magnaflow system. Steady as she goes, Gus.
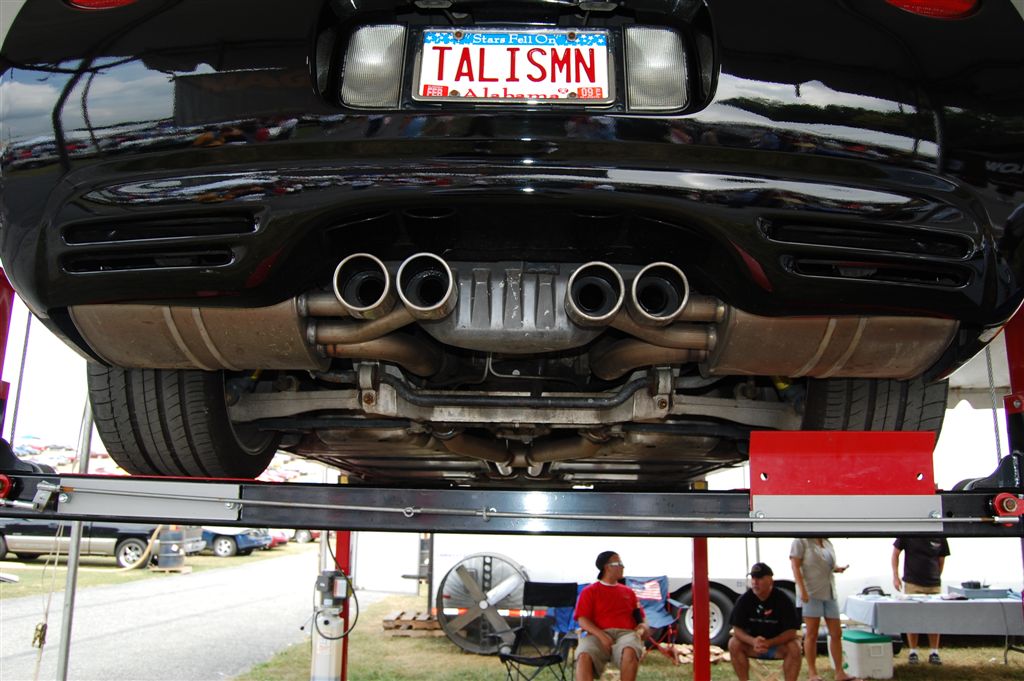
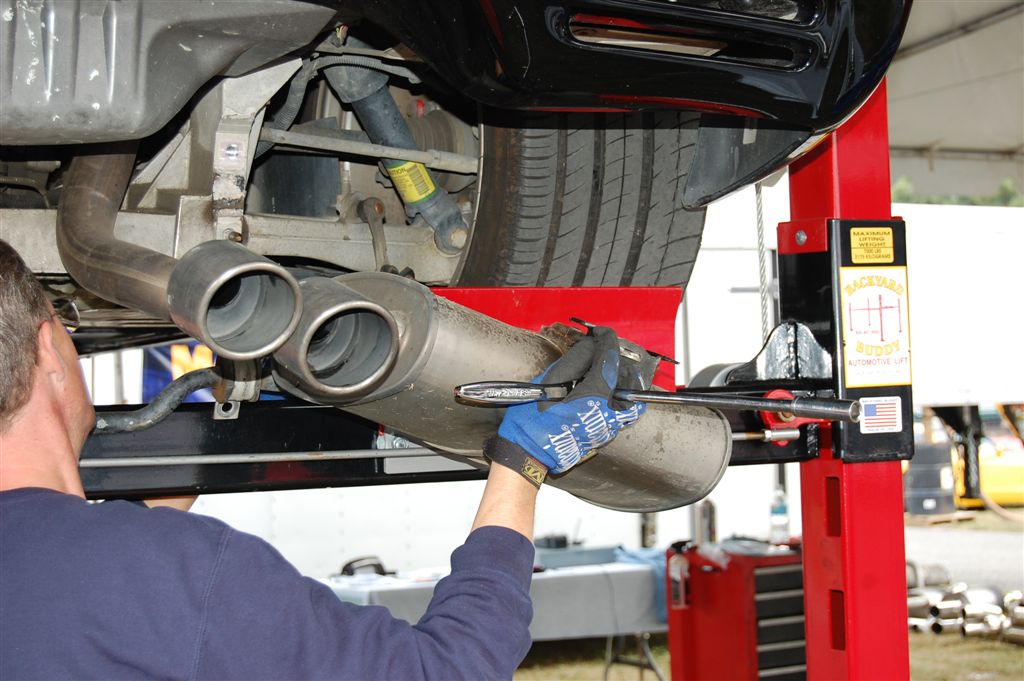
The factory exhaust system is not much to look at. The tight fitting mufflers can also be replaced on the ground with a little extra effort.
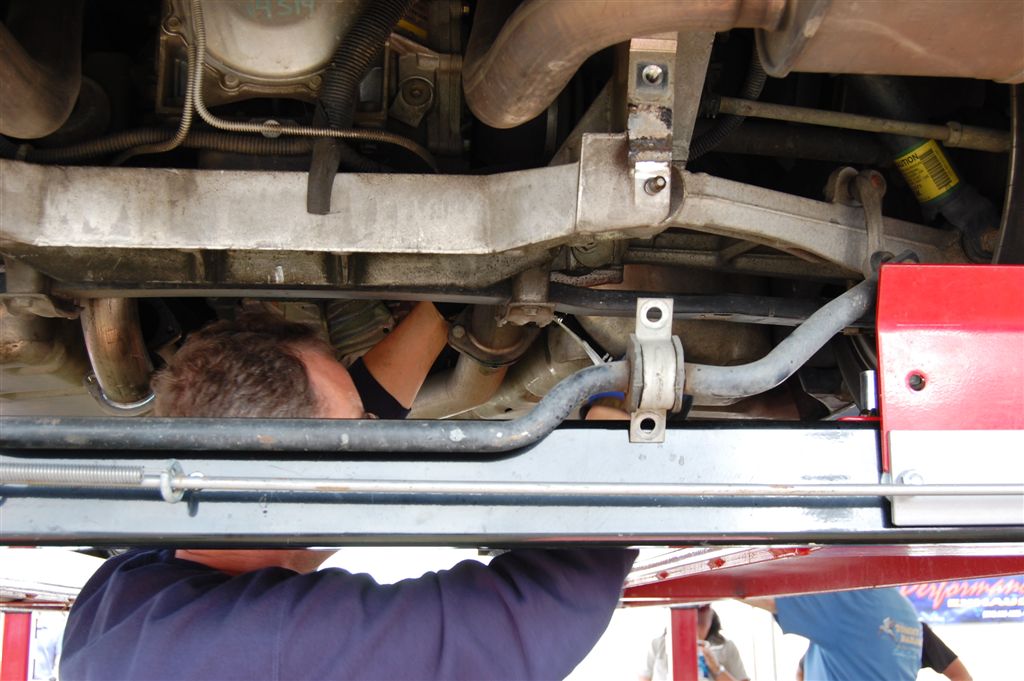
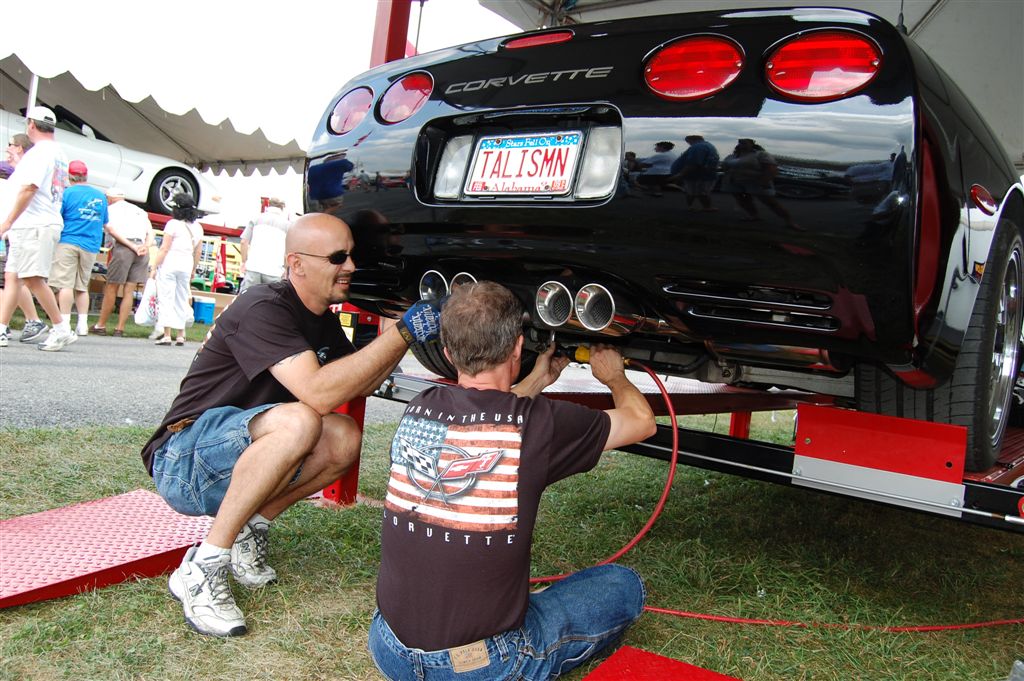
To lower the sway bar, remove the 18MM nut and upper bolt from the sway bar mounts on both sides . There is no need to remove the end links on the sway bar. Let the bar lay down once removed from the mounts. Depending on how much cutting you want to do, you can eliminate this step. However, it is easier to install the muffler system with the bar lowered. Gus is also removing the two 15MM bolts on each pipe that retain the muffler system to the front pipes. Watch for a gasket that might drop out. The gaskets can sometimes be reused.
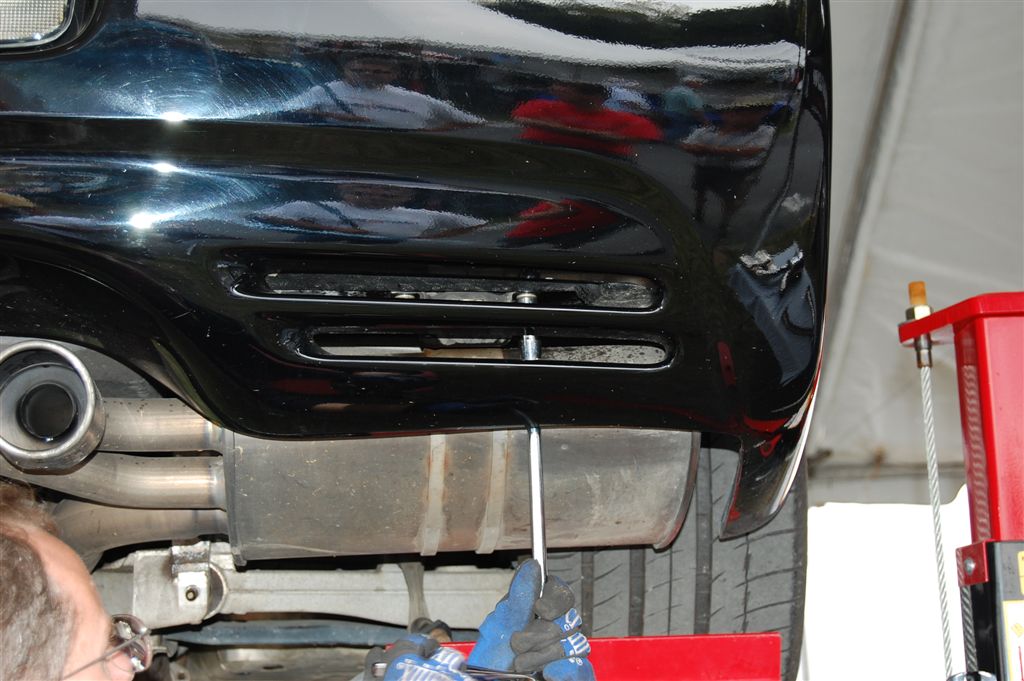
The 13MM bolts that hold the muffler hanger into position are removed. Exercise caution as the muffler will be ready to drop out at this point.
The muffler and pipe assembly is lowered out of the rear bumper area. This is where a saw might be used as the muffler is lowered down. You can cut the pipe as it begins the vertical motion upward.
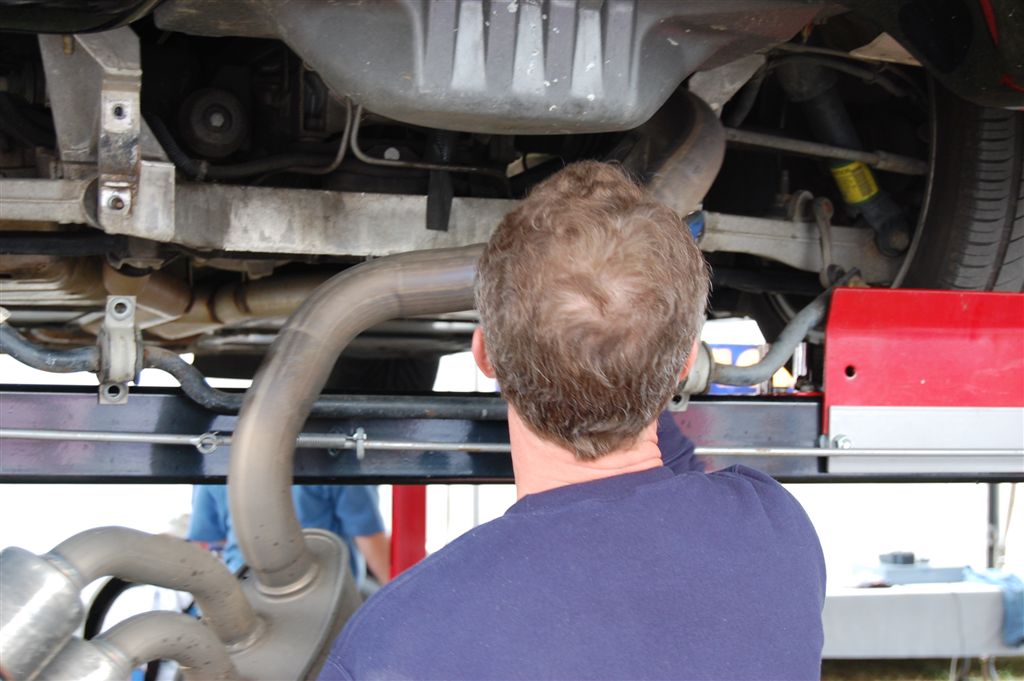
The long connecting pipe is snaked out between the body and axle assembly.
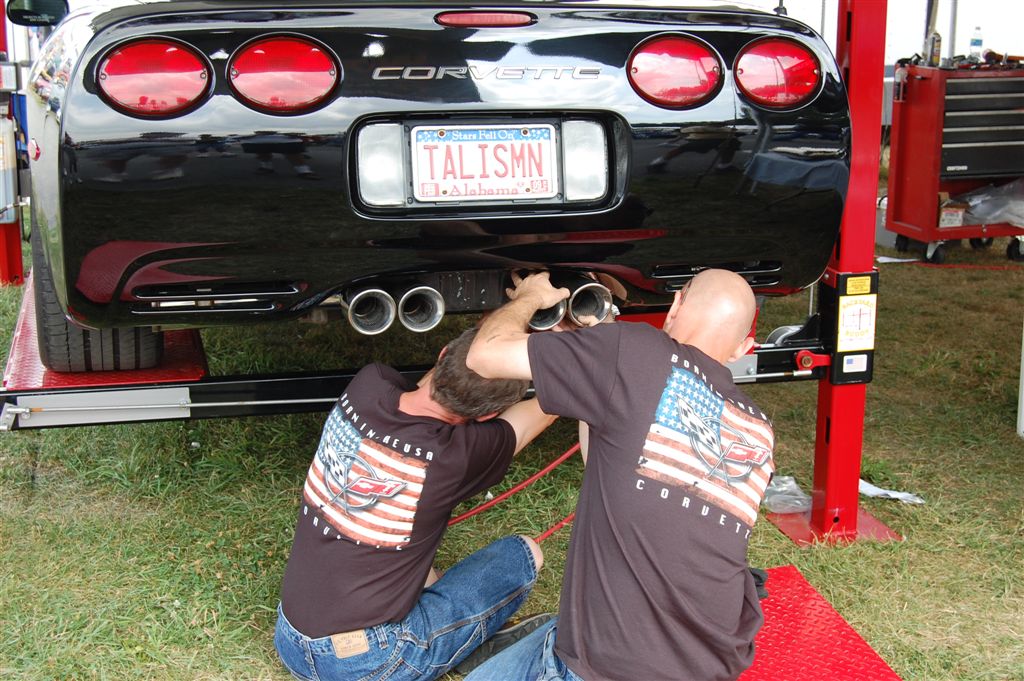
The new Magnaflow muffler is positioned into place. Magnaflow and many other muffler manufacturers make the system in pieces for ease of installation. This system provides for installation of the sway bar on the mounts before the mufflers are installed. The muffler hanger nuts are loosely installed until all the connections are made and adjusted.
The clamp is being tightened on the back side of the axle assembly just enough to hold things in place. The additional connecting point allows better muffler placement and flexibility during installation.
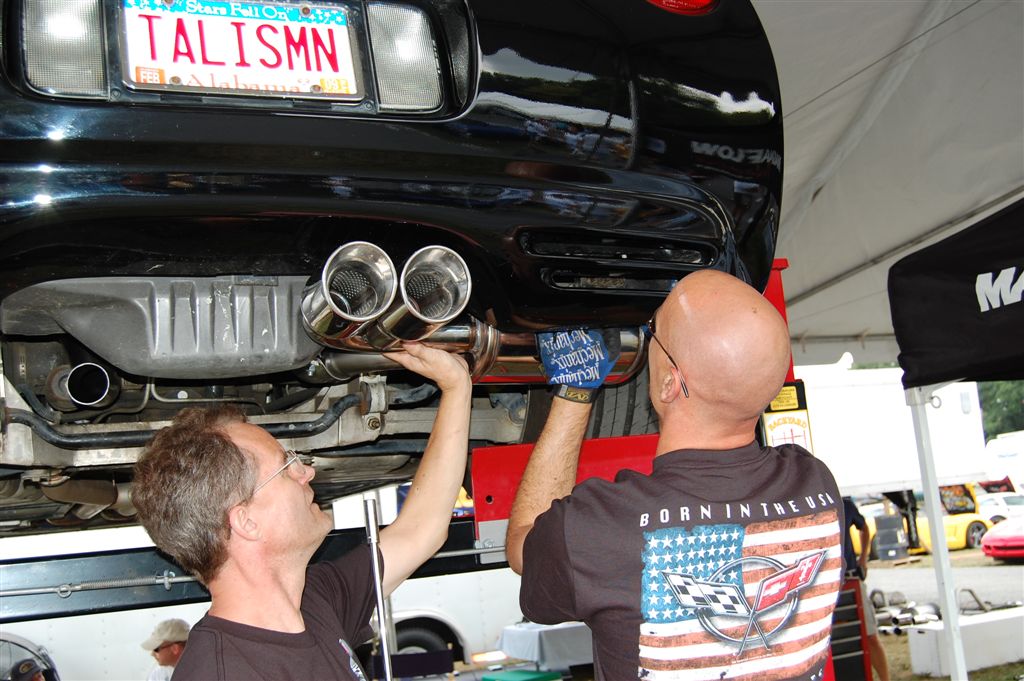
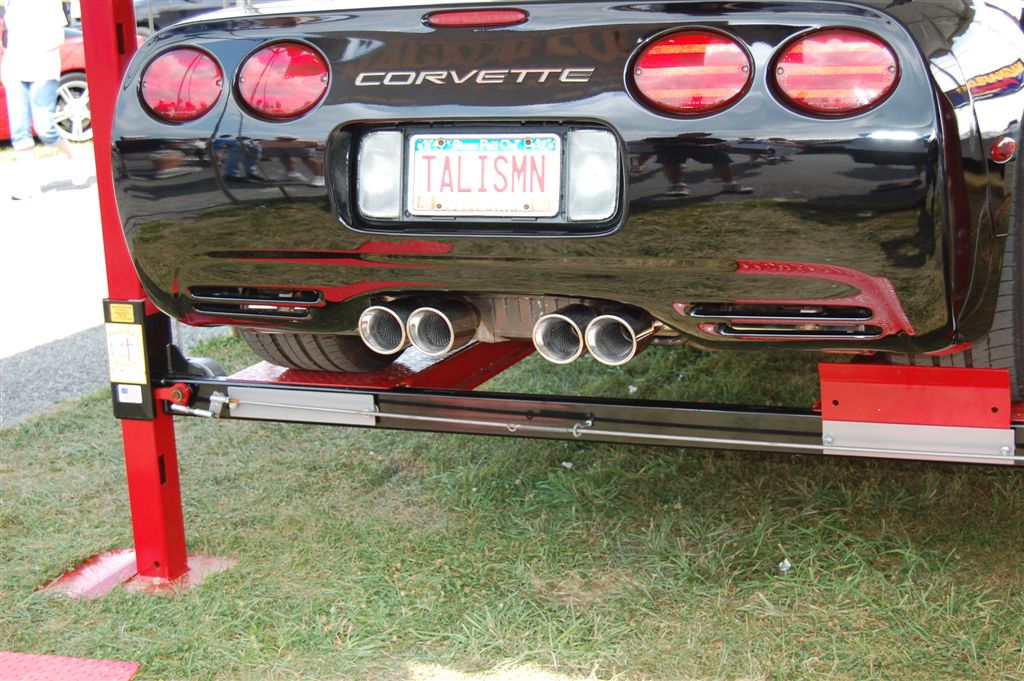
Gus is now determining if any adjustments are required with the C5 at eye level. No one wants to look at crooked, out of sync pipes. The mufflers can be moved around if necessary to get a symmetrical look.
A few small tweaks here and there are required to get the tips where they need to be. The idea is to have the pipes just tight enough to be able to move them with some pressure.
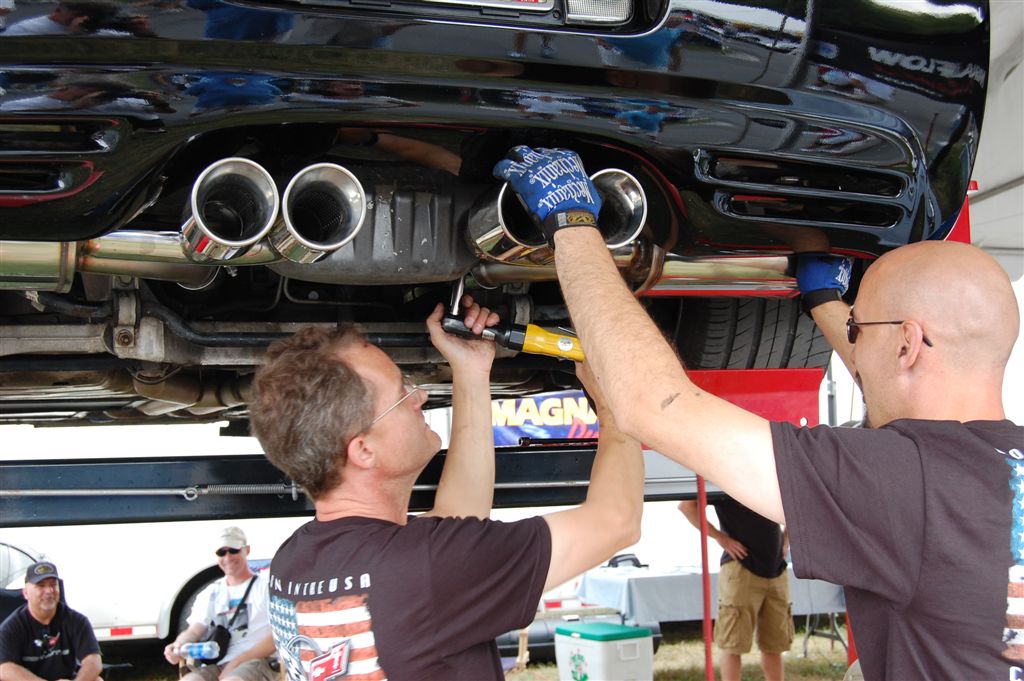
Sometimes it takes a slight movement on both sides to get the tips just right. Once everything is snugged up, start the engine and let the system heat up then cool down. Check the attaching bolts. They usually need just another twist of the wrench to snug them up for the final time.
Time to enjoy the sound and look of the new Magnaflow exhaust system!
Story and photos courtesy Chris Petris

I’m thinking about replacing the stock exhaust on my C5 Z06 with a SLP Loudmouth system and was wondering if it will be a bolt on installation or if it will require some welding?
These are bolt on systems no welding required
The 1997 LS-1 was 345hp. The 2001 Z-06 was about 385hp. Realistically with upgrades like this, you can expect to get into the double digits, up to 20hp gain, possibly more with a good tune.
C5 zo6 intake, c6 zo6 manifold and h pipe and cats. Put on a 1997 c5. How much horsepower increase?