You know it will eventually happen: your C3 Corvette’s door hinges wear out and the resulting alignment issues cause a multitude of problems. Sagging, broken seals, road noise, and water leaks to name a few.
Have you ever wondered how many times you have opened and closed the doors on your Corvette, especially the driver’s side door? It has to be thousands of times and the number only increases as a car ages. Owners used to lube their door hinges at every oil change. As oil change intervals increase and busy schedules ensue, these small but important maintenance tasks are often ignored and will eventually lead to door misalignment problems.
Unfortunately, the speedometer cluster has to be removed to allow access to the driver door upper hinge. Luckily, there are plenty of options. Replacing just the hinge bushings and pin is one option, provided the existing pins have not worn through the bushings. If the dash is already out of your car, it makes sense to proceed with replacing the door hinges. If not, to save some aggravation, a pin kit is highly recommended. Read on as we explain how to assess the condition of your pins and bushings.
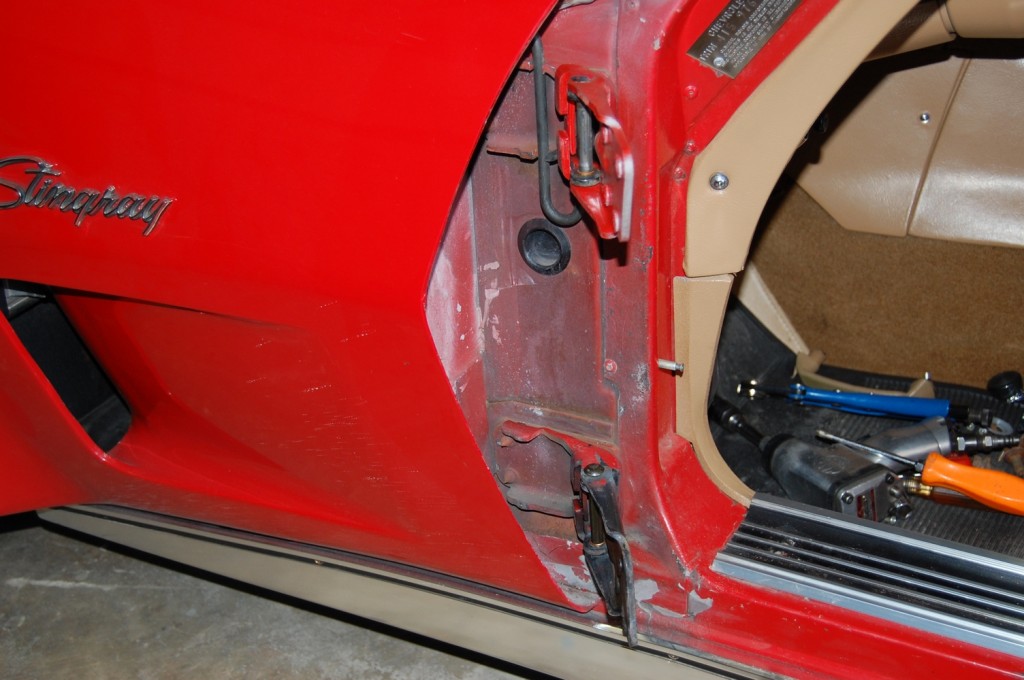
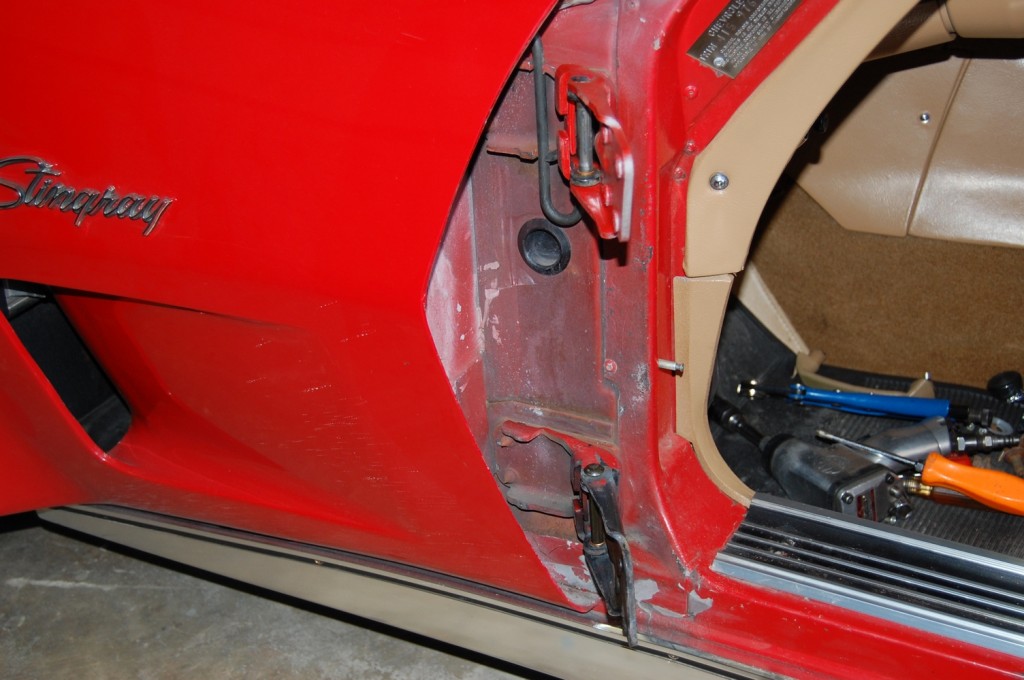
The first step is to determine whether or not the hinges must be replaced. You will need to remove the door to properly access the hinges. Trying to replace the pins with the door in place is very difficult and damage usually occurs as a result. Removing the pins is tricky: on the upper hinge, the pin comes very close to the fender edge as it leaves the hinge. There is generally enough room on the driver’s side to sneak it out, but on the passenger side it can be problematic.
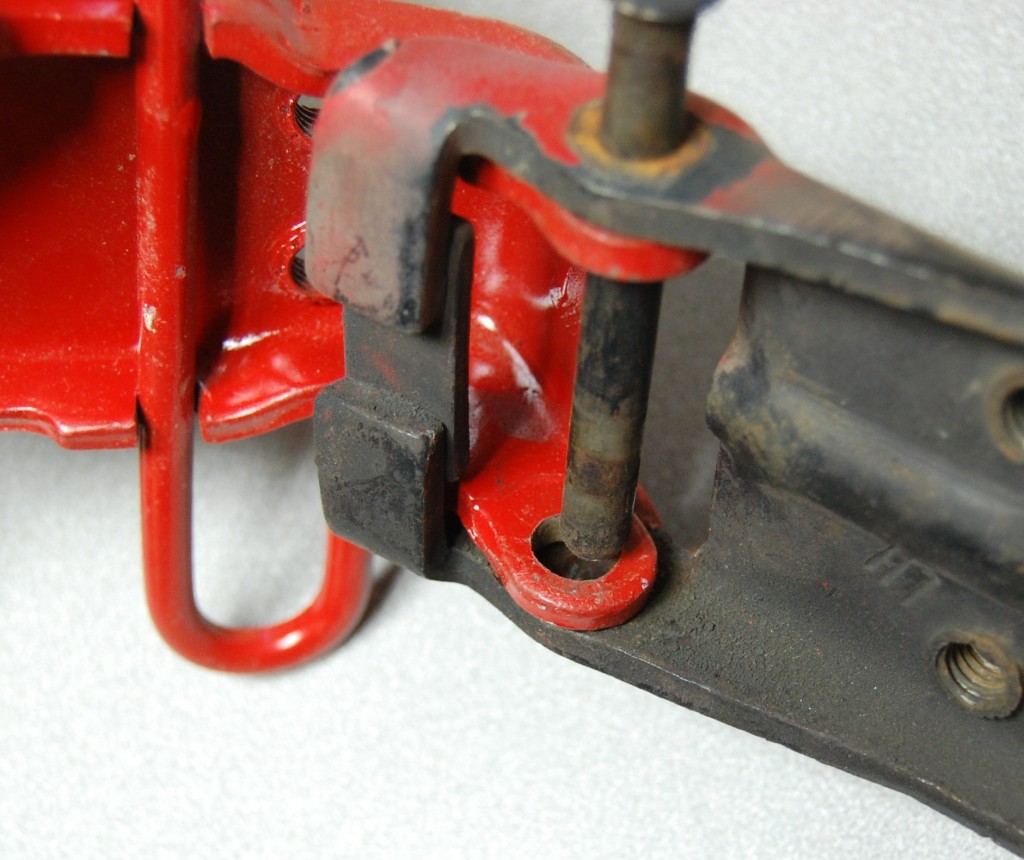
On this particular Corvette, the passenger side pin was so close to the fender that tape could not be applied to prevent scratching. It took great care to remove it. Both pins required grinding a flat spot to allow it to pass by the fender. Corvette Central’s door hinge pin set part number is 283100 and includes four pins and eight bushings. The new bushings fit tight in the hinge and the pins made the hinges behave like new again. The original hinge bushings have a thin wall and in some instances the bushings are worn so badly that the hinge itself is damaged. Welding and then machining the worn area is an alternative, but it is tricky to do in confined spaces. This is why new or rebuilt hinges are available.
There are other problems that necessitate the installation of a new hinge, like damaged detent rollers (due to a lack of lubrication). The detent spring rollers should rotate as the door is opened or closed to keep your door open as you exit. The rollers have wave washers to prevent them from rattling, so they cannot be rotated by hand, but they should rotate when you grab them with pliers.
Now is the time to lubricate them; first with good penetrant, then grease. White lube is often used for door hinges. Other than the fact you can visually verify it was done, it really does little, if any good. Select something that will get between the rollers and their rotation pin. Penetrant works best. Lube them often and the rollers will be there virtually forever since they only move a few notches at a time.
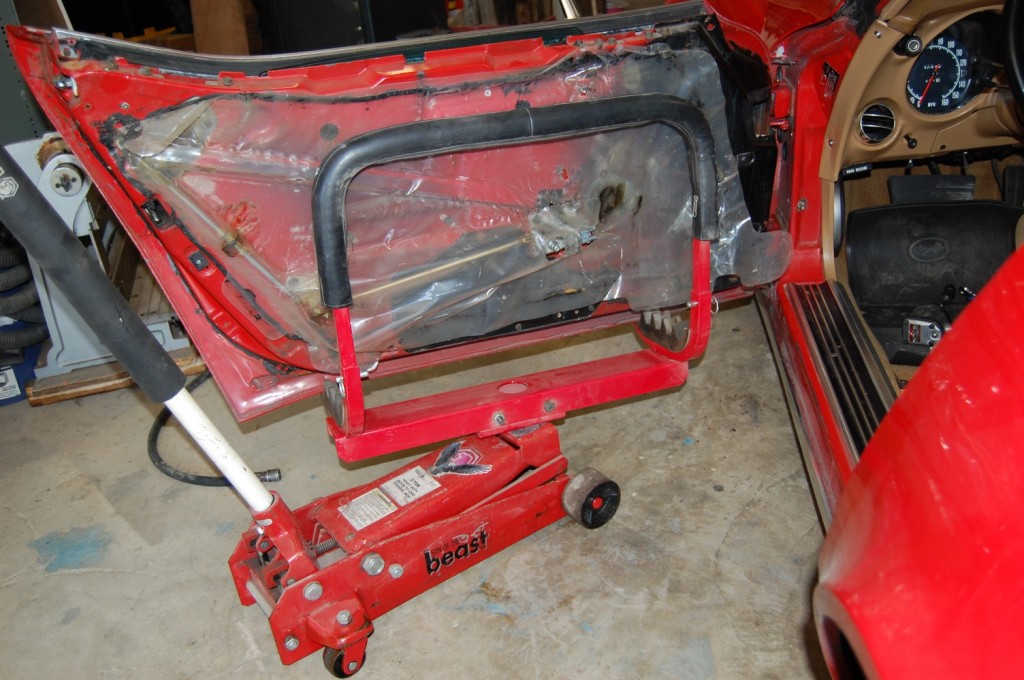
This door dolly adapter works great on the floor jack if you do enough door work to justify the cost of owning one. The doors are heavy and awkward to handle; be sure to have someone ready to help when removing the door from the hinges. This ‘73 convertible has manual windows. Remember to disconnect the power window motor and/or power door lock connectors (if necessary) before removing the door. The procedure is to disconnect the connectors and pull the harness out of the door before loosening the first door hinge bolt.
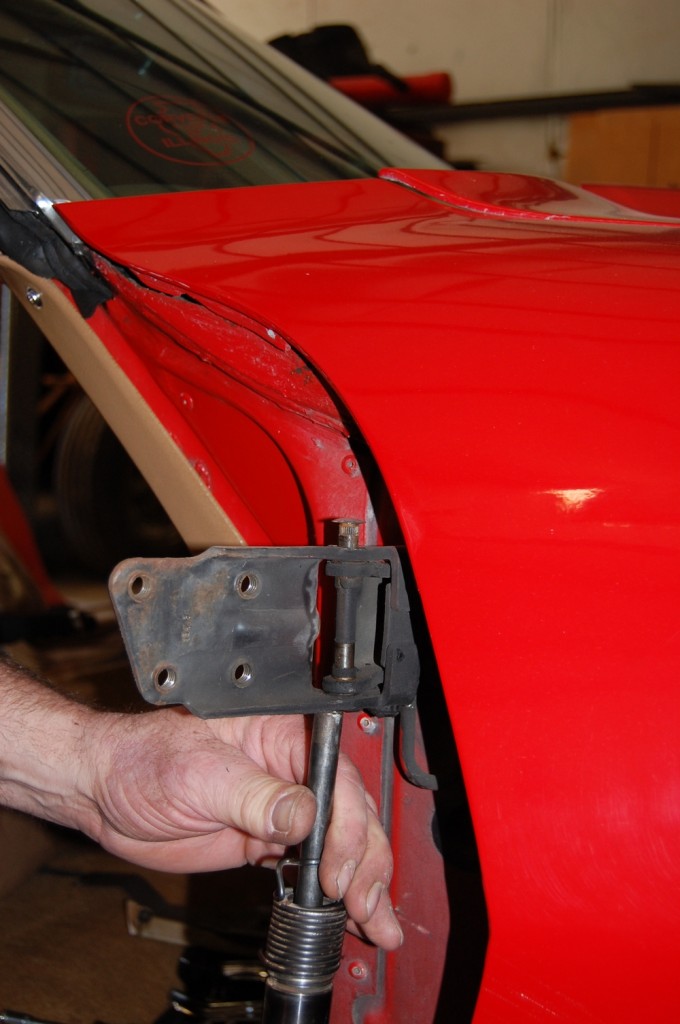
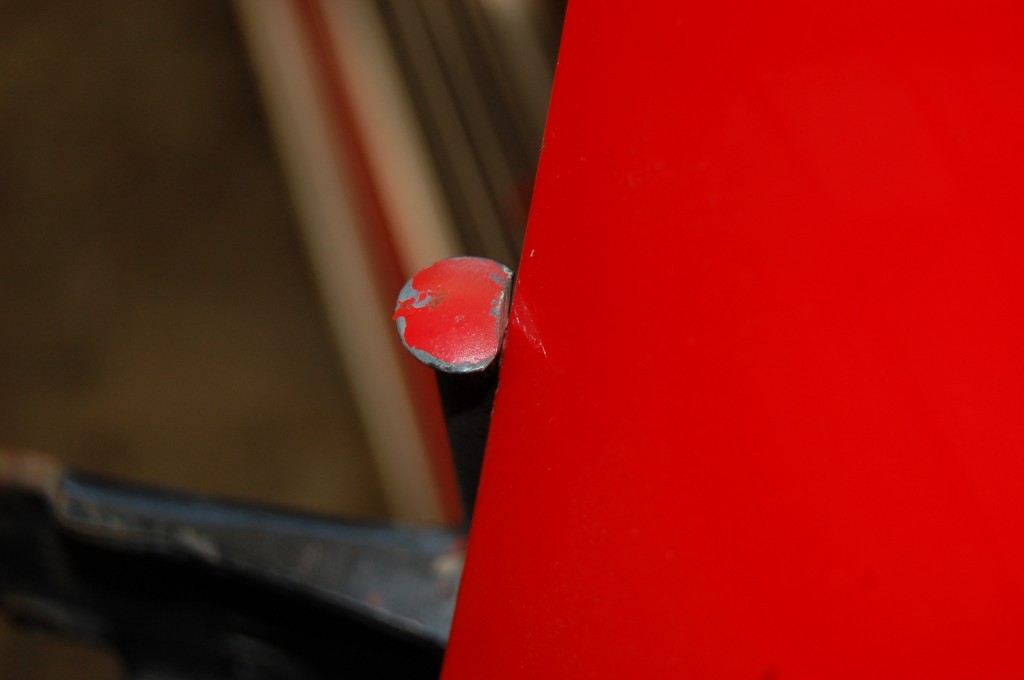
The hinge pins have a serrated or knurled area at the top to keep them in place. Our air hammer with a pin punch is used to knock the pin upward to release it from the knurled area. When used correctly, air hammers can prevent body damage from out-of-control hammer swings.
The passenger side pin was very close to the fender even after grinding off a section off of the top of the pin. We rotated the pin as it came upward to prevent scratching the door. Hold on to the pin as you move it past the edge of the door. If the door moves, the pin can crash into the door edge.
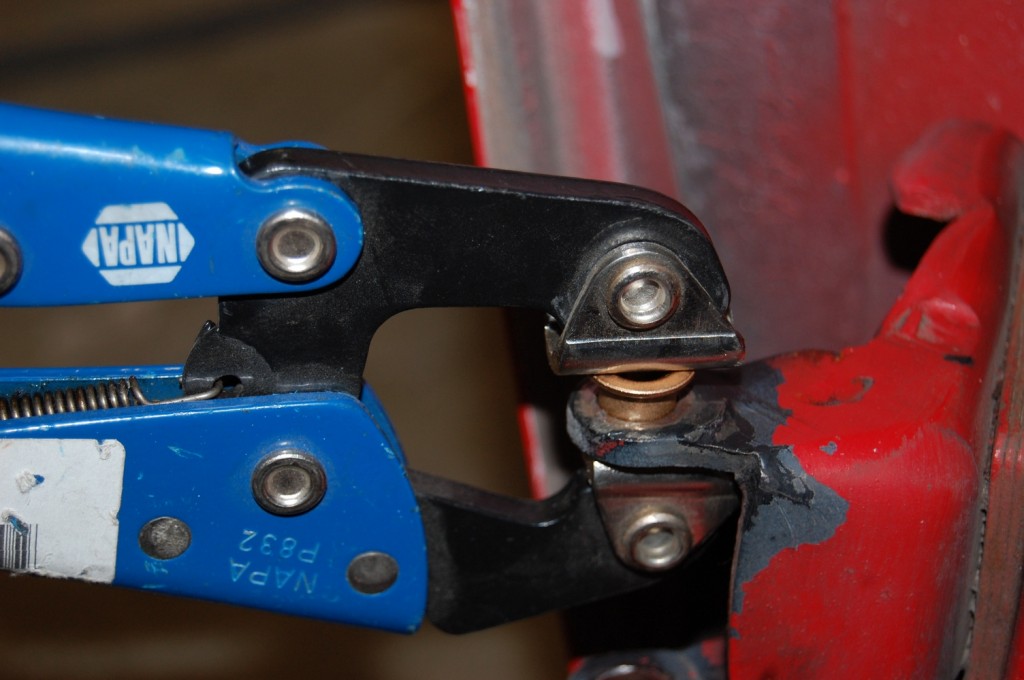
Vise grips are used to push the bushing in place. These bushings are tough but brittle. They will break if you decide to beat them in with a hammer. Exercise care when installing them. The vise grips also push the bushing in squarely to avoid distortion.
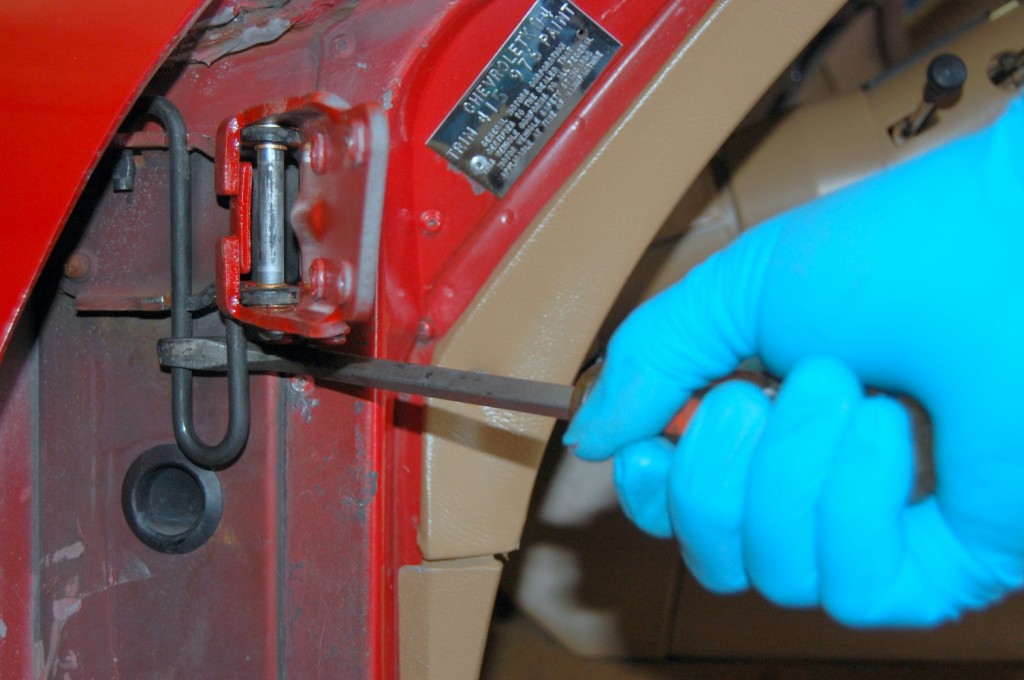
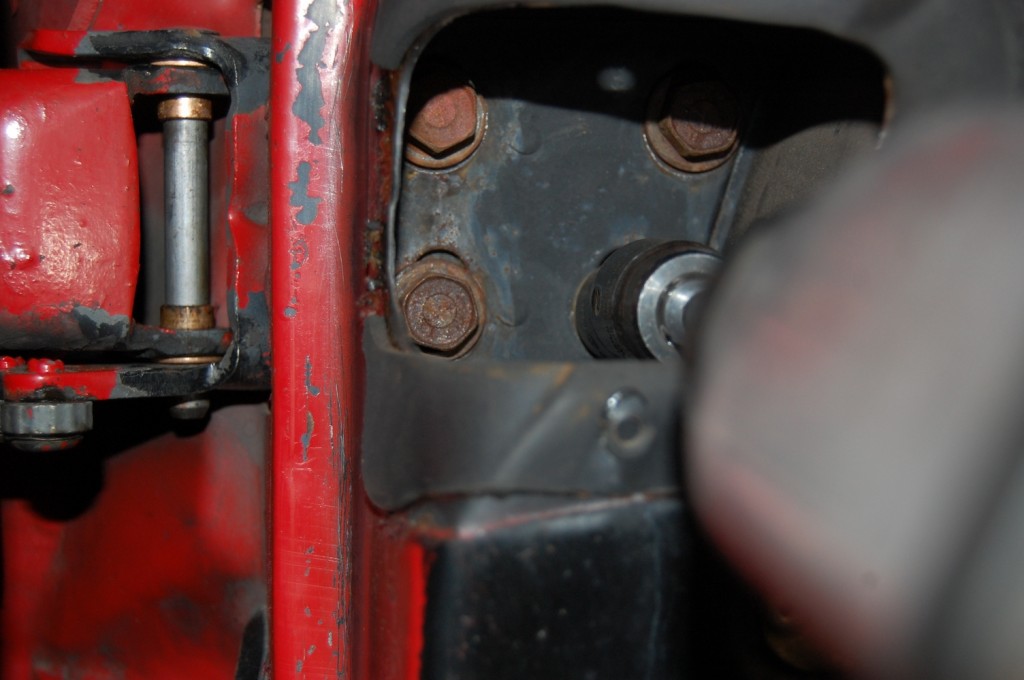
Now is the time to install our Corvette Central #283110 door detent spring. We are using our specially modified Craftsman screwdriver. There are specific installation tools available from Corvette Central already configured to make the job easier. For your convenience, here is an accompanying CC Tech article on hinge installation.
The hinges are back together and ready for door installation. Although it does not happen often, the hinges can wear or bend at their outer stop, allowing the edge of the door to touch the hinge. Ultimately, the outer edge of the door can be damaged from the hinge as it crashes into the hinge body itself. Look for signs of door outer edge damage in the hinge area. If you find any evidence of door hitting the hinge, it needs to be replaced.
We were able to put the door back close to where GM had originally placed it. The original bolt’s washer left a witness mark that we used for our first check of proper door fit. Use the witness marks to make sure you are going in the right direction.
Now that the hinges are back where they started (thirty seven years ago in the case of this Corvette), it seems that the doors could be reinstalled in their same position; however, that is rarely the case. As the body cushions weaken and the fiberglass stresses, door fit adjustment may be required. You will most likely need to make some adjustments to allow for the best fit. The door hinges have three adjustments: vertical, horizontal, and in/out from the panel surfaces that surround them. If you replace the pins and bushings, you will be able to adjust the horizontal plane only. There will be some slight movement in the vertical position of the door. Vertical adjustment would require accessing the inner portion of the hinge behind the dash cluster. In most cases, the slight vertical adjustment is usually enough to make the door fit correctly once new pins and bushings are installed.
Remove the door striker pin and check for door-to-door surround opening fit. Once the door fit is optimum, install the striker and move it so that the door closes without dragging on it. After alignment issues are corrected, the doors should fit well without any sagging when the door is opened. Now the real fun begins! Since many windows are adjusted as the internal components inside the doors deteriorate, realigning windows is next. Another thing to consider is worn outer seal strips and maladjusted inner window bumpers. If you find the outer seal strips are hard or cracked, replace the outside seal strips before adjusting the windows and window bumpers. Corvette Central part numbers 283061 fit coupes, and 283062 fits convertibles. These are original equipment quality pieces. The O.E. strips keep the windows tight and water out. The strips are also an integral part of proper window adjustment since they maintain pressure on the window at the base.
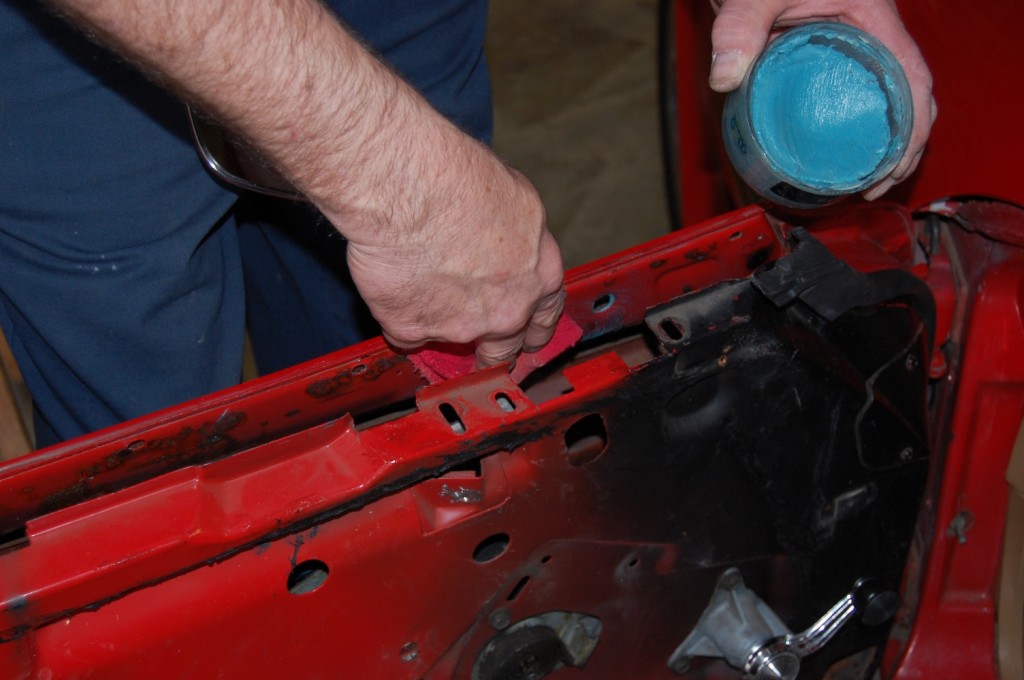
The ‘73 had minor rust and corrosion under the seal strips and garnish moldings. We removed the rust stains with Ospho rust converter treatment. Once the Ospho dried, we applied a coat of quality wax under the strips without polishing off the residue for added protection.
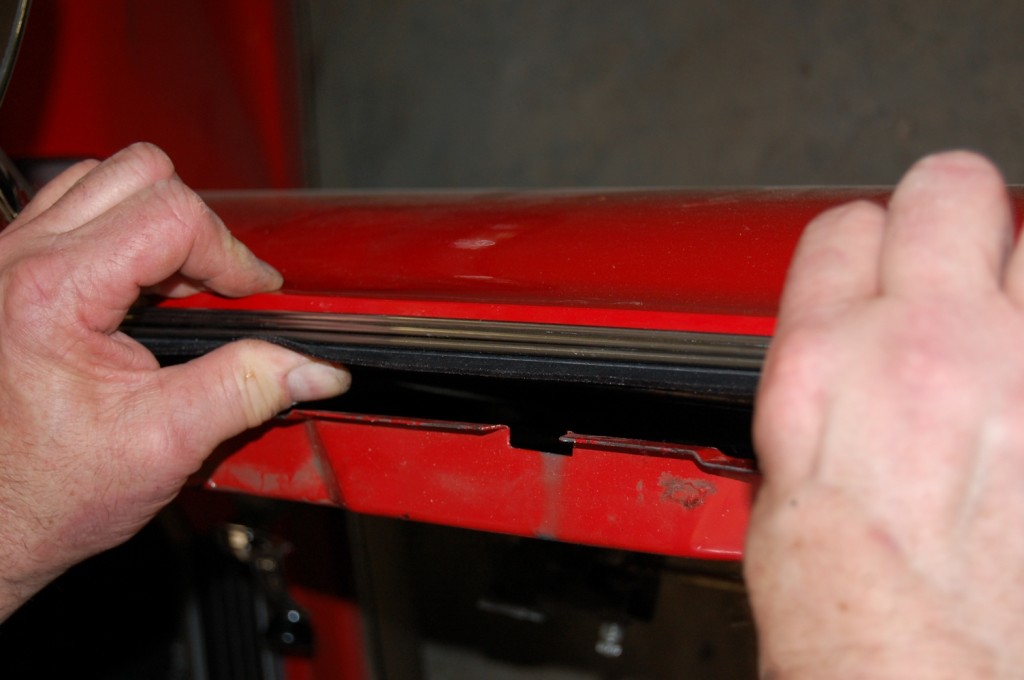
Installing the seal strips can be tricky because they have push-in retainers that must align with their corresponding hole in the door. They must be started with thumb pressure or the retainers can be distorted, or worse yet, the strip itself can be badly bent or creased.
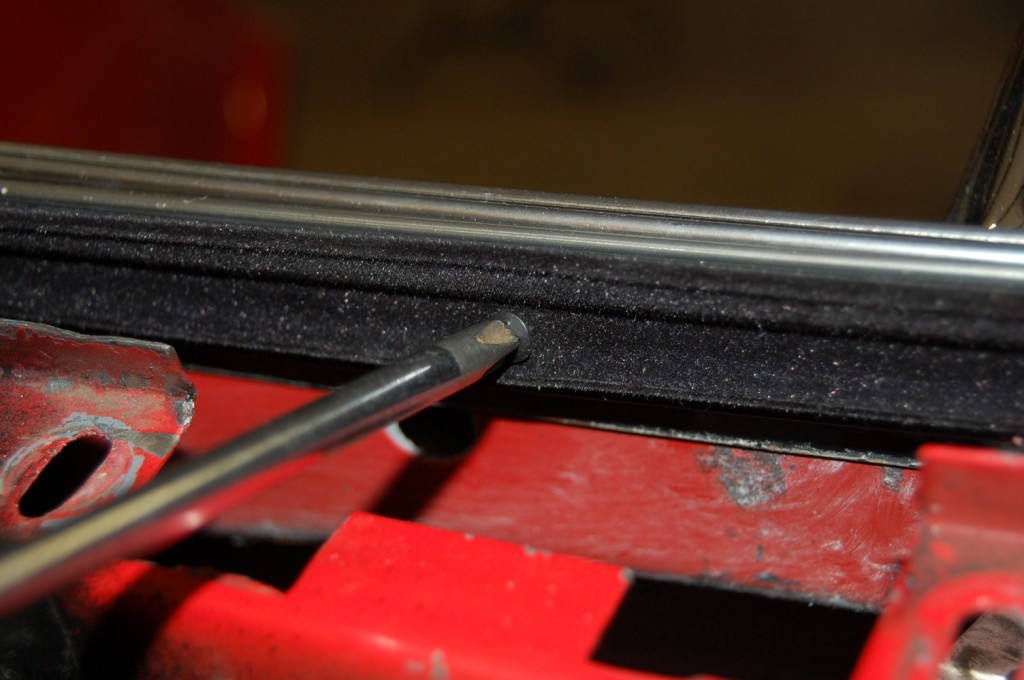
Two screws retain the seal strips. Make sure to use flat head screws (preferably black to keep them from visually sticking out). The screws should lie flat with the flocked material to make sure the glass does not rub against them. Stainless steel screws are ideal. Always coat the screws with grease to keep them from corroding quickly.
Worn window lift and control components will be an ongoing problem. Now would be a great time to assess the condition of all the window components. The window uses two rollers that travel vertically to control the window’s inward and outward movement. The front roller also controls window fore and aft travel. Loose rollers cause loose windows and will permit the window to change positions each time the window is moved up and down. The tough part of window adjustment is that there are multiple adjustments that affect each other. This holds especially true when the rollers are worn: each time the window is moved, the fit changes. Position the door glass at the mid to ¾ up position and try moving the glass fore and aft. There will be some movement, but it should not exceed ¼” overall. Excessive fore and aft movement indicates a worn front roller. The door glass should not move up or down at the front or rear either. Worn window regulator rollers are usually the culprit when this occurs.
Another area to check is the fit of the weatherstrip. Door adjustments can alter the fit enough to cause damage or leaks. Before proceeding, we have some photos showing where to look for possible trouble spots. Now would also be a great time to replace any worn or weathered seals. Corvette Central has door weatherstrip available separately or in kit form. Multiple options are available in their 1968-82 print and online catalogs.
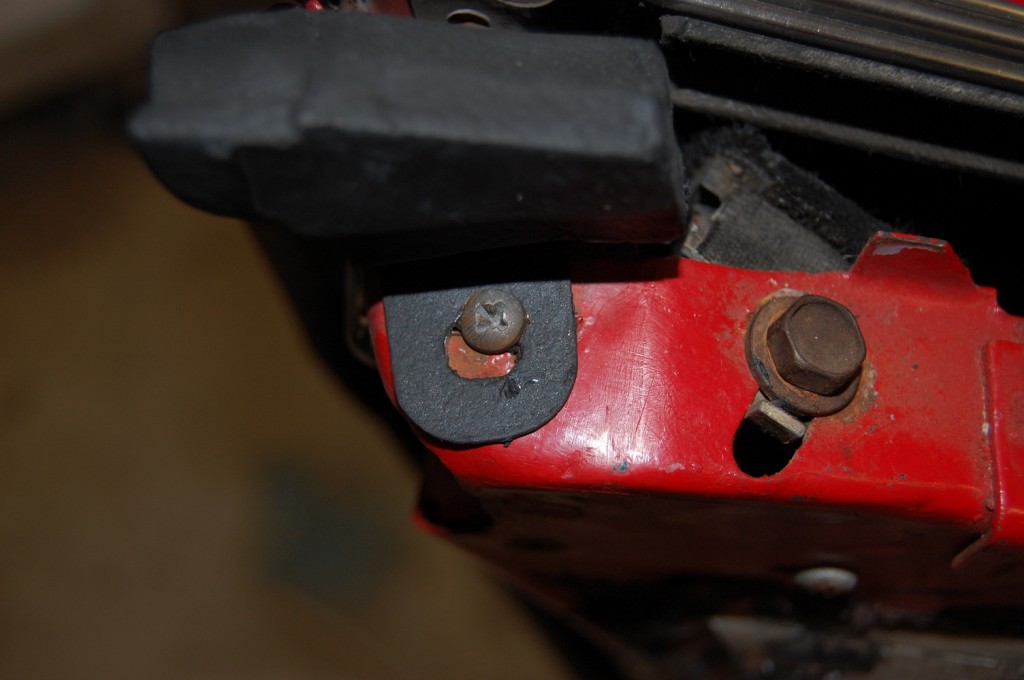
The door weatherstripping on our project had been recently replaced, so we adjusted them accordingly. Once the door was adjusted, some minor modifications to the front upper weatherstrip mounting area were required for proper fitment. The upper mounting area was bent, preventing the weatherstrip from seating properly against the door frame.
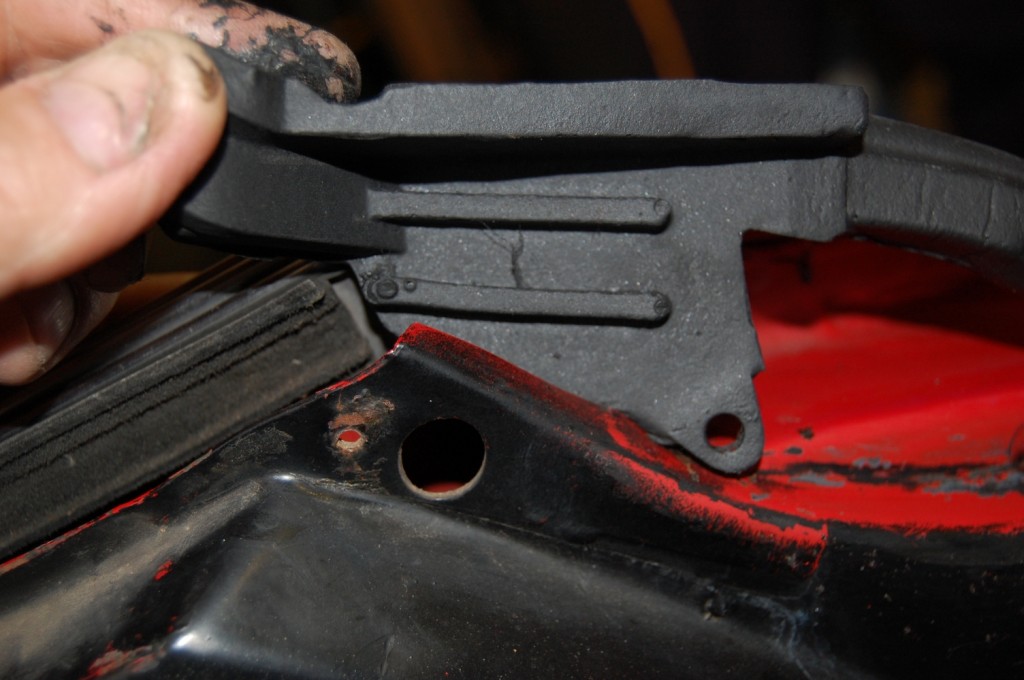
This is something to watch for: the angled area of the weatherstrip must fit flat on the door to keep correct alignment. We have found that, in some cases, we must trim the angled area of the door itself for the weatherstrip to fit correctly.
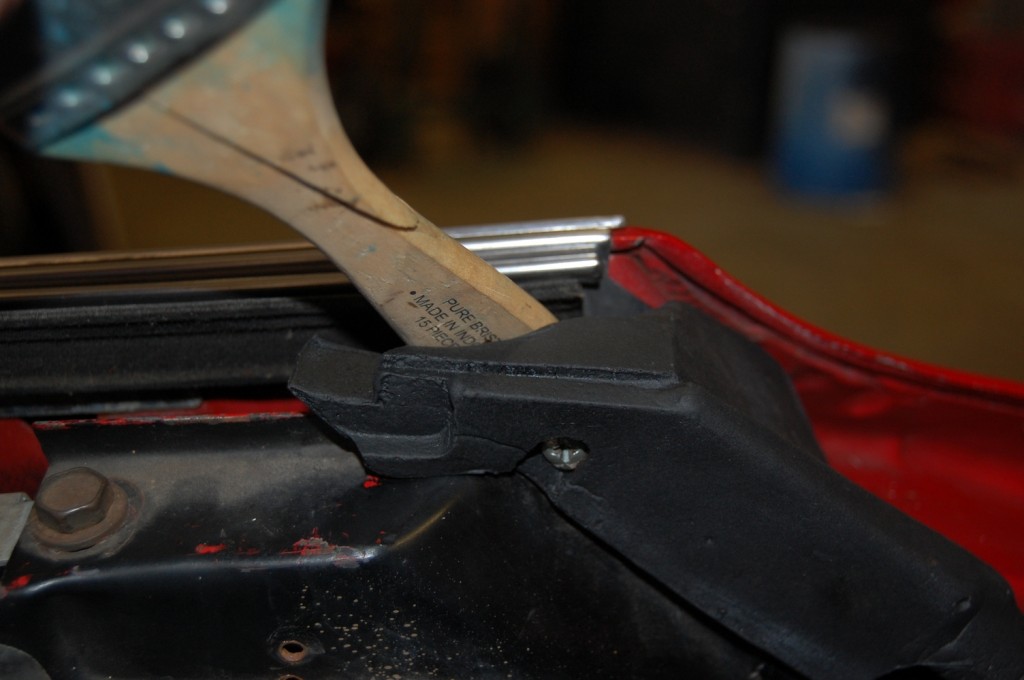
Once the weatherstrip is installed, we use a wooden handle to modify the edge that the inner portion of the glass rubs against. In most instances, The inner metal reinforcement is too close to the glass and will cause a scraping noise as the window is raised.
This is what we are most concerned with at the front of the door: the door weatherstrip must slide under the windshield vertical weatherstrip. It is common to find the door weatherstrip rubbing hard on the vertical weatherstrip, which may cause damage or leaks.
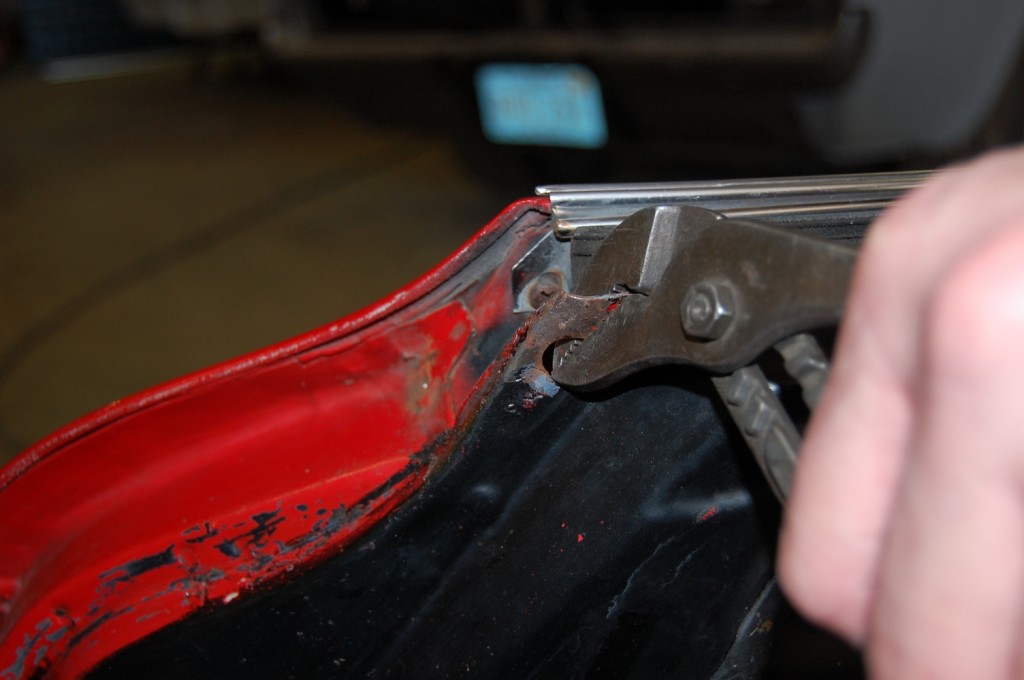
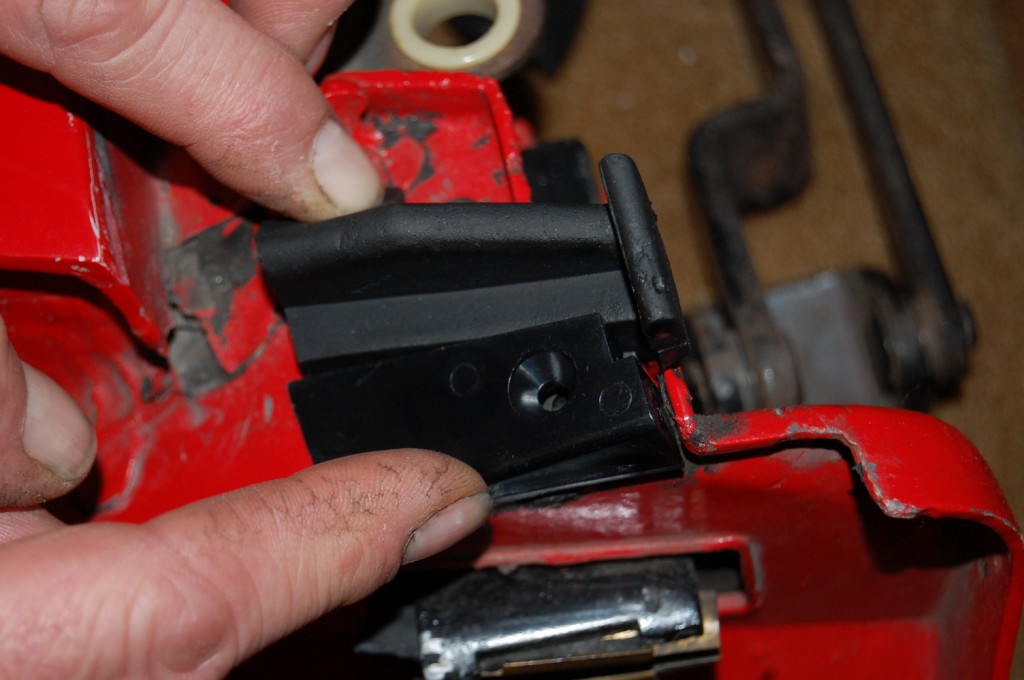
Both ends of the weatherstrip are tricky to deal with. The rear corner shown fits around the glass. Open up the weatherstrip attaching hole slightly to fit the end correctly. Once we have the correct location for the weatherstrip, we add a washer to assure a tight fit. Watch the glass as it goes into the rear corner. It is possible to damage the new weatherstrip the very first time the glass is raised.
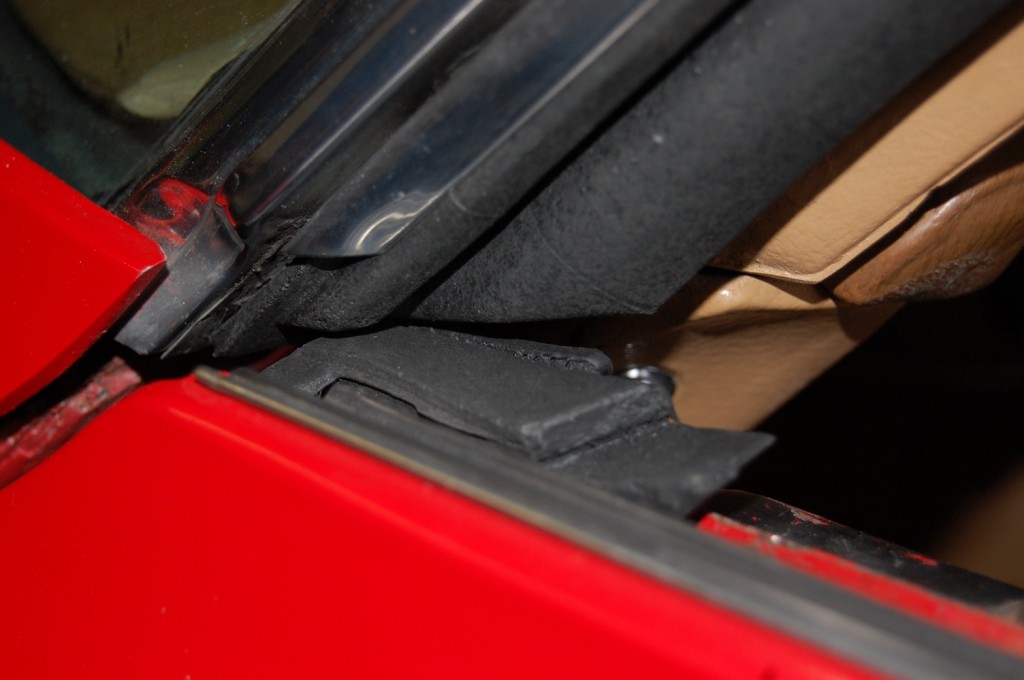
To complete the door weatherstrip installation, replace the rear deck corner weatherstrips and plastic wedges. Strip caulk was used under the weatherstrips and wedges to make sure they sealed themselves to the body. A thin application that covers the entire underside of the weatherstrip and wedge works best; too much and the pieces will not sit flat.
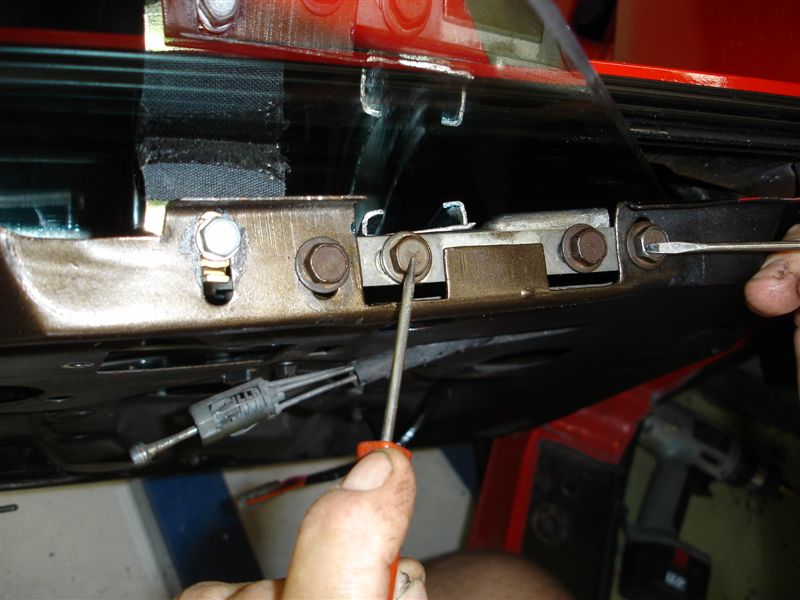
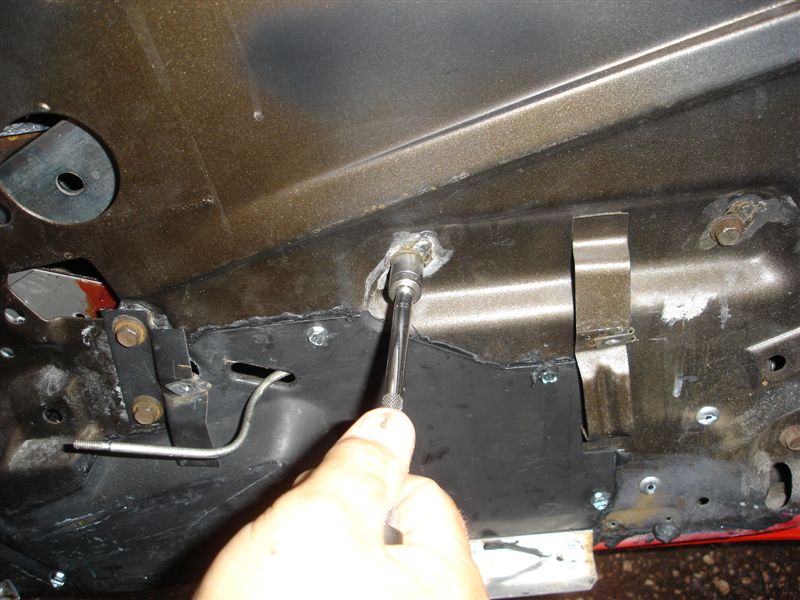
Our 7/16” socket is on the rear window glass retaining nut. The front window glass retaining nut is accessed through a hole in the inner door frame. The 7/16” screw to the right adjusts the upper door glass limit at the rear of the door.
The front window guide controls the fore and aft position while maintaining the windows inward or outward tilt. The outer screws would tilt the glass in or out contrary to conventional thought. Moving the plate towards you while sitting in the door sill area would move the top of the glass out. The door glass anti-rattle bumper to the left must be adjusted accordingly. If the glass is adjusted out at the top to its maximum position, the bumper would bind on the glass at the window’s upper limit. Fore and aft adjustment is straightforward; exercise care to ease the door closed until you know the glass is not going to crash into the pillar or top.
These two 7/16” screws adjust the windows balance front to back. This controls how the front to rear glass lifts front before the rear, etc. This adjustment is usually not required unless a major change in front or rear upper glass limit has been made. If necessary, adjust the balance track as you watch the window glass roll up. The glass should hit the stops evenly; if not adjust the track until they do.
Carefully scrutinize the situation before you dive in and order parts or make adjustments. Many times adjustments are made and parts are replaced before the underlying problem is found. Shortly afterwards, the parts that were replaced end up failing because the root cause still exists. Stay calm, take your time, and walk away if your patience is limited. It is quite amazing how well these Shark Corvettes can be sealed up if care is taken while making adjustments. The really great thing is that once the doors are hung properly and the windows are sealed, you can enjoy the drive that much more!
Corvette Central has all the components required for a complete restoration of your doors and door glass if necessary.
Seal strips
Door weatherstrips
Rear deck wedges
Rear deck weatherstrips
Story and photos courtesy Chris Petris

Very good tutorial! Best to read thoroughly before starting door job. Good tips about proper tools, sequence of procedure and small modifications to assure that the job goes smoothly. I’m glad that Corvette Central provides this information here on their website.
Ty..I’m just owning my 1st, this info was very helpful in me understanding what I been trying figure out from other reads. Good day be to ya’
Are you serious??????
Your photo with your modified door spring tool shows the tool in the completely wrong leverage position.
Did you buy the new weatherstrip from Corvette Central?
How did you fit the inner weatherstrip end? The one I got looks the same but only the lower screw lines up, the main screw by the glass won’t.