Your 1963-1982 Corvette front crossmember is subjected to large rocks, unimaginable road debris and damage from repair work (poorly positioned floor jacks). As a result, many, if not all, the frames under C2 and C3 Corvettes have caved-in front crossmembers. The repair tool (Corvette Central part number 182100) will aid in straightening your crossmember if the majority of damage is within the perimeter of the inner forcing plate coverage area.
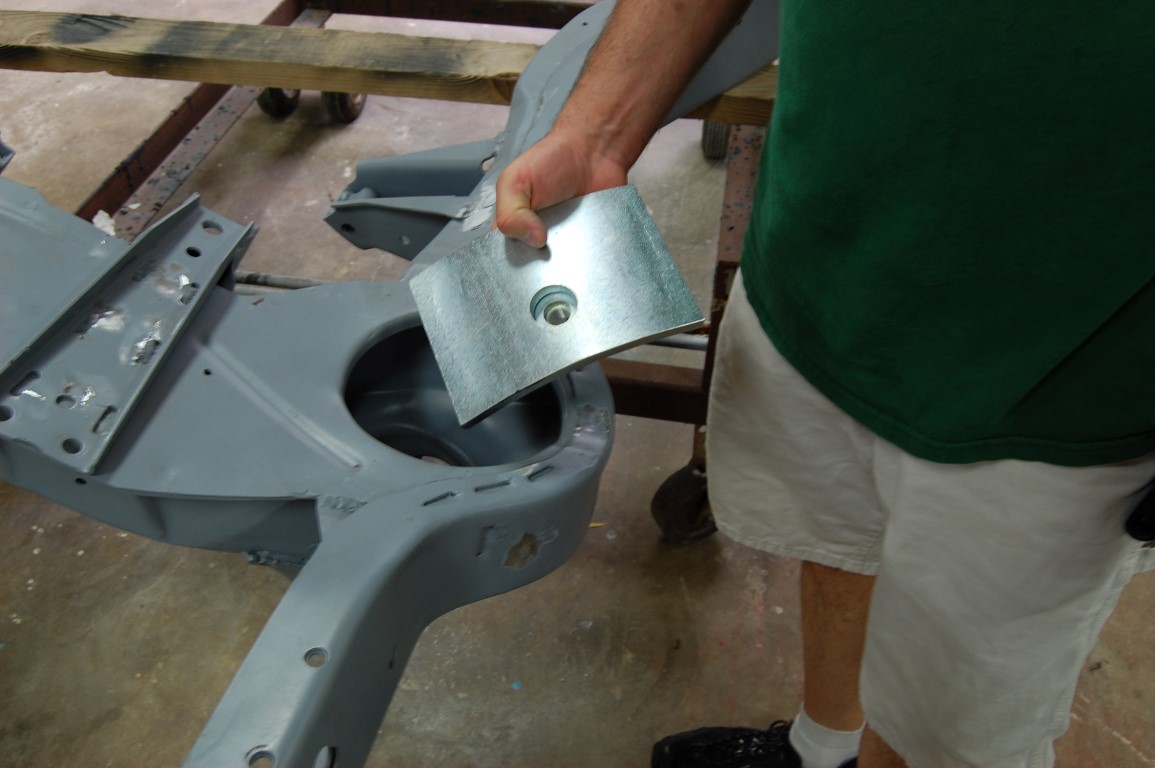
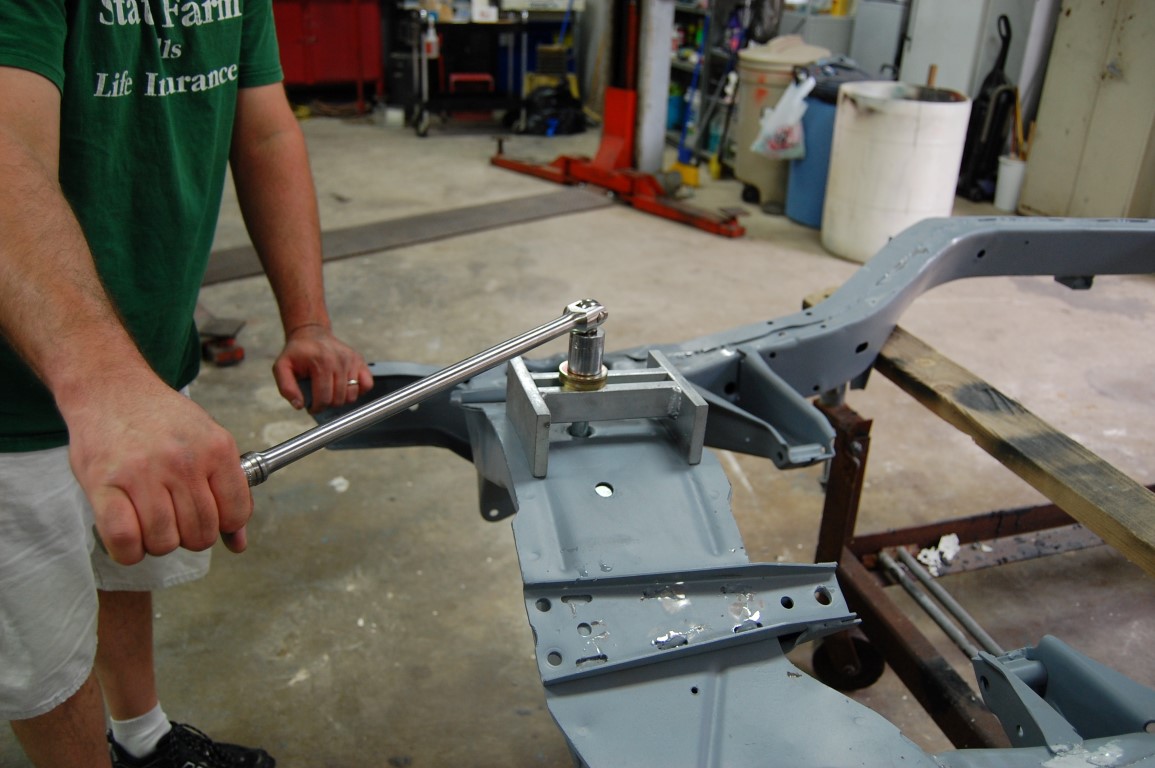
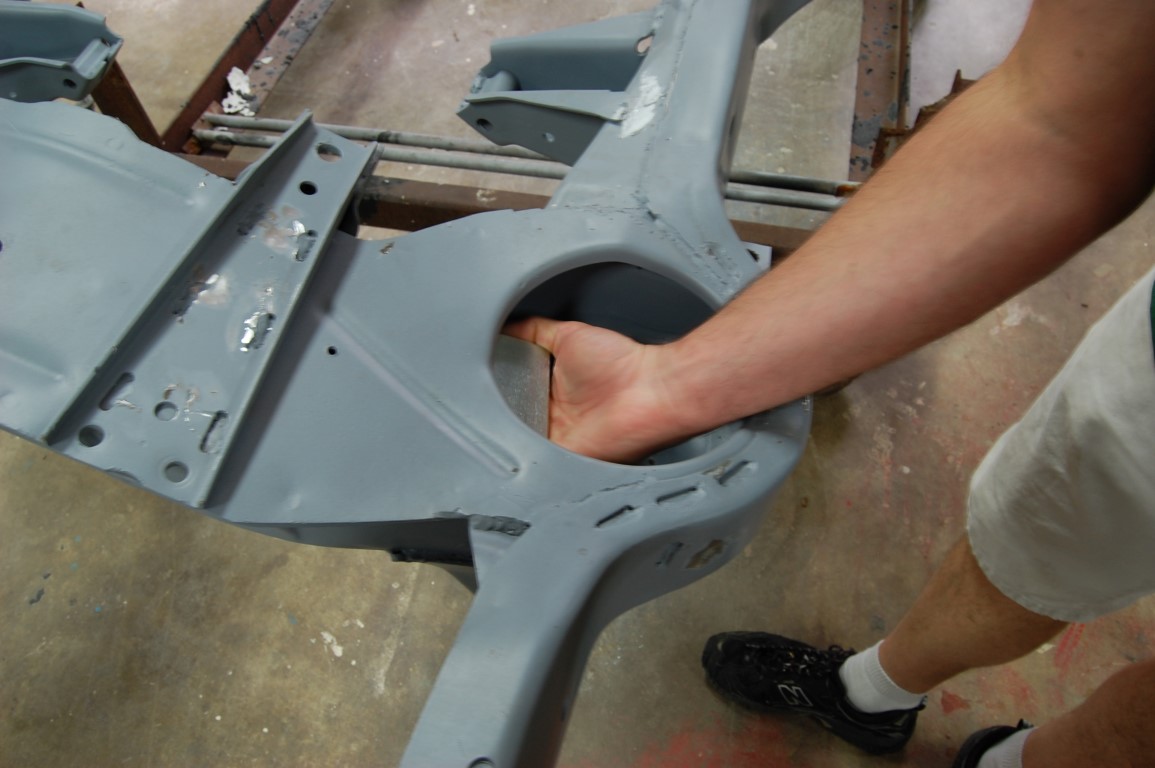
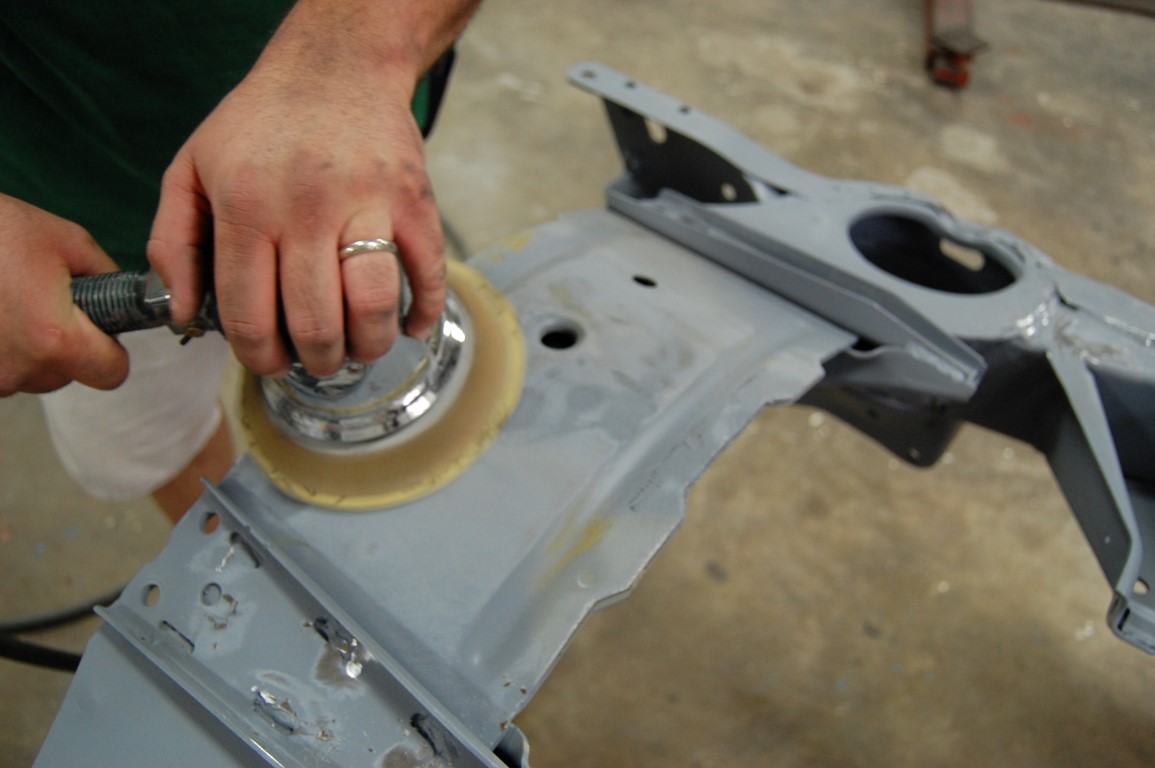
The straightening plate fits inside the crossmember; a fixture is placed on the outside to force the dents out as the inner plate is pulled outward. To begin the process, one front spring from either side of the chassis must be removed to insert the tool inside the frame. The heavy inner dent removal plate may require some modification to fit inside the front crossmembers vertical sides. I made mention of the heavy part to warn you of potential pinch or crush points while maneuvering the tool into position. In most cases, the plate will sit flat on the lower dented section. If not, grind the sides of the plate just enough to get the plate to drop down into position. It should fit snugly, not tight; forcing the plate into position can cause extra work trying to free it from the sides of the crossmember.
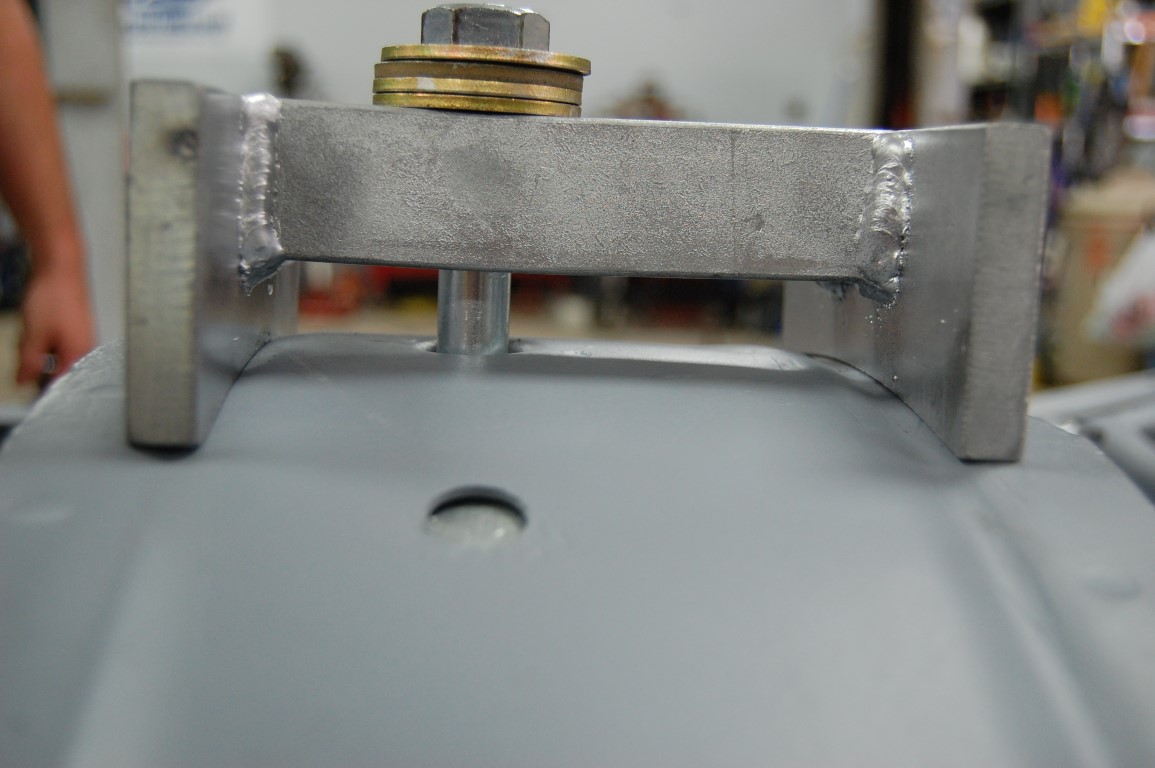
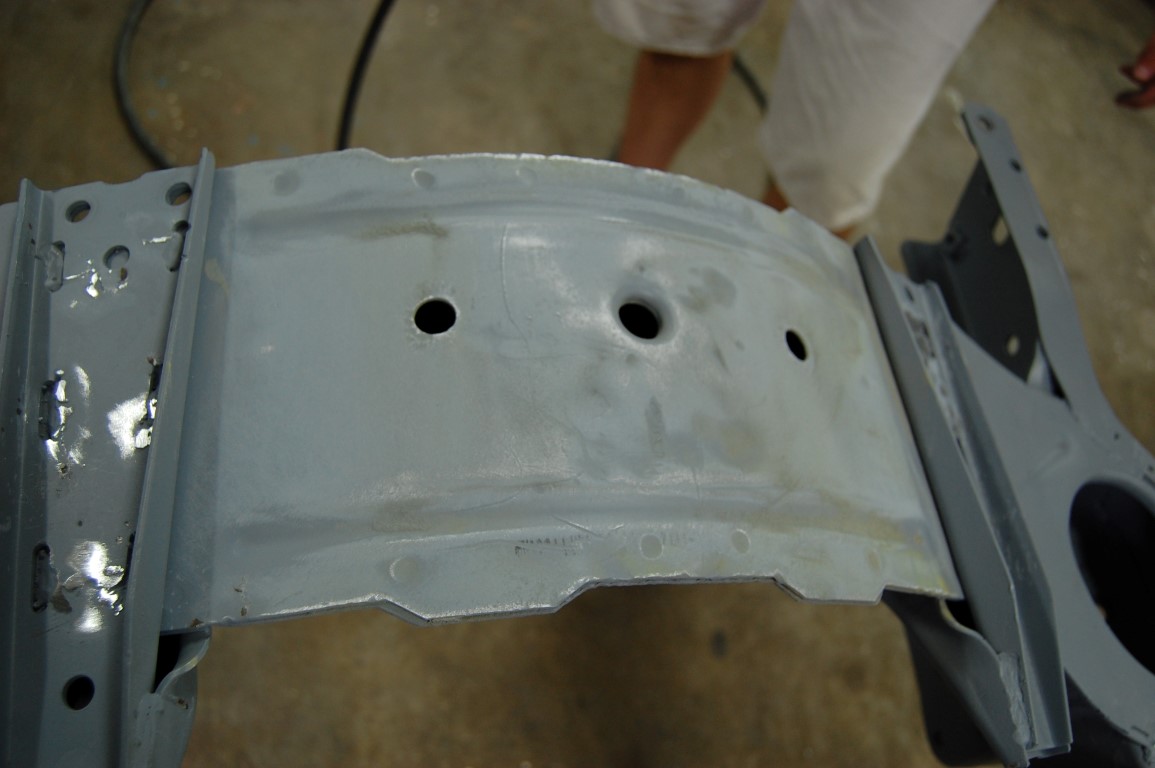
The crossmember tool brings the metal back to the original shape. Once the pressure is released, the dented areas will sink back inward due to the metals inherent elasticity. The shims provided allow you to place them in the areas of the deepest dents to push them beyond the original shape. This compensates for the metals inherent spring back.

To aid in straightening deep or multiple dents, heat can be applied to work the metal easier as long as care is taken to remove any grease or oil before the heating begins. Years of grease and oil can accumulate in the crossmember. Once a torch gets the surface hot enough, it can ignite and be almost impossible to put out without some damage occurring.
Once the forming plate is in place and the forcing fixture is loosely installed, place the shims between the forming plate and the crossmember. Tighten the forcing fixture screw while watching the surface of the crossmember. You should see the dents coming out once they are slightly above the surrounding flat surface. Back off and see how much they sink as the forcing screw is released. If necessary, add more shims to bring the area up. While the forcing screw is tight, you can hammer around the raised dents perimeter to smooth them out.
One thing to remember about metal is the more you work it, the odds increase that it will crack. The other absolute thing that happens is metal expansion as it stretches from hammering out dents. The tool does a good job of getting the front crossmember into shape with minimal impact on the metal surface. Overworking the metal should be avoided. If you’re looking for a perfectly smooth surface, work out the worst of the big dents and then use a skim coat of All-Metal aluminum body filler to slick out the area. All-metal body filler is very tough and is hard to damage, even with a jack. If you plan on putting semi-flat or flat paint on the area, it does not have to be ultra-smooth and it will still look much better than the typical beat-up crossmember.
In the event that the crossmember plate is severely damaged, Corvette Central has a part number 182063 replacement plate. Although a few bucks less than the tool, it is a major undertaking to replace the panel and welding is required. The lower control arms, lower control arm supports and support gussets will require removal before the process can begin. All of the supports will require cutting to remove and then clean-up for the installation. Plenty of welding is then required for the new plate and the removed control arm support pieces. By far, the dent removal tool is less expensive in the long run and can be used multiple times.
Don’t forget: be easy on the crossmember the next time you jack your Corvette up. Use a rubber pad to keep from beating it up.
Official crossmember dent removal instructions may be found here.
Story and photos courtesy Chris Petris
Good information, which can certainly come in handy.